Tag: nutrition

I’ve done ProLon FMD Nutrition Program multiple times: an HONEST, detailed review about the full experience (is it worth it?) [VIDEO]

The following post is for educational purposes only and not considered as medical advice. Please consult with your primary care physician or health professional before beginning any new nutritional program such as ProLon. This is not A sponsored post. All opinions and experiences are honest and my own as the author.

Weellll it’s been a MINUTE since I put up a blog post, huh?! 😆😵

Hint: I include a REALLY thorough Q&A for ProLon at the end of this blog post – most of which are more detailed, additional tips to what I share in the already detailed day-by-day videos! This post will also be a work in progress as I will update to include relevant content as it is created.


I recently posted a six-video series sharing my experience doing the ProLon 5-day fasting mimicking nutrition program (which will likely include a handful of more videos, including the glucose/ketone comparison in my own personal “self-study”, a DIY homemade version, and perhaps future documentation whenever I do it again).

I even reached out to the people at ProLon after planning this video series, and they were kind enough to give me a generous discount coupon code for friends, clients, and viewers who decide to try it, too! All you have to do is go to their website and type in CATLADY in the promo code box at checkout 🤗

When it comes to the video series, I explain a lot in the videos within the series as I do take you through each day of the program in detail, but I figured it was also worthwhile to share some more things I may have forgotten here as a blog post for whoever may be curious about ProLon and common questions I’ve receive from clients, friends, and those who have seen videos from the YouTube channel.

I will likely revisit and update this blog post in the future to add more videos, as well as questions I may get emailed or left as comments. So, if you are trying out ProLon for yourself or want to refresh reminders or info anytime you do the program, feel free to bookmark this and come back in the future!

Check out my ProLon Playlist, starting with the intro video, here:

In my intro video, I speak about how I came to try ProLon for the first time, as well as details explaining the creator of ProLon – Dr. Valter Longo – and his many accolades in the fields of nutrition and longevity. Dr. Valter Longo is not only the man behind the ProLon fasting mimicking nutrition program, but he is also the Director of the Longevity Institute at the University of Southern California (USC) as well as a professor of gerontology and biological science.

Additionally, Dr. Longo is the Director of the Longevity and Cancer Program at the IFOM Institute of Molecular Oncology in Italy. He is the author of the book The Longevity Diet, which I do highly recommend reading, and he has even been nominated for a Nobel Prize based on his work in nutrition and fasting.


If that isn’t enough in terms of credentials to why this is a legit, clinically backed nutrition program, there is also the fact that Dr. Longo donates his share of profits from L-Nutra (the company behind ProLon) fully into the Create Cures Foundation to fund further research in illness prevention and longevity.

Those are just a handful of the reasons I decided to give ProLon a chance those couple of years ago. As for the other reasons and why I have done it a few times since… it’s all in the intro video 😘

Here we go, DAY 1 of 5 – let’s kick things off!:


DAY 2 OF 5 doing the PROLON FASTING MIMICKING DIET:


DAY 3 of 5 – getting over that hump!


DAY 4 – pretty much night and day from before 😍💪


DAY 5 – The Last day doing ProLon… how do I feel?!

*Stay tuned for my roundup of Day 6 and the week to follow, including how I have done the DIY at-home version of the fasting mimicking nutrition program in the past (and additional tips or tricks)! To get notified first when those videos go up first, you can subscribe to my YouTube Channel and click the notification bell*


PROLON COMMON QUESTIONS & ANSWERS:

How often do I do the ProLon fasting diet?

Please refer to L-Nutra and ProLon’s website for their official suggestions as, again, I am not a medical professional and none of this is medical advice. Always check with your physician (many of whom recommend this program to their patients, by the way)! That said, according to their clinical studies, it is suggested that those who may lean more “unhealthy” or “overweight” do ProLon three times: once a month for three consecutive months, in order to gain the most long-term benefits.

If you are generally healthy and of average weight, you likely only need ProLon once to twice a year. Perhaps up to three times a year. If you are underweight, you definitely need to consult with a physician or avoid this program. You can check ProLon’s website for more information.

Personally, I don’t go by any set frequency. I will gauge it by how I am feeling and what my body is doing. That said, it has come to more or less about twice a year since I did my first ProLon 5-day nutrition program over two years ago.


Who shouldn’t do ProLon?

This isn’t so much a personal answer as something important to note. As suggested by ProLon professionals on their website FAQ and within the instructional pamphlet, those who are pregnant should not attempt this nutrition program – nor should those who have had any bariatric surgery or procedures as such individuals have more specified protein and micronutrient requirements vs the general population.

Regardless, always check with a medical professional before beginning this type of nutrition program if you have any medical issues or concerns to ensure that this is a good choice for you. I especially stress this for those who may struggle with disorders such as BED (Binge Eating Disorder) or similar, as some restrictive-style programs like this 5-Day Fasting Mimicking diet may exacerbate issues in individuals with currently existing disordered eating. Namely, in disorders involving active binge/purge cycles.


When do you feel like you need to do ProLon again?

For me, it’s when I’m feeling sluggish, tired, inflamed and constantly bloated for a longer than normal period of time (more than 2-3 weeks). Unsurprisingly, this typically only happens after a few weeks to a couple of months of eating too many foods too often that aren’t a part of my usual routine. 

I do also have a “set comfy weight range” of around 6-8 lbs that I have always stayed within to feel my best, and if I find that I have surpassed that range by a couple of pounds for more than a couple of weeks as opposed to just the up and down, ebb and flow on random days (which is what happens with weight day-to-day!) – then I will consider ordering ProLon do it again.


Is your DIY version of ProLon as good as the actual ProLon nutrition program?

Yes and no. 

Pros of the DIY: It saves you money, it’s fairly easy to organize, weight-loss will still happen due to the caloric deficit, it can potentially encourage more stable glucose levels and expedite entering into ketosis to utilize fat as fuel. 

Cons of the DIY: Not as effective when measuring glucose and ketone levels (would have to extend it to 6-7 days vs 5), not clinically studied and created like ProLon, some ingredients will differ, more likely to “give up” or not commit during the DIY because it lacks the financial investment to justify pulling through.

Honestly, I would suggest doing the actual ProLon nutrition program first to have something to gauge from in terms of how it felt, your progress from start to finish (both physically and mentally), and how it helped you maintain the benefits afterwards. Then, you can try the DIY version and have something to accurately compare it to. If it works just as well for you as Prolon did, then there you go! 

Not to mention, purchasing ProLon justifies itself a little more – to me, anyway – seeing as Dr. Longo donates 100% of the profits from his share back into the Create Cures Foundation to further research on illness prevention and longevity. So the expense does go to a good cause.


Does ProLon help you lose weight?

Yes, but keep reading.

First of all, I get that it’s touted as a “weight loss” or “cleanse”, “detox”, “diet” (UGH if you watched my videos you know I can’t stand these trendy catchwords!) when you see the ads and marketing everywhere. One of the reasons I wanted to create this series of videos was to give you an accurate, more science based, non-Instagrammy take from someone who isn’t only making a sponsored post for money (I am not sponsored by them!) but who is educated in nutrition, physiology, fitness, fasting, along with years of working with clients.

Note: Weight and carrying extra weight is a symptom of something else going on within your body, due to your lifestyle and habits, emotionally, or all of the above.

That said, will you lose weight on ProLon? YES, it will cause you to lose actual weight on the scale. How much is variable, but I have found in the average person the weight-loss is 5-7 lbs. (if you are heavier, you may even reach around the 10 lb. mark). Personally, my weight will go down about five pounds when I wake up on day 6. And most of the time, I will lose another 1-2 pounds in the following days, before my weight stabilizes back at my initial 4-5 lbs. loss. 

A lot of this is due to the fact that you are eating in a caloric deficit throughout this 5-day nutrition program. If you are eating less than you expend AND are carrying less food in your system, that will result in loss of weight.

I do also believe – in my case and in what the ProLon research has actually shown – the ProLon 5-day fasting nutrition program causes autophagy and cellular rejuvenation within the system, alleviating inflammation from within the body that would contribute to excess weight. THIS is what makes it different than the “fad diets” or *gag* “cleanses” or *double gag* “detoxes” that are out there, which simply cause you to lose water weight or flush out your digestive tract.

In my experience, I believe that ProLon works to help you drop and eliminate inflammation which will also cause a decrease in weight by default. So, for me, I lost about 7 lbs. in total (including the couple of days after it was over) before settling back to a loss of 4-5 lbs. which I managed to maintain until months later after my standard routine took a turn again.

ProLon was created in a way to actually reset you from a metabolic level. That is the difference I felt in doing it, and that is why I am open to promoting it on my own as an individual (again, not sponsored!) and professional in fitness and nutrition. This is in a different category than any fast, fad diet if you recognize what it’s doing and adjust your lifestyle afterwards to honor maintaining the benefits you’ve gained from doing it.


What were some benefits (or other weird things!) you noticed after doing ProLon?

I’ll just make a list of bullet points…

    • Cravings were reset. I didn’t need to use as much stevia when sweetening food or drink, for example. Or salt. It really helps to reset and re-sensitize the taste buds as well as cravings, in general.
    • Appetite and portion-size needs were reset. Obviously, this will shrink your stomach a bit. But you learn – especially towards the last couple of days – that you not only feel clear-headed and energized, but light and without any bloating or “full” feeling to weigh you down.
    • Flatter abdominals (namely lower/reproductive area). I am specifying this because people like to say “flatter stomach or belly”, but for me personally, that hasn’t been much of an issue. My bloating tends to happen in the lower abdominal area. Think intestines, reproductive area, between your belly button and your pelvis. By doing ProLon, EACH time it has completely alleviated any bloating. Not only that, but it seemed to have indefinitely reset it. For weeks after, I would not get bloated – even after occasionally eating foods that may have caused it in the past. My weight also seemed to stay in this new default much easier, rather than fluctuating according to what I may have eaten the day or night before.
    • Really seemed to “reset” my body and digestion. Just like I mentioned in the last couple of sentences above, something about ProLon (and honoring how I felt after finishing) really did seem to promote a longstanding feeling of wellness. For me, that meant great energy, less susceptibility to bloating no matter what I ate or where I was in my cycle, an overall feeling of inflammation that I didn’t even recognize before now being gone, and with all of this lasting a while after the nutrition program was over.
  • I just felt rejuvenated from the inside and better. That’s pretty much it. I was surprised at how good I felt afterwards and, most of all, how it actually lasted. If you take what the program has to give and go with it long term – especially following the Longevity Diet protocol from the Blue Zones, which are both great books – then you are sure to feel the same benefits that I did.
  • I slept more deeply and stopped having wild, super-detailed dreams by day three. I noticed I was having what seemed to be nightly, epic movie style crazy dreams for weeks beforehand. As fun as they are – and as often as I have them – I also felt like I was waking up less rested than usual… especially with night-after-night of a pumped, action-packed imagination! I’d already made a correlation a long time ago between more active dreams and even nightmares, with eating something very sweet or sugary close enough to bedtime.  


Do you workout while you’re doing ProLon?

I go for a walk daily to get at least 8,000-10,000 steps in, so I did still do that. As for strenuous exercise, I typically avoid that (and it is suggested to avoid it) during the fasting program. At most, I will do some low intensity weightlifting or bodyweight training that is slow paced and not too taxing. But it all depends on the day and how I am feeling.

As you could see in my Day 4 and Day 5 videos, I felt AMAZING and actually had one of the best feeling workouts I could remember in recent history. So, again, it all depends on how you are feeling and honoring that.


What tips do you have to get through ProLon for anyone else doing it?

Schedule to do it during a span of time where you either know you will be busy or can make yourself busy (ideally, with things at home). One of the best parts about any fasting is how much open time you have to focus on other tasks or things instead of eating or planning around food!

Also, schedule it in a 5-6 day span outside of holidays or social engagements. Doing so will only make it harder for you, and you’re likely to get slack from people around you who don’t “get it”.

When it comes to days of the week, that doesn’t matter. But in my mind, I prefer to do it Monday-Friday or Tuesday-Saturday, depending on what I have going on.

If you’re easily swayed, avoid grocery shopping the week prior and especially avoid having snacky or favorite foods or treats in the house. There are some who make the commitment and stick to it with no problem (it’s ONLY five days, people!) and there are some who are easier to break. This is also why I suggest investing in ProLon before trying the DIY version. The investment locks in commitment for most, whereas DIY doesn’t necessarily.

Do it with a friend! Especially if you are living with a roommate, spouse, or adult child (I would not recommend this or any “diet program” to a child or even teenager, never mind anyone with a history of disordered eating), having an accountability partner will help support you both mutually.

Drink warm or carbonated water (remember: no additives, flavors, sweeteners, etc.) during the day to help against hunger pangs if they are becoming too distracting for you. The hunger is going to be inevitable, but something else ProLon teaches you is you CAN get through it and you’ll be just fine!

If you drink coffee or any caffeinated drinks, ease off of it in the week (or longer) prior to starting ProLon. Same goes for alcohol. Basically, the more vices or caffeine/alcohol you have as part of your routine right before starting, the harder you are making this for you in terms of experiencing headaches, fogginess, fatigue, along with withdrawal symptoms.

If you can, go to bed early and wake up later – or at least go to bed early! Good, sufficient sleep is vital for your health and it will also help your body work AND leave you with less hours during the day to feel hungry. That said, I find that my body seems to require less sleep time when I’m in a period of caloric restriction (i.e., waking up feeling refreshed and energized after only 6 hours vs. my typical 7+ hours and some grogginess). So, the ability to sleep in later almost seems like a task in my experience.


What do I do when I’m finished with ProLon?

Have a plan for when it’s over and honor how your system feels! Don’t just go right back into stuffing yourself if that was your habit before. Or big indulgences, cups of coffee, or alcohol. Follow the transition diet that ProLon recommends in their instruction booklet and do your best to follow principles of The Longevity Diet moving forward. You can also try L-Nutra’s meal plan service, Nutrition for Longevity. The first time I did my ProLon fast was when this meal service was just launching, so I decided to get a week’s worth of meals and they were really convenient and delicious with perfect portion sizes. Plus, the food aligns with the different foods from the Blue Zones. NOTE: If you want to try Nutrition For Longevity, click here to get $10 off your first order

*Again, NOT SPONSORED at all! I feel like I need to keep reminding because I feel like I’m beginning to sound like an L-Nutra spokesperson 😆 The link is their “refer a friend” rewards system that anyone can sign up for, giving you a discount and me credits towards my own meals from them. Win, win!

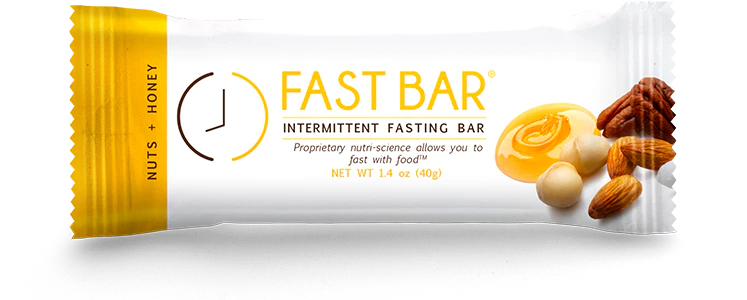
I do suggest trying out some Fast Bars or ordering them to have on hand by the time you are finished with your ProLon fast. They’re helpful in transitioning and VERY tasty – super similar to the L-Bar in the 5-day fasting nutrition program. If you know me and food recommendations, you know I wouldn’t suggest them if they didn’t taste good and prove to be a great option for on-going success. 

As I mention in the Intro video for my ProLon experience, I was a test subject in the Fast Bars clinical study myself! NOTE: I also reached out to L-Nutra and got a coupon code for you guys to use if you want to try a box (or a few boxes!) yourself. They were kind enough to create one for us! Go here and use promo code CATLADY or CATLADYFITNESS at checkout for a discount off Fast Bars


Still want to learn more about Dr. Valter Longo’s work and the science behind fasting and longevity? Here are two of my favorite informational interviews where he discusses his work in more detail. They are great conversations and are fairly long, but well worth listening to:

Remember to use promo code CATLADY for a discount if you decide to try ProLon for yourself (or if you decide to grab some Fast Bars you can use it on that site, too)!

If you have any questions or want to schedule a private session for online Nutrition Coaching, you can check out your options here. You can also check out my best-selling books such as The Holistic Fitness Starter Guide, The Grocery Store Tour Guide, The Coolest Cat Coloring Book for humans of all ages, and other resources available to you at any time here

RECIPE: Cilantro Lime Rice & Beans (better than Chipotle!) – Easy, Plant-based dish!

Everyone loves Chipotle (right?) and their simple yet delicious spread of Tex-Mex goodness.

But… let’s be honest. Cost-wise, they make a killing charging what they do for some of the most affordable types of food around. Namely, rice ‘n beans (or arroz y frijoles).

Even if you do skimp on the guac (which, if so, who ARE you?) eating at places like Chipotle often can definitely put a dent in your finances.

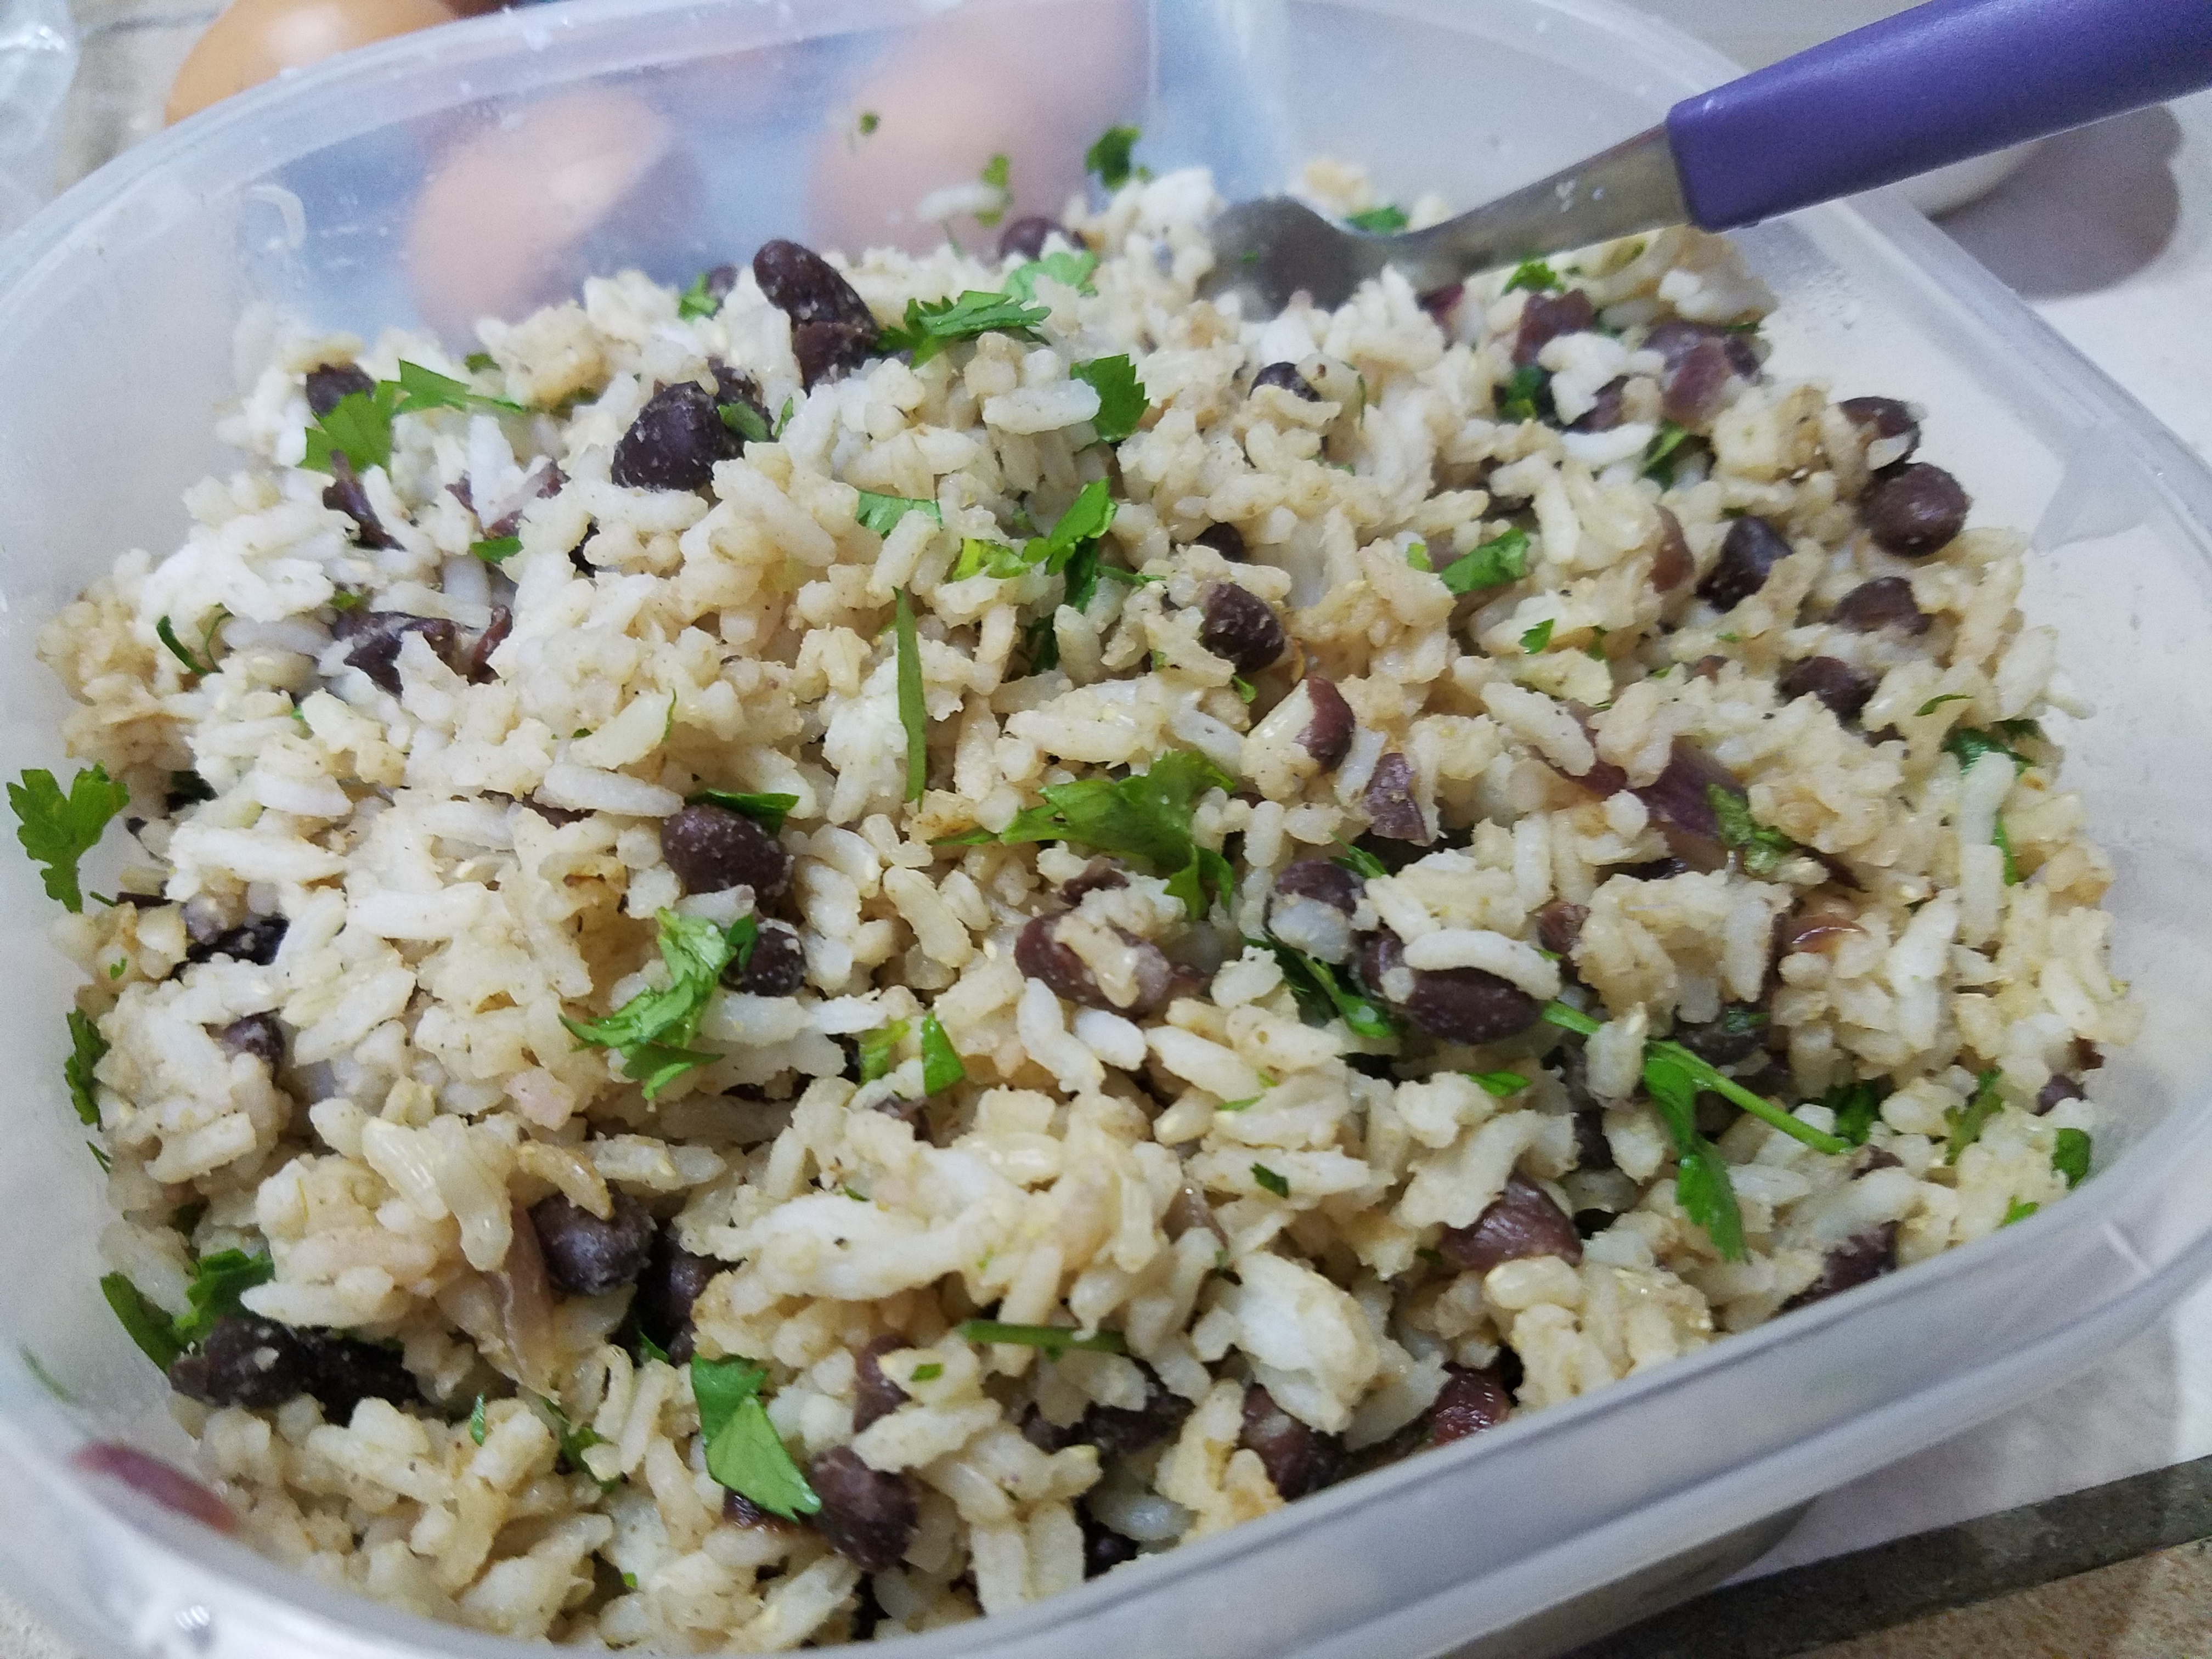
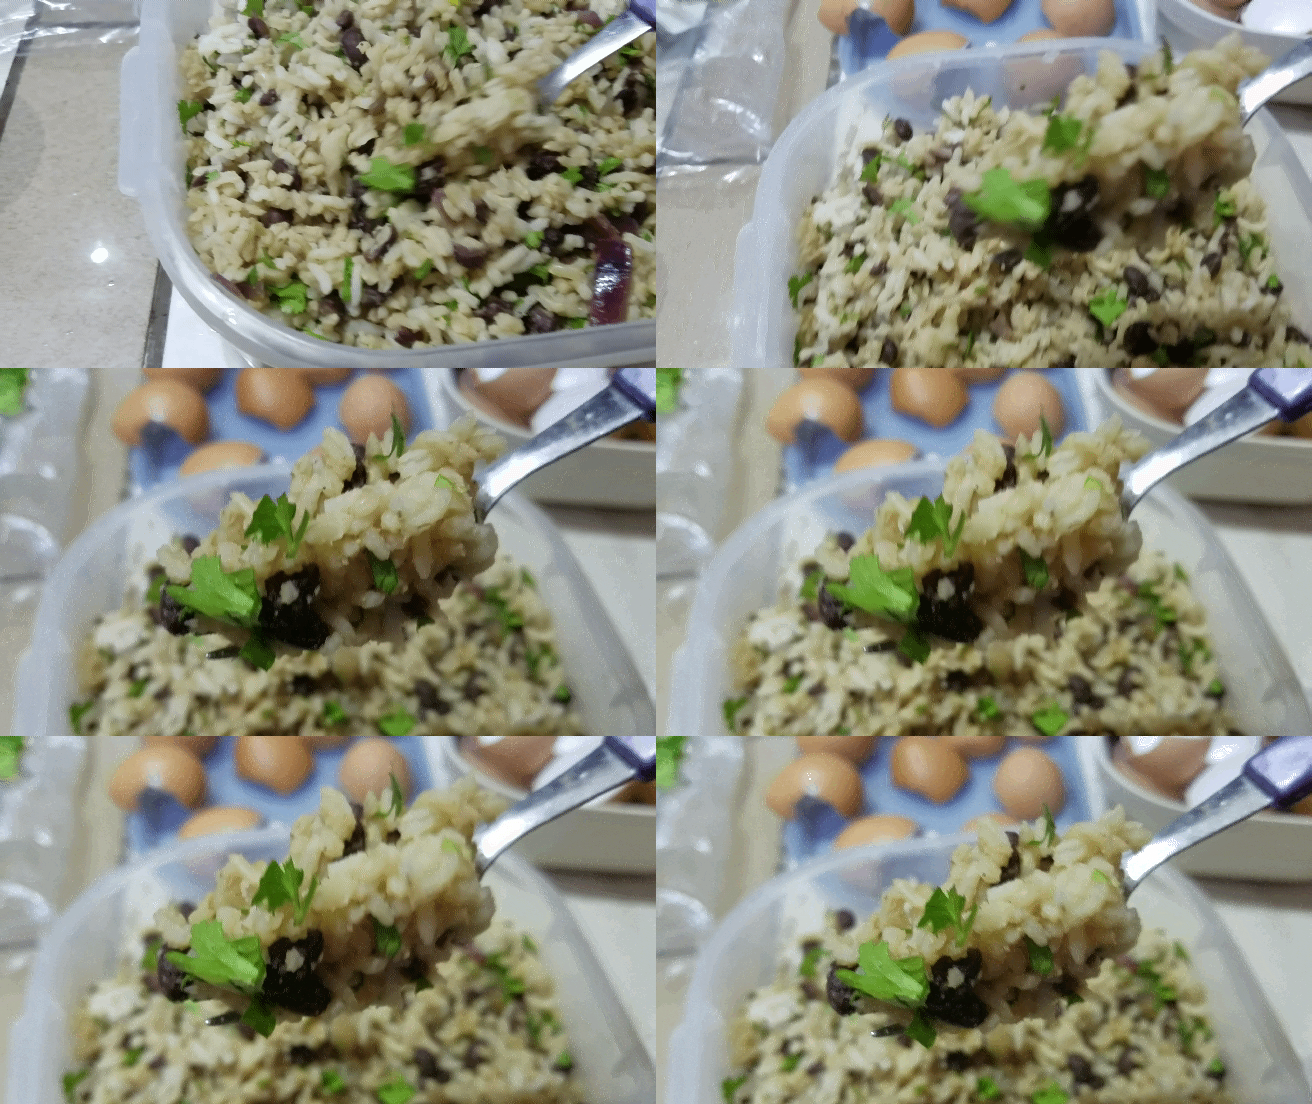
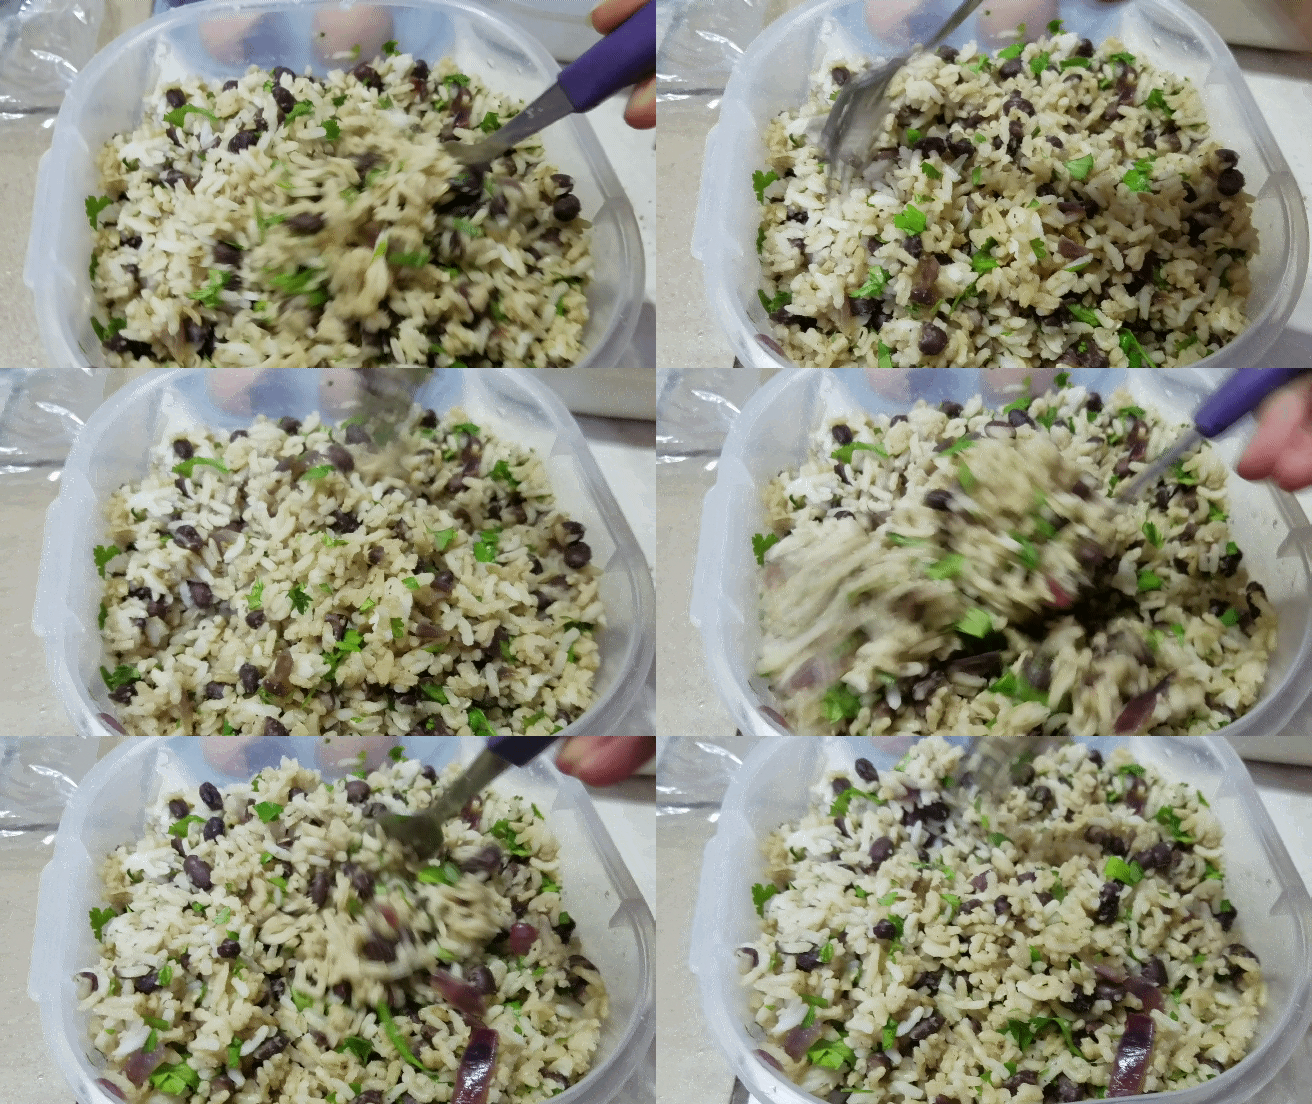
So, allow me to bring to you my HOMEMADE CILANTRO LIME RICE & BEANS (that are better than Chipotle).

I love me some rice ‘n beans, as do most people I know. Especially while traveling through Latin America, where gallos pinto – the traditional rice ‘n beans dish – is typically served with breakfast.. AND lunch.. AND dinner at times… I grew to love them even more rather than get tired of them.

I love this dish so much that there are at least 5 different, flavorful rice ‘n beans recipes I plan to share here on the blog (as well as helpful tips and advice for anyone who plans on traveling or living in places like Costa Rica).

It all starts with the two [obvious] key ingredients…

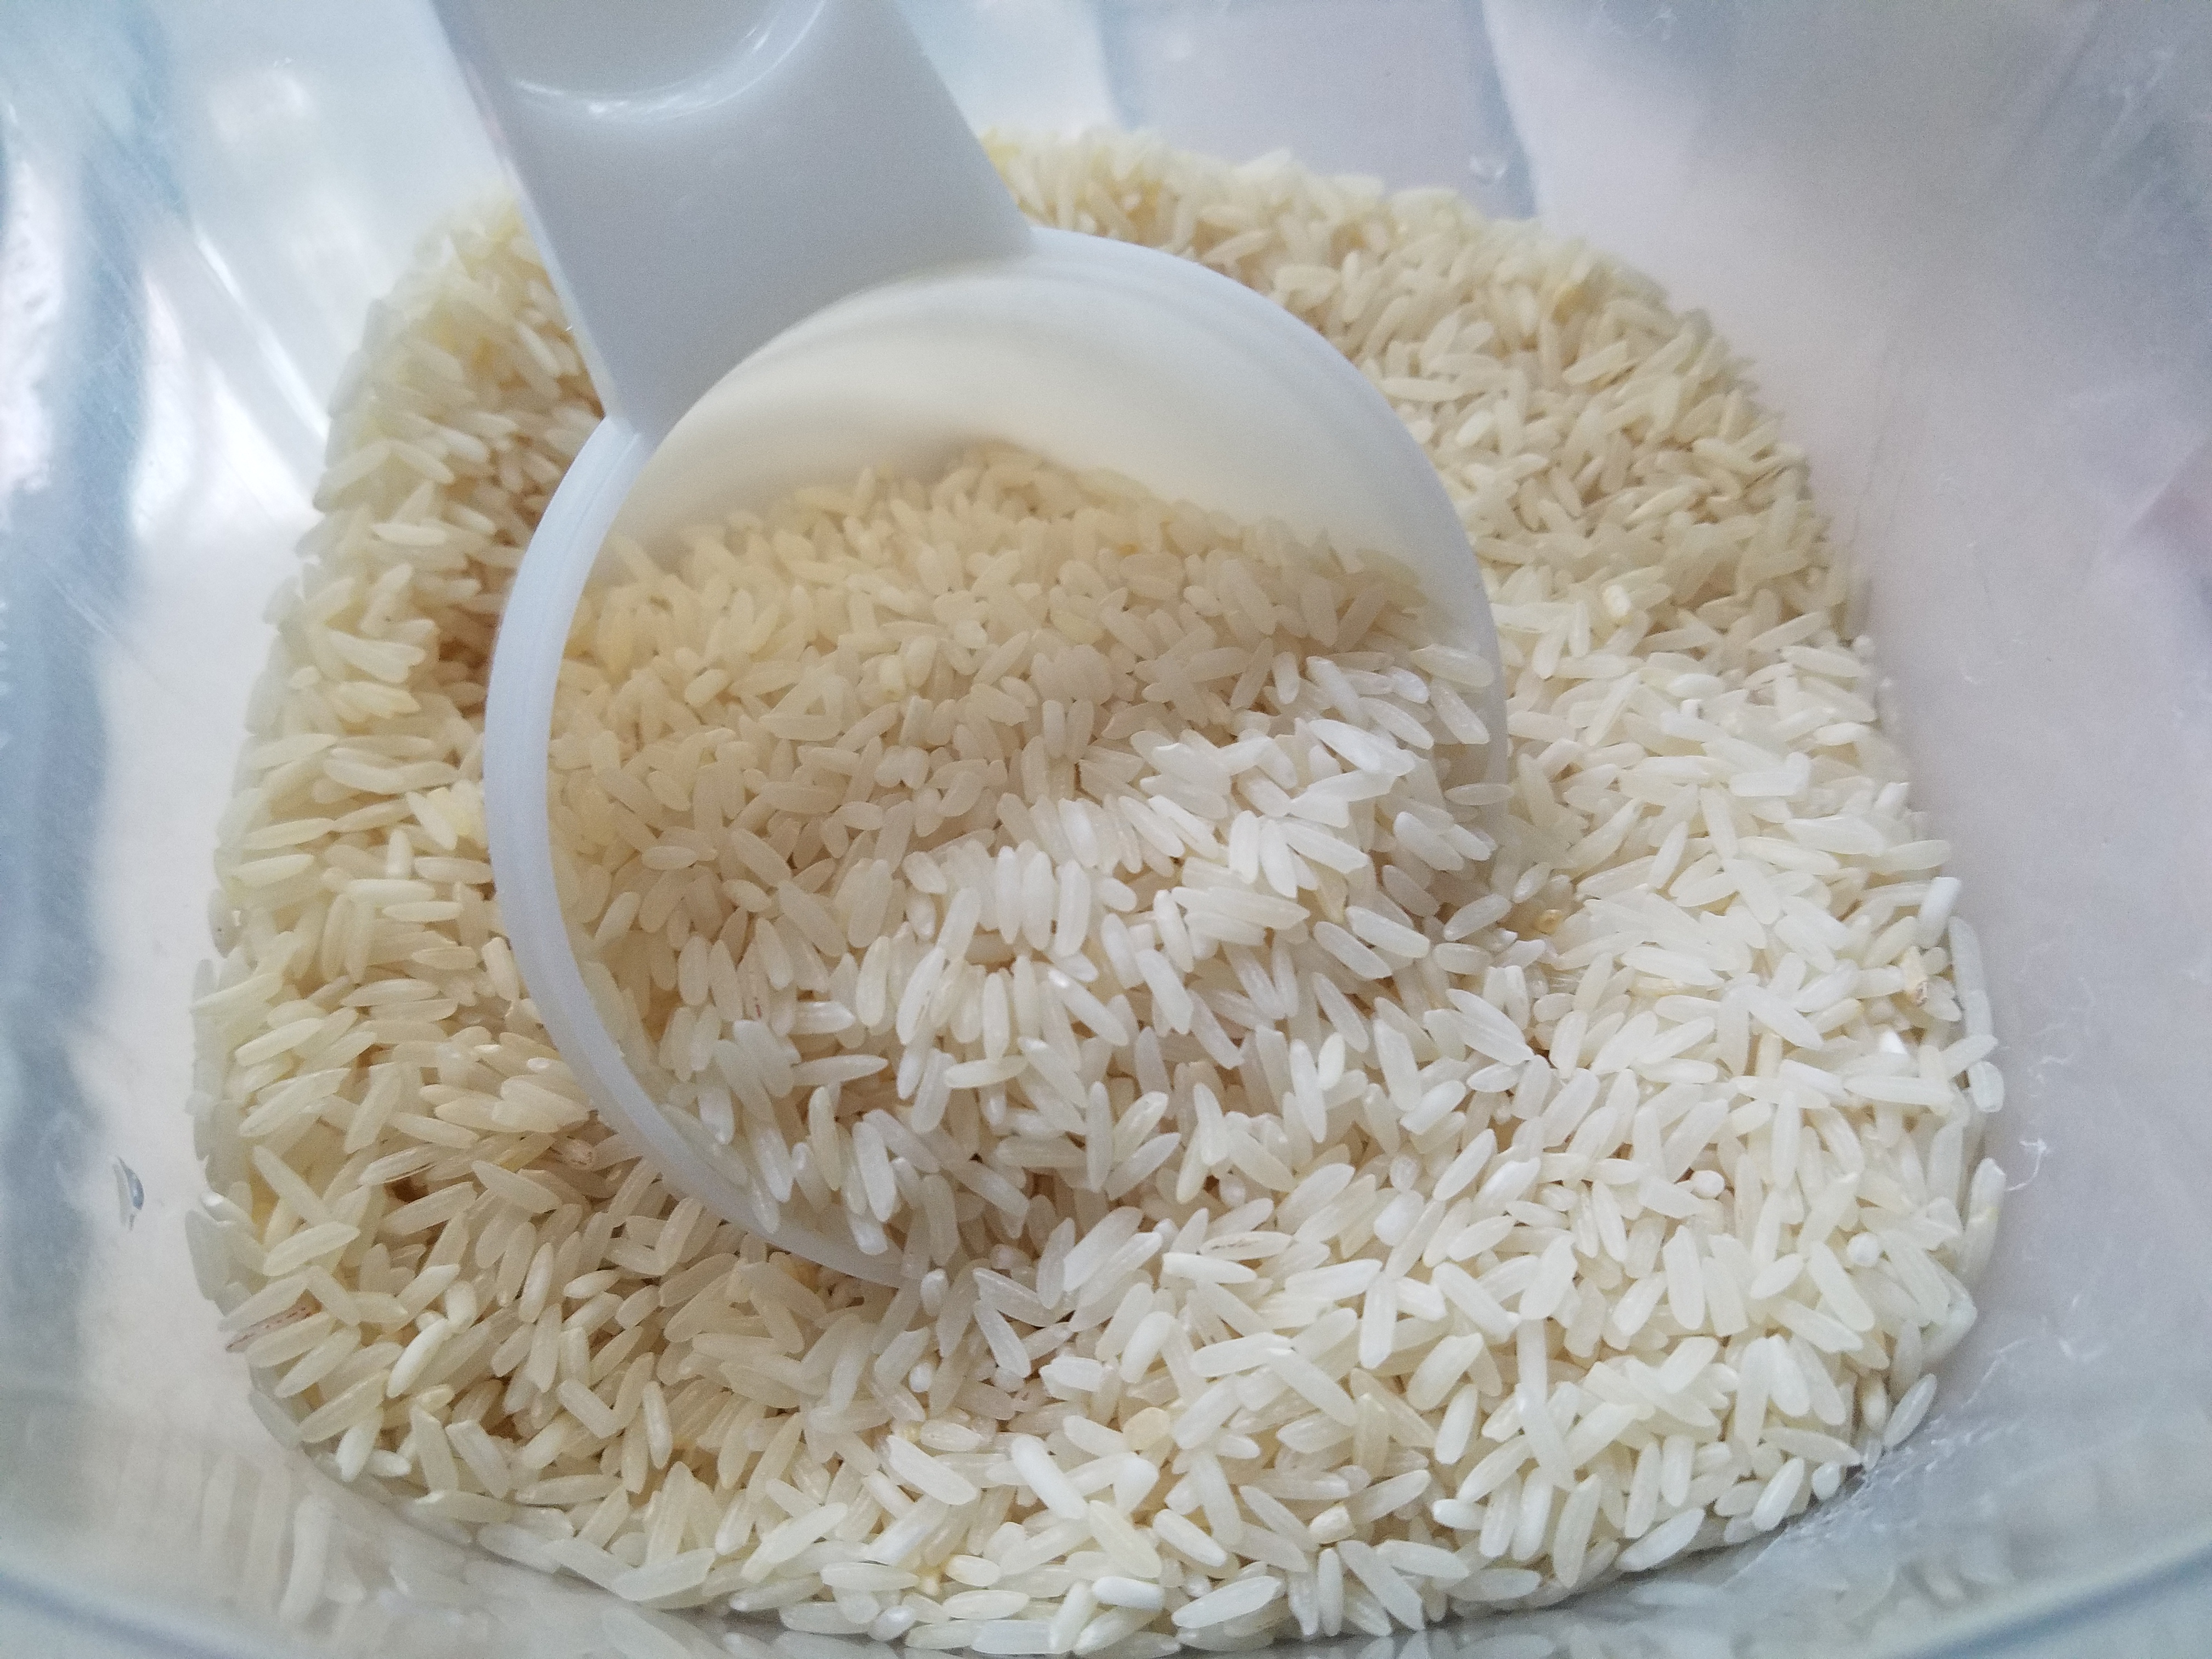
Arroz.

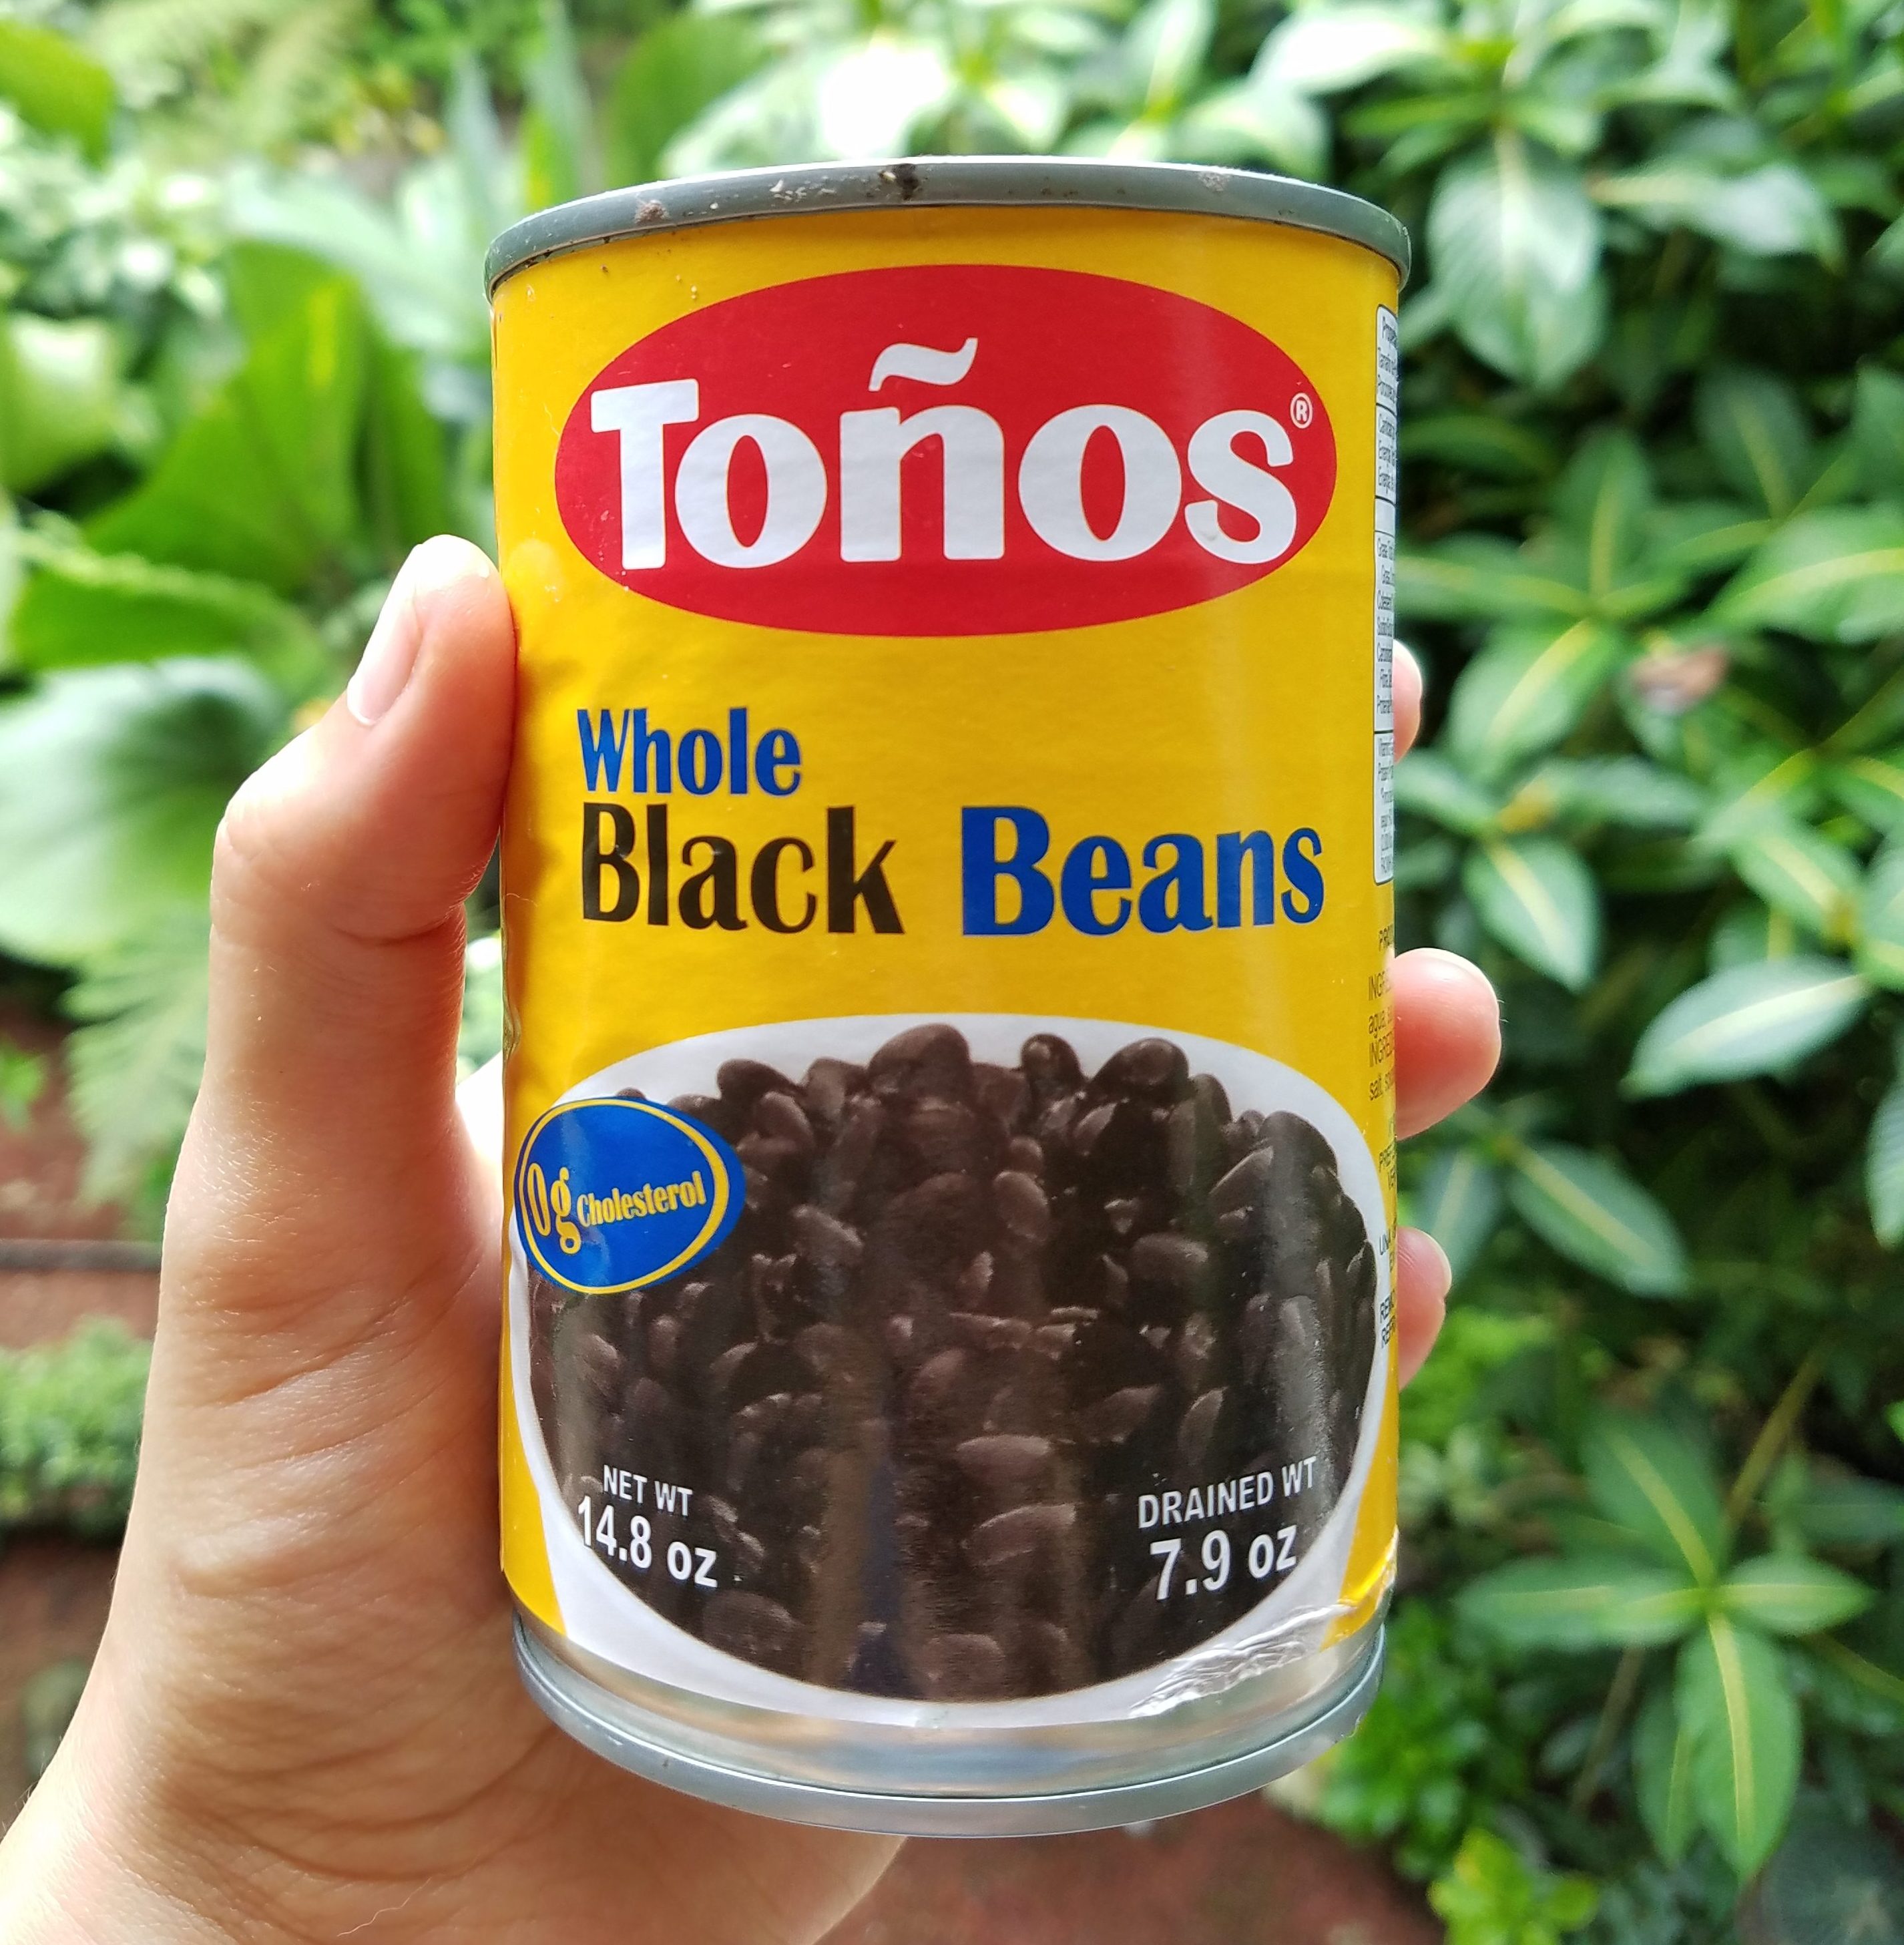
Y frijoles.

Now, if you don’t have the kitchen blessing that is a rice cooker, you’re still good to go. You can use a saucepan on the stove top. Yes, this may be the easiest, better-tasting, restaurant-replica recipe you have ever made.

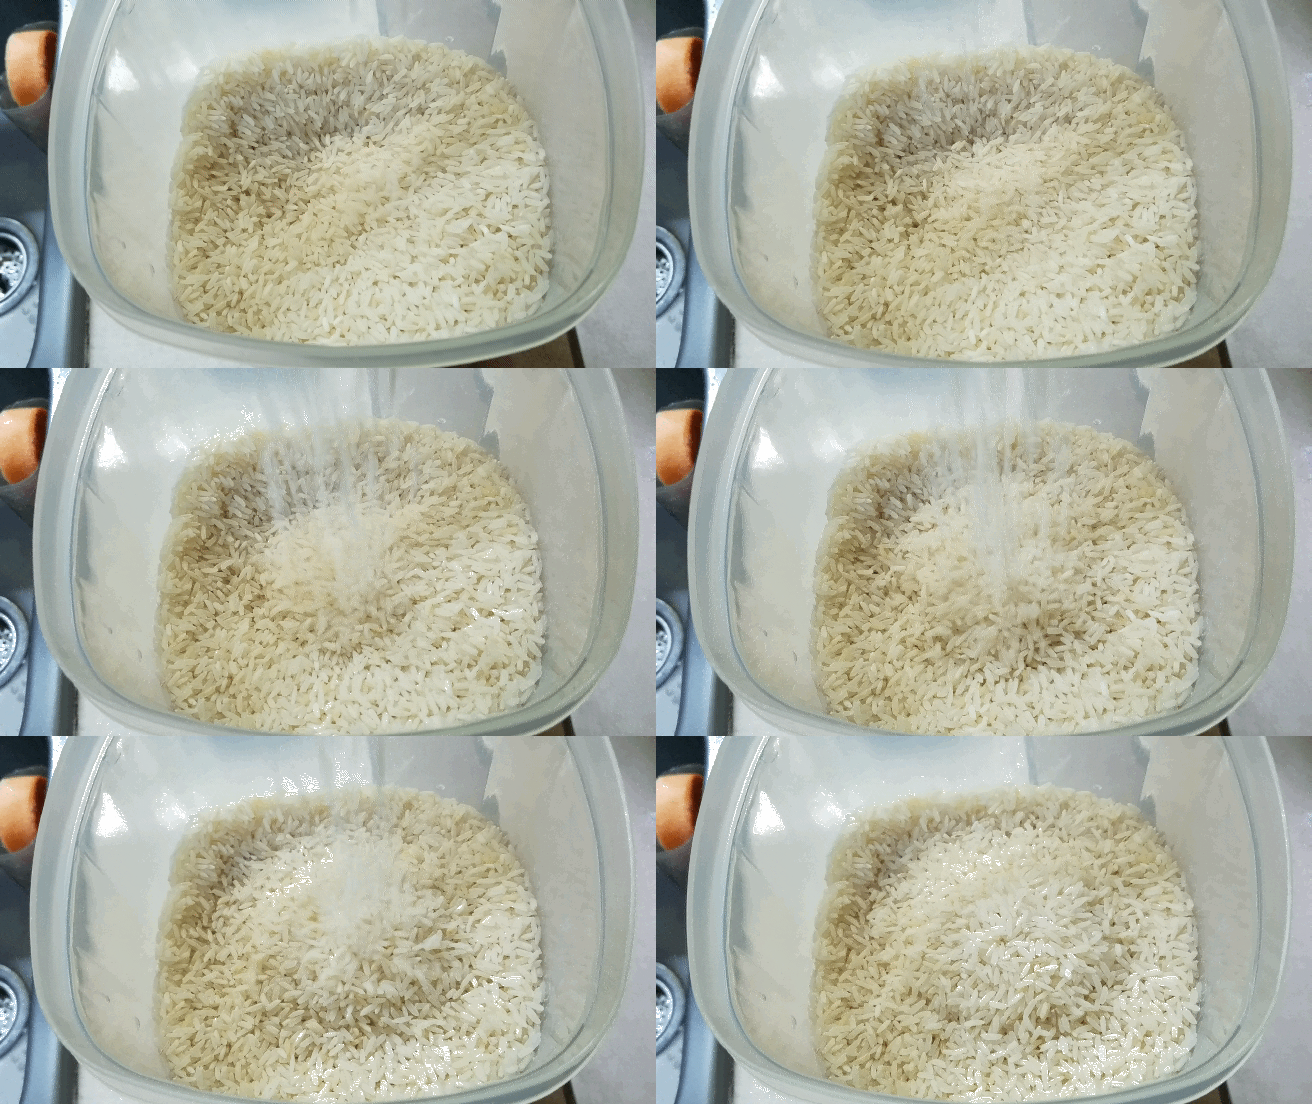
What kind of rice do you need? Whatever you have on hand. I had a blend of brown and white.

What kind of beans? Well, for this recipe, classic black beans. And yes, canned is just fine (though I’d recommend low or no-salt added to have better control of the sodium in your recipe).

Grab a handful of other ingredients – like fresh cilantro, onion, extra virgin olive oil, and lime – and you’re basically good to go.

Mmmmmmmmmmmmmm yas.
The bigger plus? This recipe makes at least 6-12 Chipotle portions if you get their rice bowl… and it costs less than one or two orders.

By the way, you can find an amazing tex-mex bowl recipe (along with tons of helpful info) in one of my best-selling books, the grocery store tour guide, which is also available as an ebook!

Without further ado – here it is! Try it out, share, and let me know what you think :)


CILANTRO LIME RICE & BEANS (makes around 6 cooked cups)

  • 2 cups brown and/or white rice (before cooking) *cook according to packaging or using leftover rice is fine!
  • Half a large red onion, finely chopped
  • 1 Tbsp Extra Virgin Olive Oil
  • 1 (~8 oz.) can of Black Beans (preferably organic and low or no sodium to better control salt content), drained and rinsed
  • 1 small bushel of fresh cilantro, leaves picked and chopped (about 1/3 cup chopped)
  • The juice from one lime
  • 1 tsp. ground cumin
  • 1/4 tsp. sea salt (or more, to taste preference)
  • 1/4 tsp. black pepper (or according to taste)

Directions

  1. Cook rice according to package or use leftover rice. Two uncooked cups yields 4.5 to 6 cooked cups.
  2. In a fairly large saute pan heated at medium to high, saute onions in olive oil until fragrant and softened (about 2-3 minutes). Add rice and stir, letting cook for another 2-3 minutes.
  3. Add black beans, cumin, salt, and pepper. Stir to all incorporate. Lower heat to higher “low” spectrum, cover the pan, and let flavors marry for 3-4 minutes. You can also add 1/4 cup or so of water before covering, especially if the rice was leftover. This will add more moisture while cooking.
  4. Uncover and remove from heat. Stir in lime juice and cilantro, then taste and add more salt if necessary. Stir again and then ENJOY! :)

Sautéed Cabbage & Carrots: my UNIVERSAL side dish! (RECIPE)

This dish has been a legit staple in my household for a long time now and, even still, I find myself craving it almost daily.

20160118_193933

I even included this as a bonus recipe in my latest book, The Grocery Store Tour Guide & Nutritional Workbook (which will be available in just one week… and I am super excited about sharing with you all)!

Before I get into this insanely easy and flavorful recipe, here’s a little bit more about the 70-page Grocery Store Tour Guide & Nutritional Workbook. This beautifully designed, visual book contains a plethora of useful information, including:

  • Shopping preparation tips
  • Explanations about supermarket psychology
  • How to identify and define misleading label claims
  • Tidbits about nutritional lingo and regulated terms, such as GMO, Certified Organic, Gluten Free, etc.
  • Food storage and safety tips
  • A thorough seasonal produce chart
  • Aisle-by-aisle tips to navigate the supermarket like a health-conscious pro
  • A list of ingredients to avoid
  • My personal kitchen essentials
  • Easy Meal and snack recipes
  • A post-tour quiz (if you are a trainer or nutrition coach, this e-book is great to use with clients!)
  • Much, much more…

Plus, unlike my print-only book – The Holistic Fitness Starter Guide – which will be available at the end of the month, I decided to publish The Grocery Store Tour Guide in print and as a quickly accessible e-book. This means that as soon as you buy it here, you will be able to download it to your PC, laptop, or tablet immediately and begin reading while you wait for the printed copy to arrive!

How cool is that?!

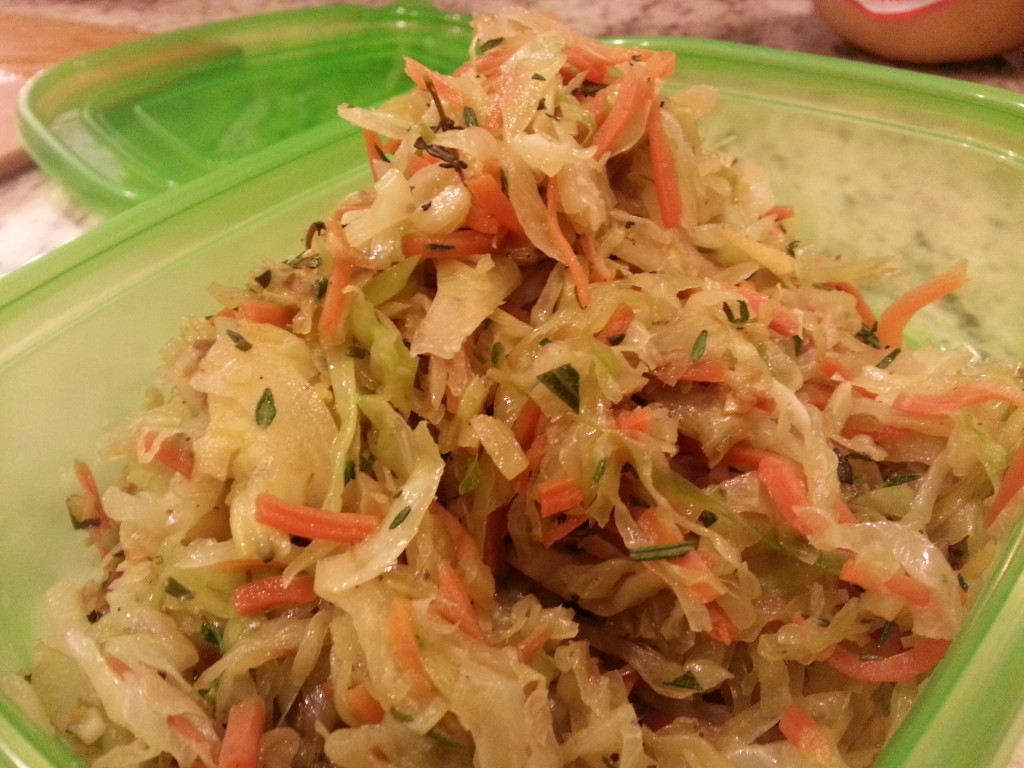
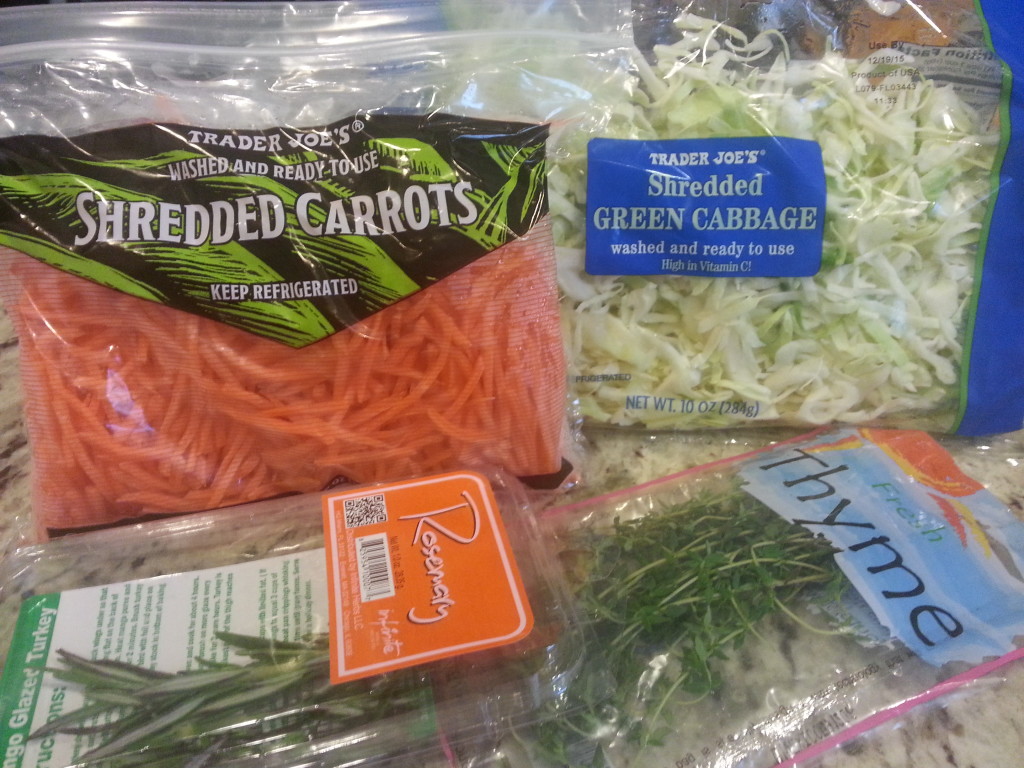
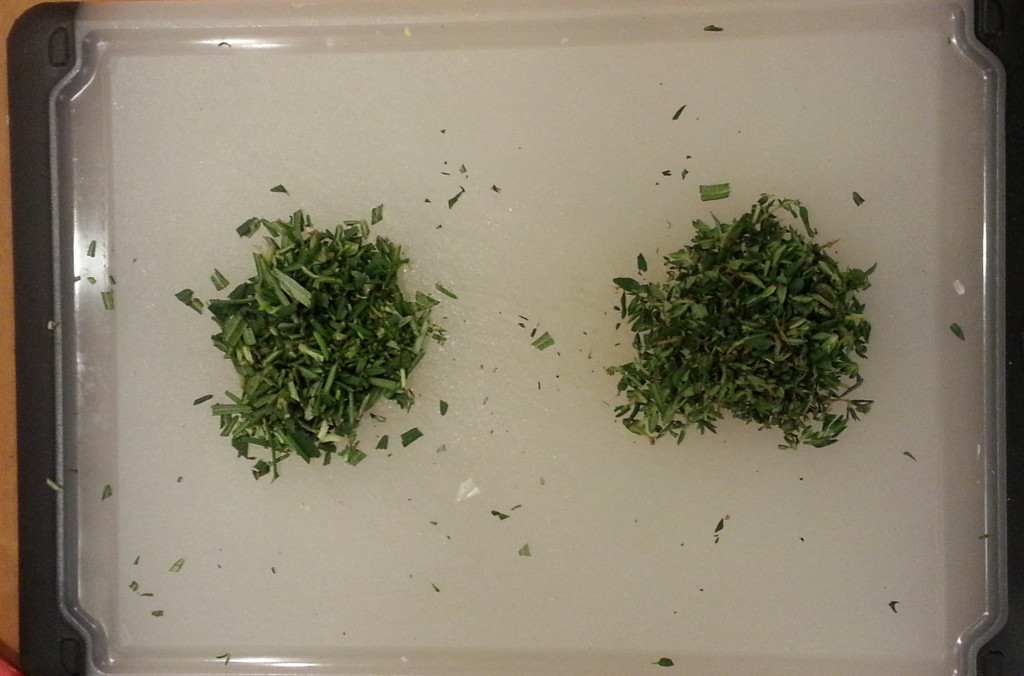
Now, as exciting as this new book is, back to the deliciousness that is My Universal Side Dish. First of all, it’s crazy simple to make since we are using pre-shredded cabbage and carrots. The only chopping involves the fresh herbs, ginger, and garlic (unless you have minced ginger and garlic in jars, in which case, this may be the easiest recipe ever).

20151212_171501

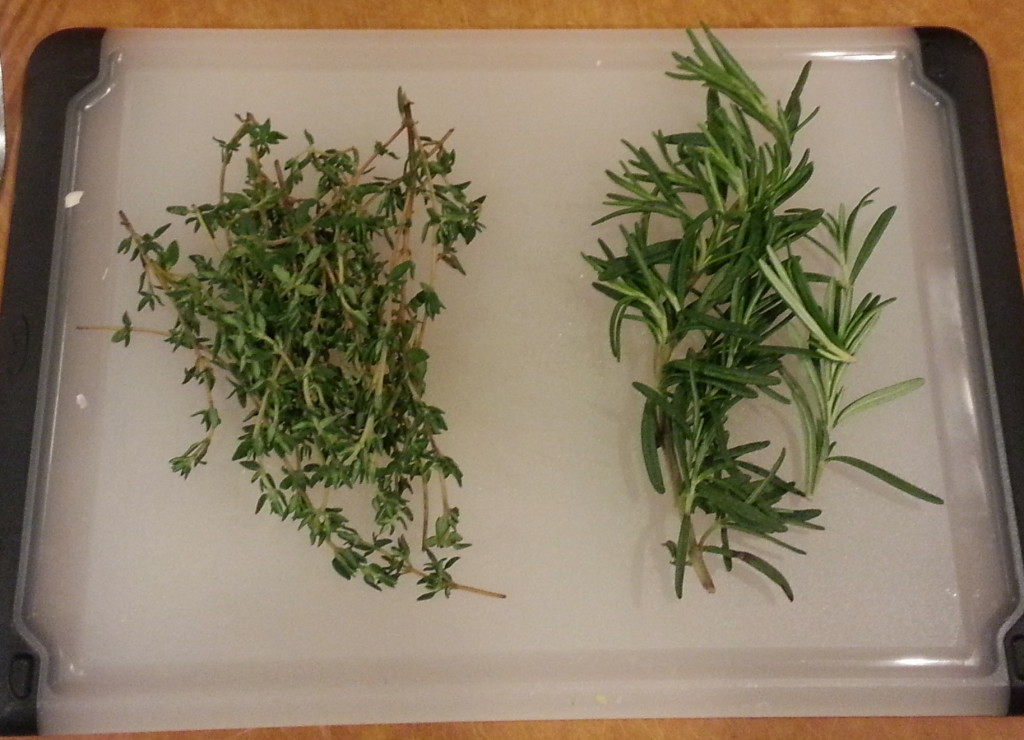
This is also so incredibly flavorful thanks to the fresh Rosemary and Thyme. Sometimes, I’ll add in fresh basil or sage and it becomes a bigger explosion of flavor in your mouth.

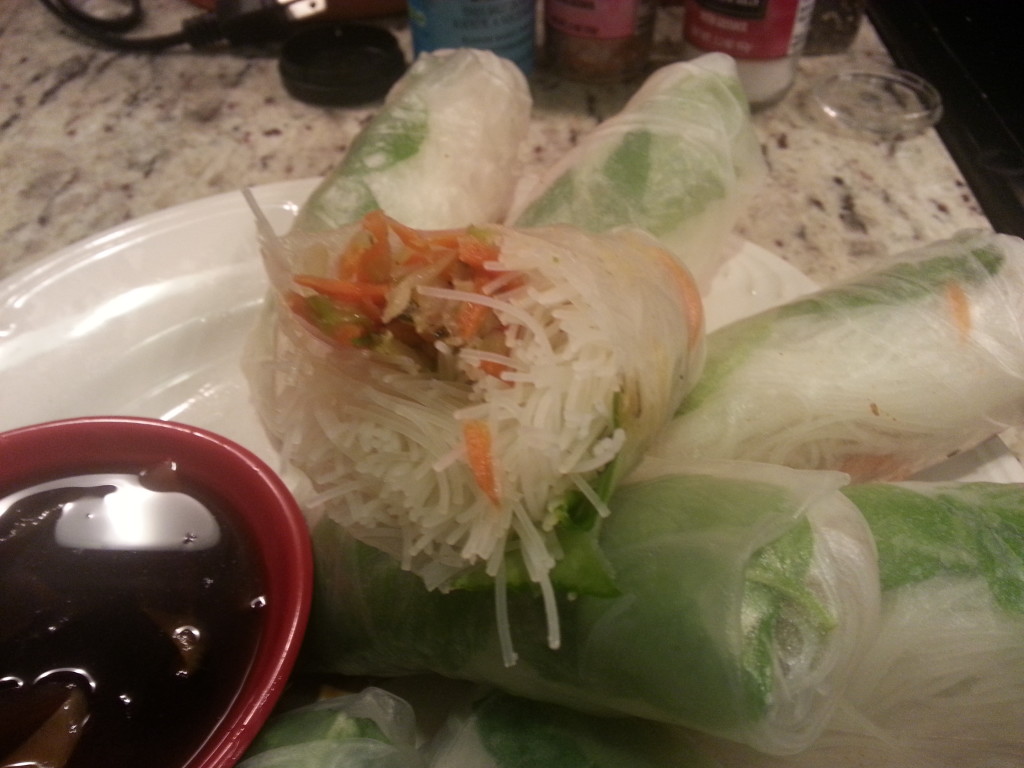
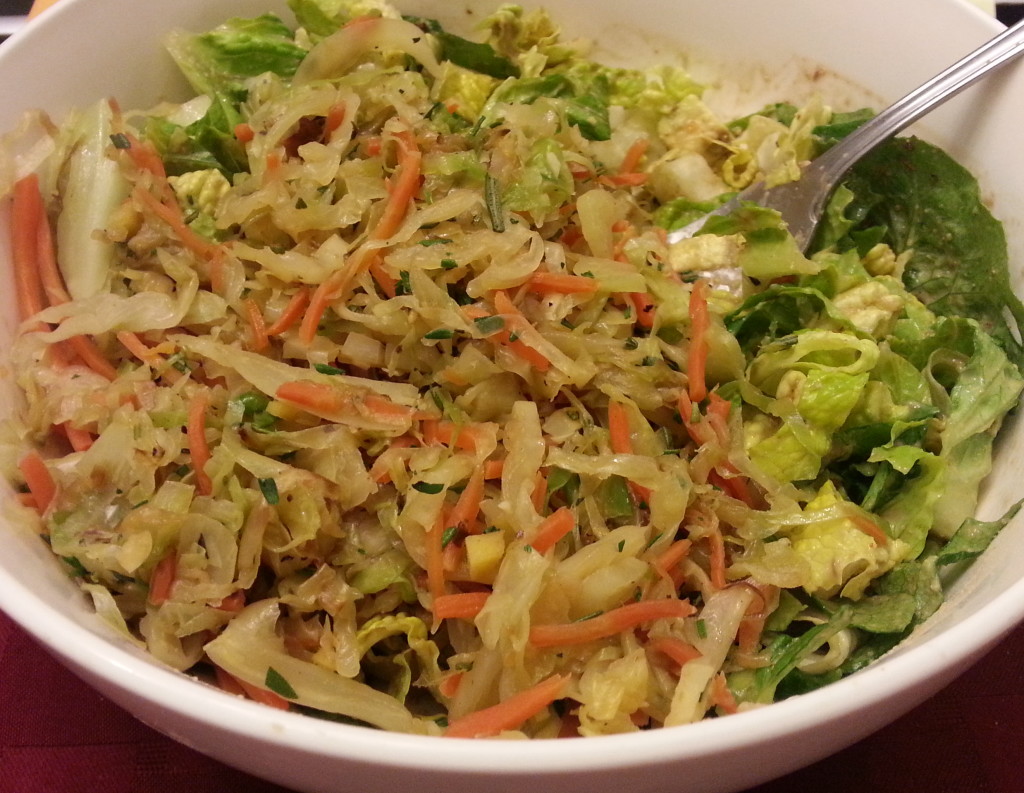
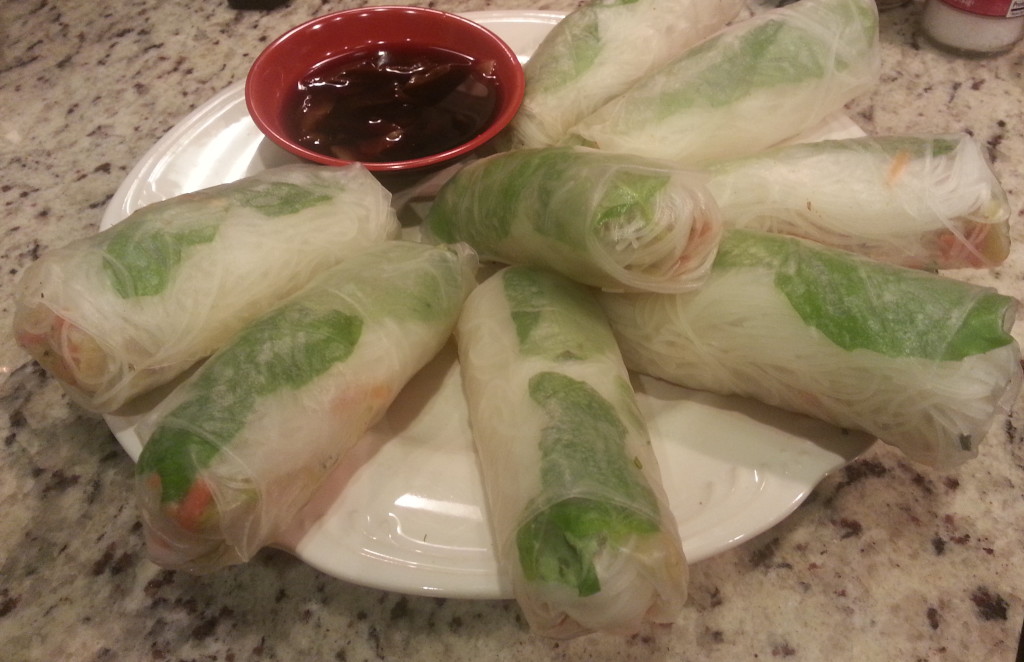
As I mention in The Grocery Store Tour Guide & Nutritional Workbook, this side dish goes well with nearly everything. On salads, sandwiches, in wraps, or by itself. It’s fast to whip up and perfect to keep ready-handed in the fridge. One of my favorite ways is wrapped up in rice paper wraps with some thin rice noodles.

20151212_180806


20160118_192837


Give this recipe a try. I promise you will be happy you did!


MY UNIVERSAL SIDE DISH: SAUTéED CABBAGE AND CARROTS

Ingredients:

2 (10-16 oz.) bags of Shredded Cabbage

½ of one (10-12 oz.) bag of Shredded Carrots

1 Tbsp. fresh Rosemary (leaves from about three 4” sprigs), chopped

1 Tbsp. fresh Thyme (leaves from about 5 4” sprigs), chopped

1-2 inches of fresh ginger root, peeled and minced

2 garlic cloves, minced

1 Tbsp. Coconut Oil

Salt & Pepper to taste


Directions (photos below):

  • Heat a large sauté pan or wok on the stove at medium to medium-high heat and place coconut oil in the pan.
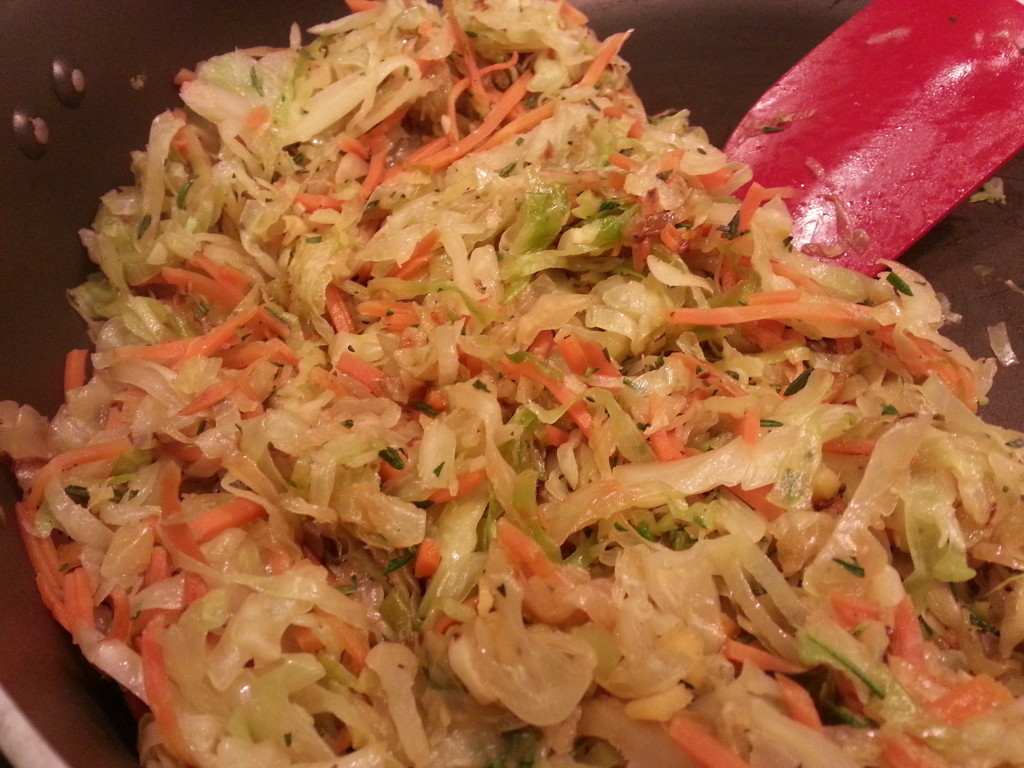
  • Once the coconut oil is melted, add ½ bag of carrots and two bags of cabbage. Sprinkle minced ginger on top and season the surface with salt and pepper. Cover to let cook down about 5-7 minutes. (The pan may seem really full, but the veggies cook down quite a bit.)
  • Remove lid and toss the cabbage and carrots to encourage even wilting/cooking. Cover and let continue softening for another 3-5 minutes.
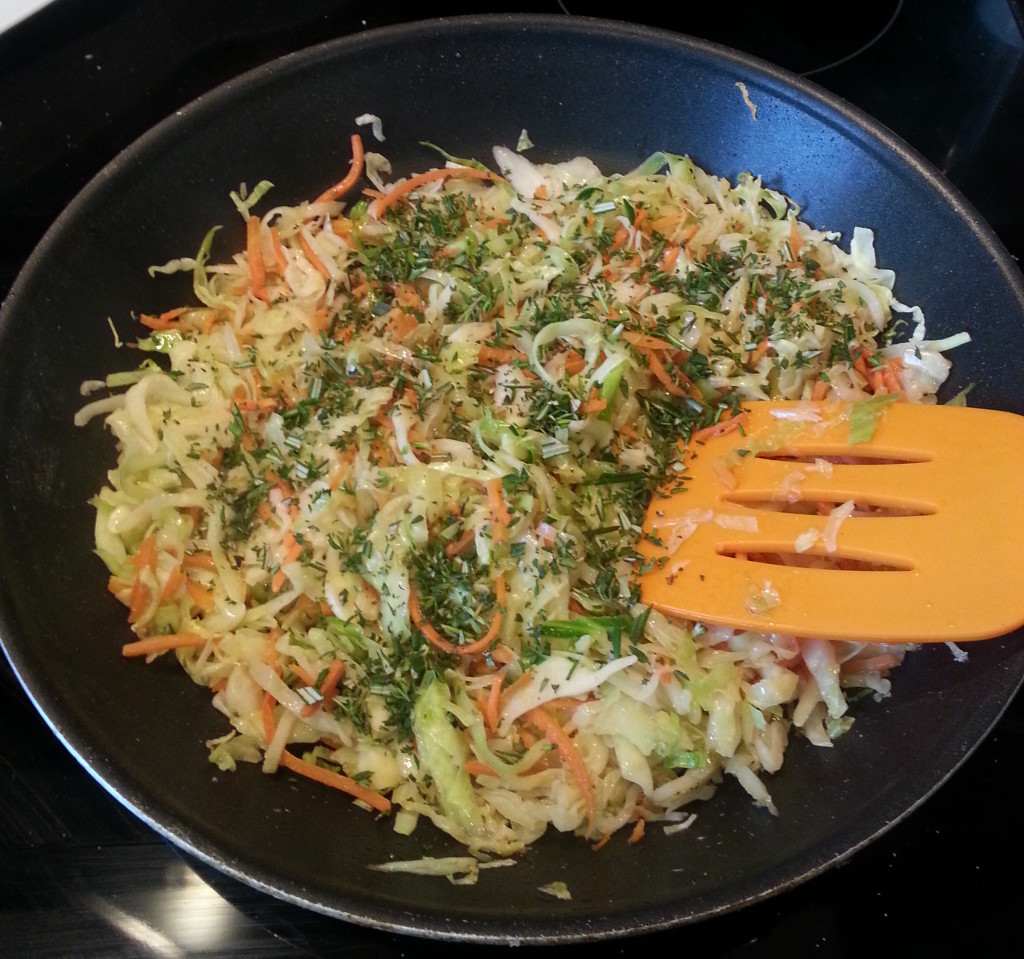
  • Remove lid and add rosemary, thyme, and minced garlic. Toss well until all the herbs are well incorporated into the mix. (If the veggies seem to be browning from the bottom of the pan, lower the heat a little bit.)
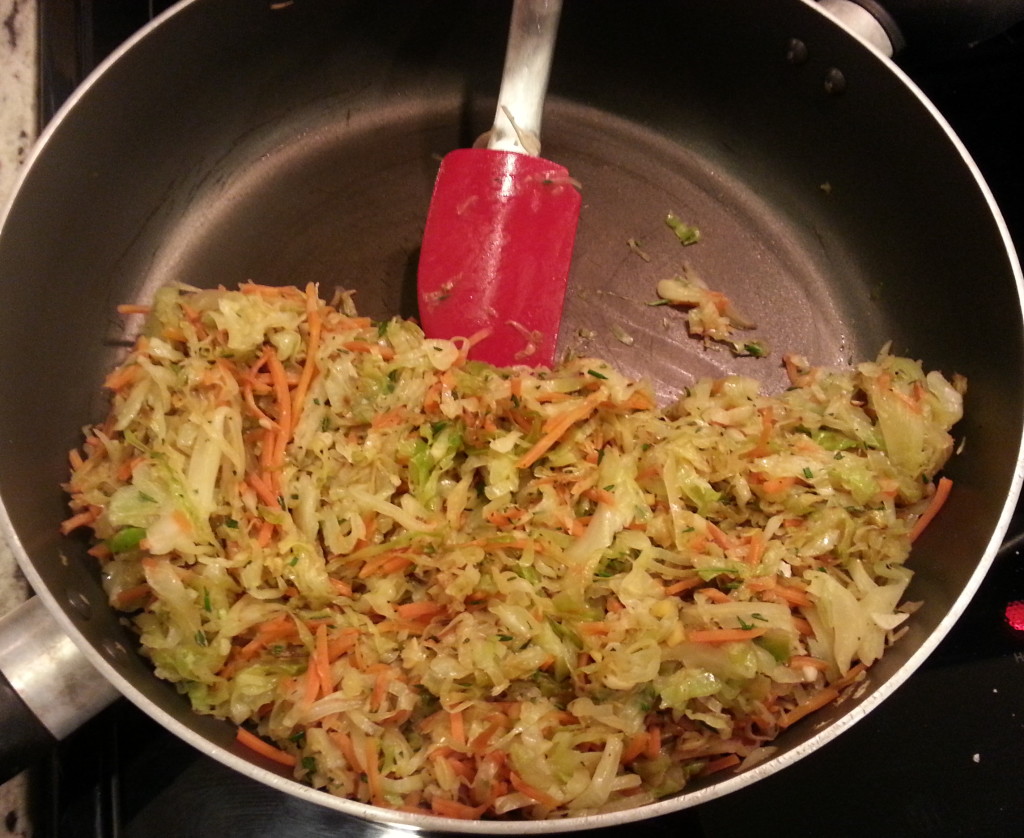
  • Continue cooking, tossing occasionally, until veggies are softened and cooked down to a little less than half of the original volume. Add more salt to taste, if needed.

Enjoy in any which way!


20160118_191339


20160118_192511


20151208_170028


20160118_192828


20160118_194010


20151212_180719

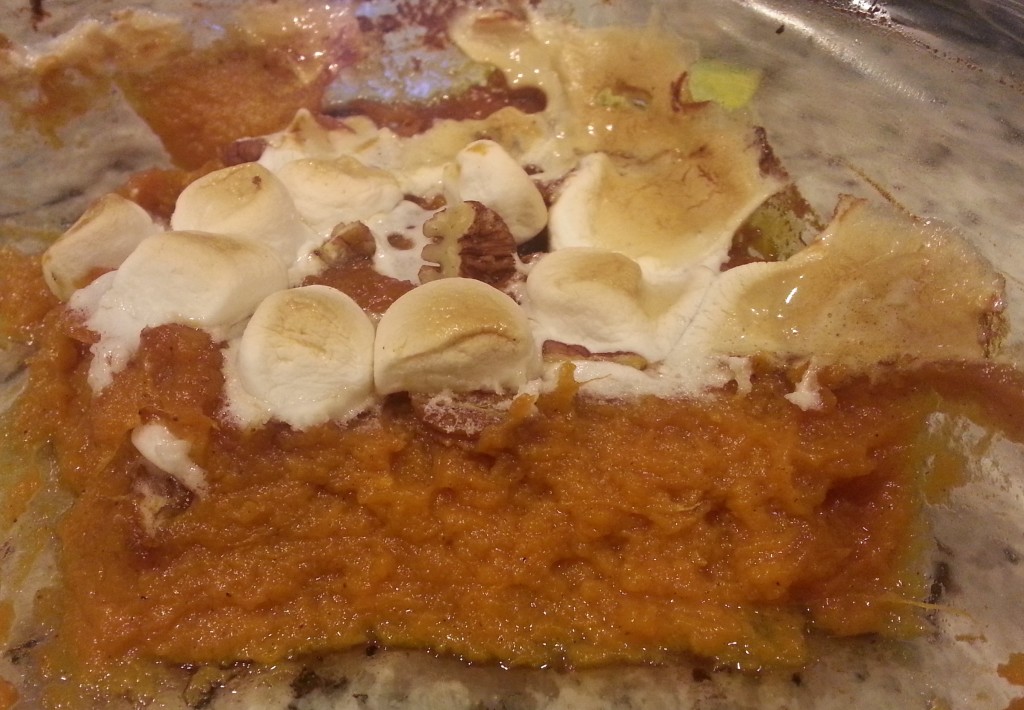
Classic Sweet Potato Casserole with a twist (RECIPE) – Dairy free, Vegan, Delicious!

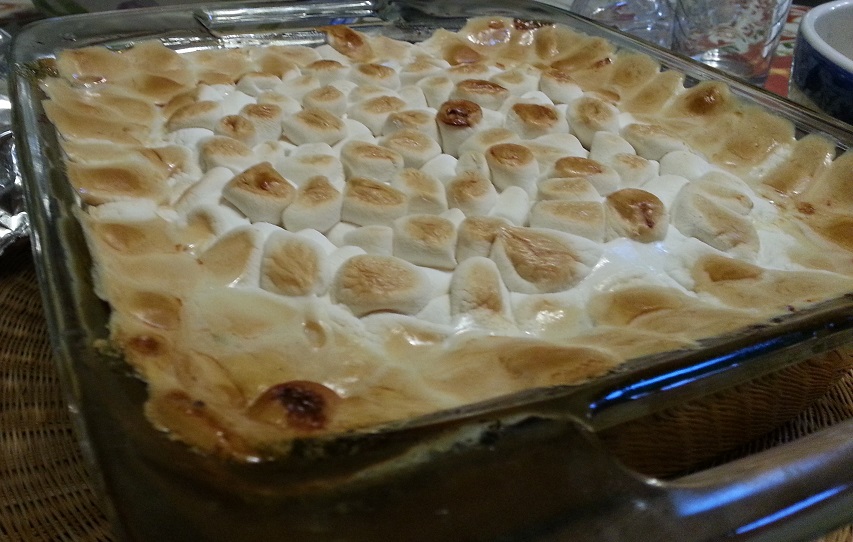
Did you know that the delicious and sugary Thanksgiving dish we know and love – the sweet potato casserole with browned marshmallows on top – was created by the marshmallow lobby in the early 1900’s? (You can learn a little more here.)

20151126_164036

I know, that may slightly tear away some magic from this classic dish. But the fact is, so many popularized, American foods that aren’t actually nutritious or beneficial – such as marshmallows – have simply become what they are due to smart advertising. Instead of getting too into the psychology and economics involved in the food industry (and further crapping on anyone’s marshmallow-loving parade), let’s just learn a little bit about marshmallows and where they came from.

Originating in ancient Egypt, marshmallows were a honey-sweetened candy made using the sap from the marshmallow root plant. It was soft and chewy, and used medicinally for ailments like sore throats.

Fast forward a few hundred years to the 19th century, and the labor-intensive methods of extracting marshmallow root sap made manufacturers come up with new processes (and involve new ingredients) which brought us to how we know the marshmallow today – as a light, fluffy, campfire treat which also tops the holiday sweet potato casserole.

Today’s version of the confection no longer contains the source ingredient of it’s name – marshmallow root – but instead, it is made up of a stabilizing protein such as gelatin (or agar, in Vegan versions) and sucrose (often with high fructose corn syrup).

20151205_235408

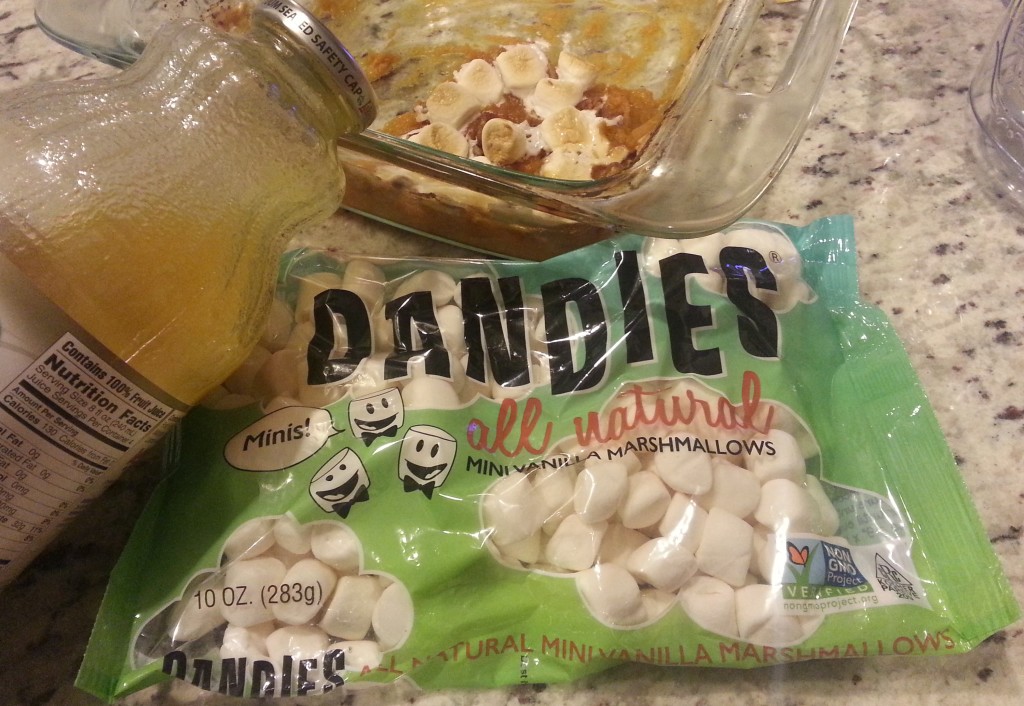
That said, there is nothing wrong with incorporating the better quality versions of marshmallows when making this crowd-pleasing dish once or twice a year. I use Dandies mini marshmallows, which contain no corn syrup, no gelatin, and no genetically modified ingredients. And, yes, they taste EXACTLY like your classic, name brand marshmallows – if not better.

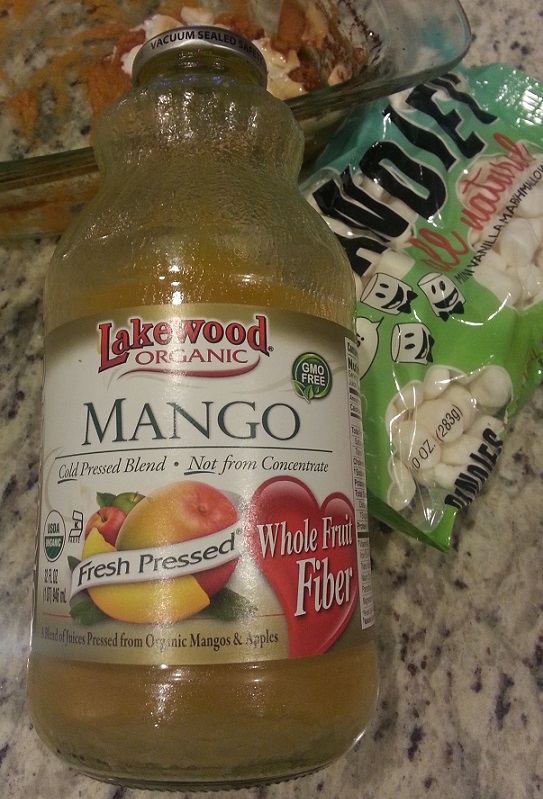
As for the secret ingredient that gives this casserole a twist? Well, that would be mango juice of course.

20151205_235356

Most “classic” recipes call for heavy cream, which is meant to contribute creamy richness. It doesn’t really alter the flavor, but it does bring in a LOT of unnecessary fat and calories. You won’t find heavy cream or ANY dairy within this recipe, which has been a hit at many-a-holiday-dinner time and time again.

A Helpful Hint: If you choose go to back to your traditional sweet potato casserole recipe after trying this one (dare I say, doubtful?) try substituting canned coconut milk for your heavy cream. Though it will not lessen the overall calories or fat content, it will maintain the same creamy consistency and add a complimentary touch of flavor. All while being more plant-based friendly and allergen free.

If you just want to make a great sweet potato mash, you can stop before step 4 below and enjoy as is. It is just as delicious (and plenty sweet) without the marshmallow topping!

Sometimes the deliciousness can't wait for a photo opp, as shown here.
Sometimes the deliciousness can’t wait for a photo opp, as proven by the devoured portion above.

CLASSIC SWEET POTATO CASSEROLE RECIPE (with a twist)

  • 3 lbs Sweet Potatoes (about 4 large or 5 medium spuds)
  • 1 tsp. pure vanilla extract
  • 1/2 cup mango juice/nectar *I’m sure pineapple or orange juice would work, too… but try to find mango!
  • 2 Tbsp. coconut sugar or light brown sugar
  • 1/2 tsp. ground cinnamon
  • 1/4 tsp. sea salt
  • 1/2 cup pecan halves, chopped
  • Half a bag (5 oz.) of quality marshmallows *I use homemade, locally made, or Dandies mini-marshmallows
  1. Preheat oven to 450 degrees F and line a baking sheet with tin foil.
  2. Wash the sweet potatoes in the sink and pat dry. Pierce the tops of the potatoes with a fork, 2-3 times, before placing (holes up) on the baking sheet. Put in the oven for about 45-55 minutes, until sweet potatoes are fork tender and syrup begins to ooze out from the holes. Remove from oven and let cool until they aren’t too hot to be handled (usually 15-20 minutes).
  3. Lower the oven to 375 degrees F. Grab your 8×8 glass baking dish (metal is fine too, I’m sure – and 9×9 would also work). Peel the potatoes, putting the yummy orange flesh straight into the baking dish. Mash well with a potato masher or large fork. Add the vanilla extract, mango juice, sugar, cinnamon, and sea salt. Mash and mix together until all incorporated.
  4. Use a spatula or the back of a spoon to even out top of the mash. Sprinkle the chopped pecans evenly all over the surface. Then do the same with the marshmallows.
  5. Place on center rack in oven and bake at 375 degrees F for about 25 minutes, or until marshmallows begin to turn golden brown. Remove, let cool slightly, and enjoy!

*You can also make the dish ahead of time. Simply cover the mash in the baking dish after step 3 and refrigerate for up to 2 days. When ready to bake, remove from fridge for about 20 minutes to take the chill off and preheat the oven. Then add pecans and marshmallows, and bake as instructed above!

20151126_164045
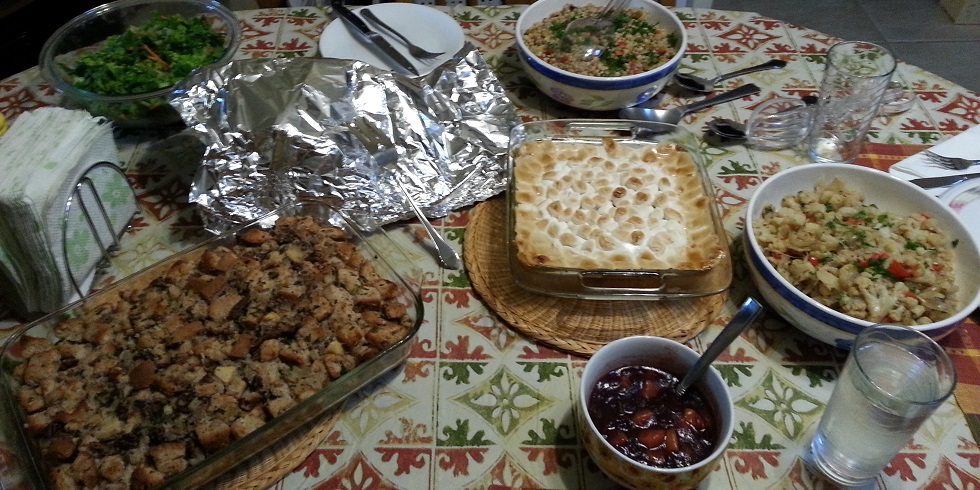
Impromptu dinner paparazzi – starring the BEST sweet potato casserole!

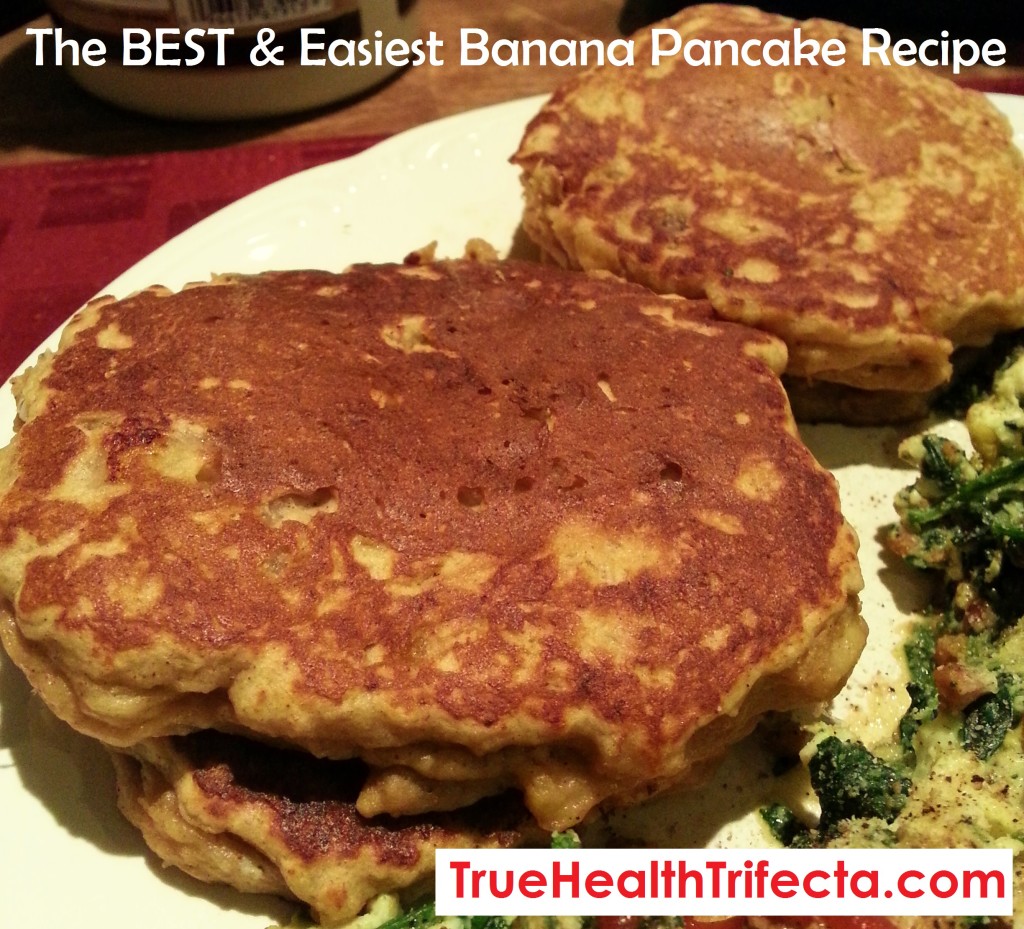
The BEST and Easiest Banana Pancake Recipe (using Manzano or “Apple” Bananas)

These amazing, healthy, easy-to-make pancakes were tweaked to perfection after about a week of making them daily… for dinner… because sometimes, week long pancakes-for-dinner-kicks just happen. And when they do, you just have to go with it.

Thank goodness I hopped on this nightly breakfast train, because by the end of the week I can hands-down say that I perfected this simple little recipe that I am now super excited to share!

It all started off with a little trip to one of the local Asian markets, where I always make sure to pick up at least one random fruit or veggie that I wouldn’t necessarily find in a typical grocery store.

Enter: These little guys…

Not my photo, but totally my little Asian banana find.

When I got them from the store, they weren’t as yellow as the photo above (with some black spots and edges). As one who is well versed on the ideal ripeness of regular bananas, they seemed ready to enjoy! But, as I soon found out, these bananas were nothing like regular bananas (except appearing like a mini-version). They were not even close to ripe and actually closer to tasting like a starchy, rough, unpalatable banana fraud.

I then did some research and realized that these particular bananas are ripe when the peel is about black – similar to plantains. So, a week or so later, I tried another one. And I finally understood what others had said about these lil’ nanaz tasting like an apple and banana had a baby with a hint of strawberry. That is pretty much exactly what they taste like – and it’s amazing.

So, lessons to learn here:

  • Baby-looking bananas need to be black (or nearly black) to be the most palatable.
  • They are also “starchier” with more bite than regular bananas, even at their ripest.
  • They taste like an apple and banana had a baby, and that baby only eats strawberries.
  • Most importantly, they’re dang tasty and add the perfect non-mushy-yet-banana-licious texture and flavor to the world of banana pancakes.

Back story over, onto what matters: the recipe!

20150213_150936

The BEST and Easiest Banana Pancake Recipe

(using Manzano or “Apple” Bananas)

Ingredients:

4 manzano bananas (ripe and black), mashed – about 150g *You can use 2 regular bananas equaling the same amount, but this may result in less dense/mushier pancakes
1 egg (or flax substitute using a 1:3 Tbsp. ratio of ground flaxseeds to water) *if using regular bananas and flax substitute, do not add water and use 1 Tbsp. ground flaxseeds only
1/2 Tbsp. coconut oil
Scant 1 tsp vanilla extract
3 Tbsp. quinoa flour
1/2 scoop Rawfusion Protein Powder in Vanilla (or your favorite plant-based protein powder; using whey will change pancake consistency)
1/2 tsp baking powder
1/4 tsp baking soda
2 tsp (small splash) apple cider vinegar
Good pinch of salt
1/4 tsp ground cinnamon

Directions:

  1. Mix mashed bananas, egg/flax egg, vanilla extract, coconut oil, and cinnamon together.
  2. Add dry ingredients and apple cider vinegar, and whisk or mix until all incorporated.
  3. Grease skillet lightly at medium/slightly before medium heat (level 5 or 250 degrees).
  4. Spoon 1/4 cup or so of batter into pan and spread out eventually.
  5. Let cook 2-3 minutes until edges look dry and top just begins bubbling, flip and cook another 2 minutes.
  6. Stack up and enjoy! (Makes four 5-inch pancakes, or one serving)

These can also be frozen after cooled, and reheated in a toaster oven! Practical AND tasty!

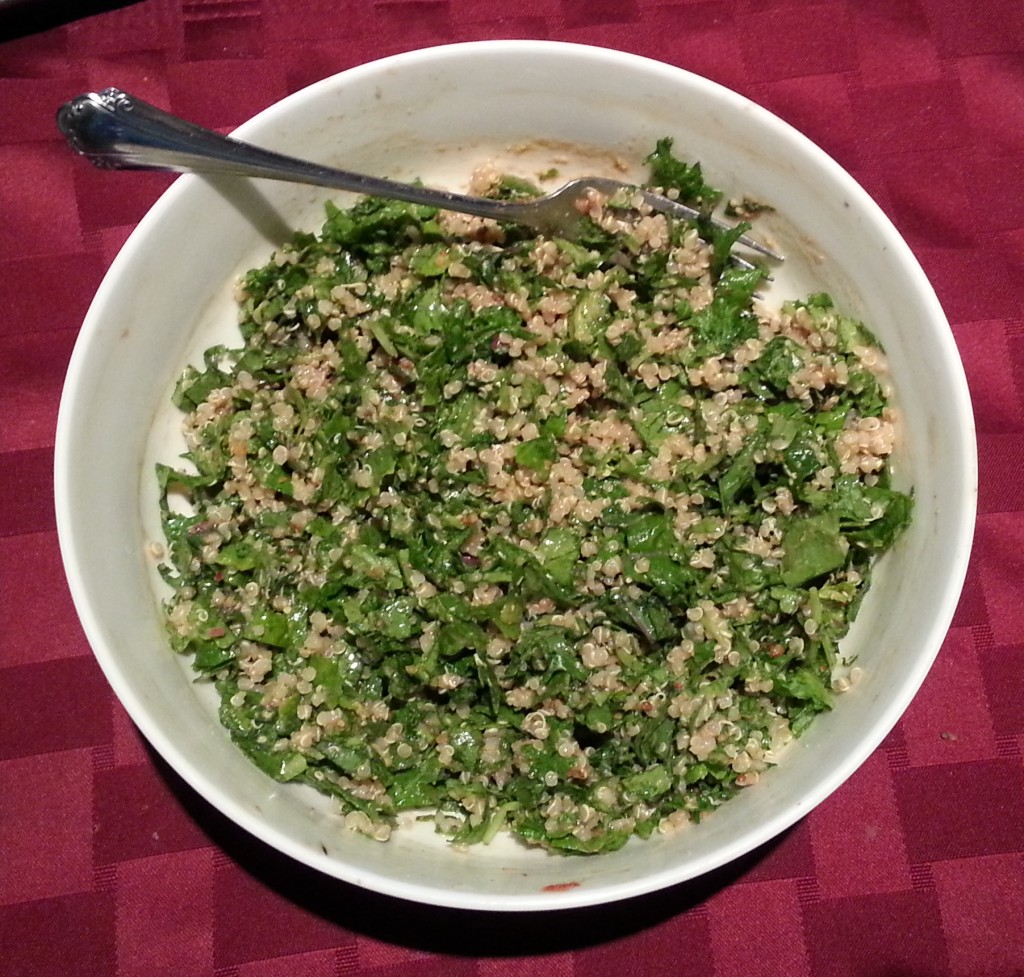
Kale & Quinoa Bowl: Easiest, Filling, Nutritious Go-To Meal (RECIPE)

I introduce you to my latest obsession:


Nom nom nom....


You can’t really tell by the picture, but that bowl is HUGE and it’s holding 1 cup of cooked quinoa and 100g of chopped kale… along with an insanely delicious dressing that I will share below. This simple whole food duo is the perfect, delicious, filling, hearty base for so many different things – the list is nearly endless.

You can go savory, sweet, or spicy; you can add everything from more vegetables like tomatoes, cucumber, zucchini, or pumpkin – to fruits like chopped dates, figs, berries, or apples.

Another super bonus? If you’ve put yourself into a nutritional category box – I bet this fits into it. It’s all the “free’s” (Gluten-free, Dairy-free, nearly fat-free, egg-free) and all the “friendly’s” (Paleo-friendly, Vegetarian–friendly, Vegan-friendly, Carb-friendly, Allergen-friendly).

And when it comes to macro-nutrient ratios, this particular serving size has:

272 Calories

11g Protein

39g Carbs

5g Fat

7g Fiber

56g Sodium

Adding even more benefit? Both of these foods are incredibly nutrient dense in not only the macros above, but the micros such as: tons of anti-inflammatory phytonutrients, vitamins and minerals ranging from B-vitamins to Vitamin E and zinc, body-loving fibers, and more.

Basically, quinoa and kale are soul mates in my book.

Like I said, there are ENDLESS directions this two-ingredient base can go; but let’s start with one of my favorites these days…

Creamy Southwest Spice Dressing

Ingredients:

  • 2-3 Tbsp Lemon Juice
  • .5 to 1 Tbsp Extra Virgin Olive Oil
  • 1 heaping tsp Tahini (sesame seed butter, in Middle Eastern section of most markets)
  • 1 Tbsp Dijon Mustard
  • 2 tsp Mrs Dash salt-free Southwest Chipotle Seasoning
  • 1/4 tsp Himalayan Sea Salt (I just fresh grind in to taste)
  • 2 Tbsp Balsamic Vinegar
  • 1 Scant Tbsp Garlic Powder OR 2 cloves minced garlic
  • 2 tsp Onion Powder OR 2 Tbsp minced red onion
  • Freshly Ground Black Pepper (to taste… I like quite a bit)
  • Half a dropper of liquid Stevia, OR 1/2 Tbsp honey, OR 1 Tbsp Stevia in the Raw

Directions: Put it all in a bowl, whisk together, and toss with quinoa and kale…. That’s it. (Hint: make ahead of time by at least 30 minutes to let the flavors all soak up and merry. Nom!)

I always have a few cups of cooked quinoa in the fridge that I prepare in bulk in my rice cooker, one or two days a week. As for the kale, get 2-3 BIG handfuls, remove any stems (they tend to be a bit bitter sometimes), and chop up well before tossing.

Coming soon:

The True Health Trifecta Nutrition & Recipe Book:

Simple Salads, Soups, Sauces, & Dressings Edition!

This is turning out to be the perfect collection for everyone; from those beginning their health and fitness journey, to those well on their way and looking for new, EASY, healthy go-to meal ideas!

It will include TONS of crazy-easy yet healthy recipes like the one above; plus photos, nutritional facts & tips, kitchen & pantry basics and recommendations, my Macro-Nutrient Cheat Sheet, Pre- and Post- workout meal ideas, Soups, Salads, Dressings, and more!

Not to mention, unless you are allergic to a specific food, this book is EVERY-diet friendly! So whether you have put yourself in the Paleo box, Vegan category, High-carb-low-fat, Low-carb, Gluten-free, 80/10/10, intermittent fasting, carb-cycling… I purposefully made this a compilation of nutritious options that can be enjoyed by the majority of dietary lifestyles out there!

And, I know most people don’t have the time or interest to become the next Iron Chef in the kitchen… especially with the hustle and bustle of every day life. That’s why I made sure the recipes and tips in this book aren’t incredibly elaborate or time consuming. These are some simple basics to help anyone successfully achieve their goals without spending hours preparing and while getting in nutrient-dense foods that taste flipping amazing.

Can you tell how mega excited I am to be putting this together for you guys?! :)

Make sure to sign up for the newsletter and like the True Health Trifecta Facebook page for word on when it is available for sale in the shop! :)

4 Steps to Lose Fat & Gain Fitness, Client Highlight, and My VO2 Max Experience! (VIDEO)

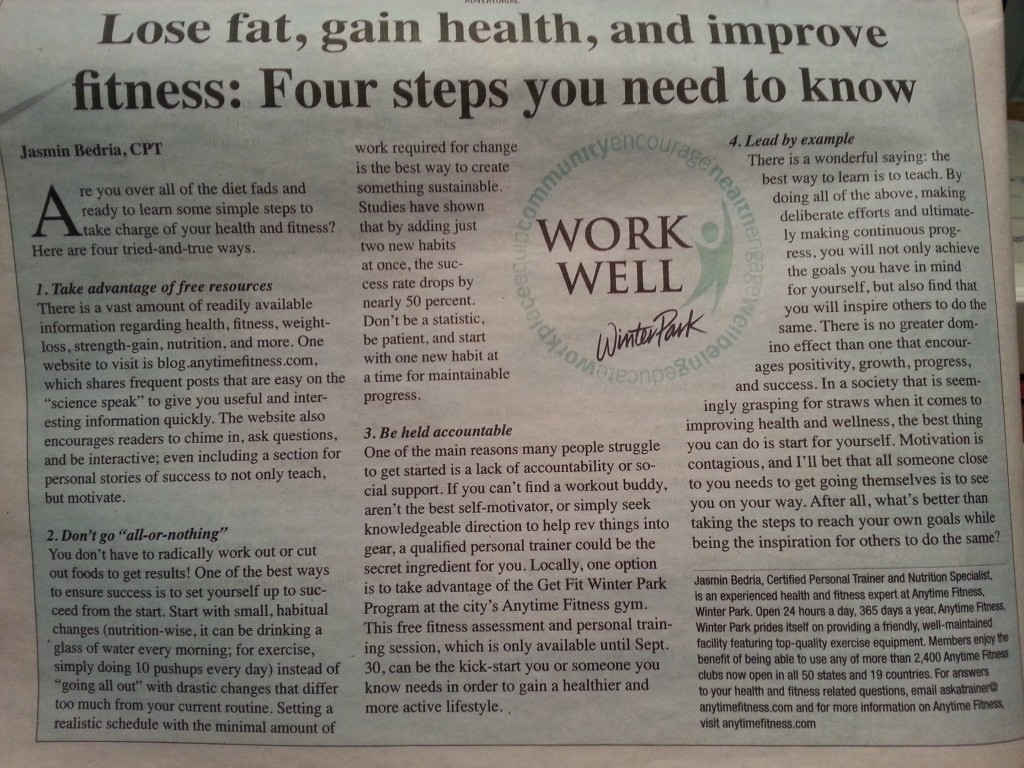
Lots happening on the home front! Another article published in the Winter Park Observer, awesome client progress, and a new video just uploaded on my YouTube channel!

20140822_114458

*Can’t read it here? Just go to the Ask a Trainer Q&A page.

And now for a little Client Highlight of the week:

20140822_114306

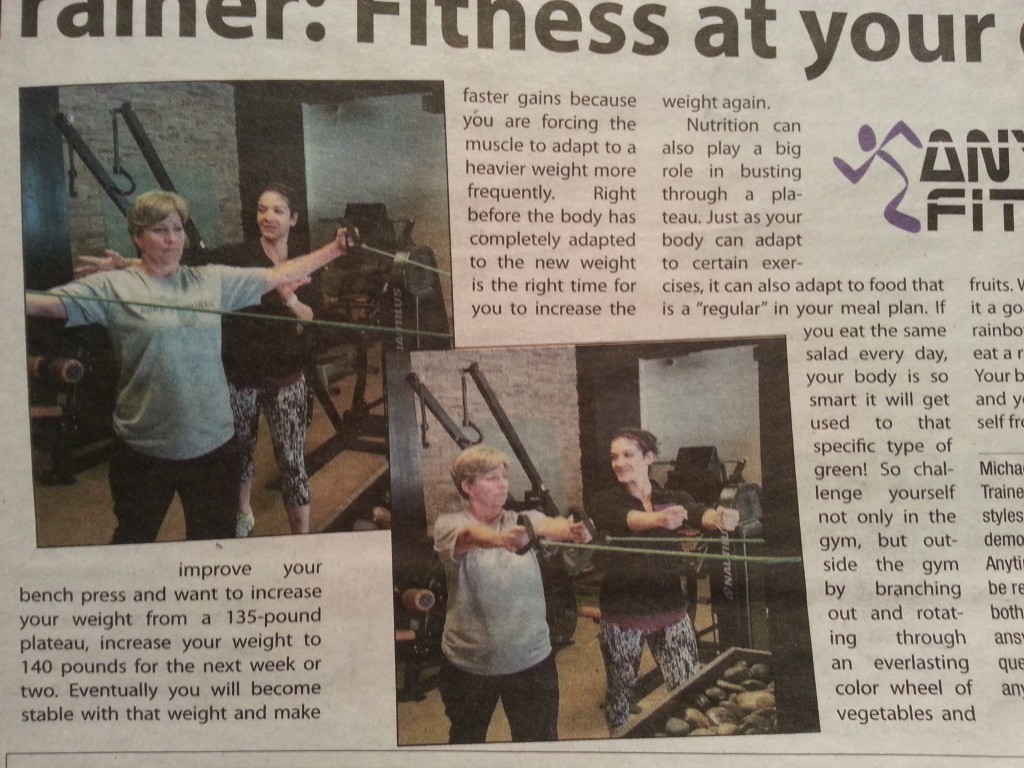
This week’s client highlight goes to my awesome, hard-working, and fun client, THERESA! She’s the perfect model in the photos above ;) but more importantly, she’s consistent, comes in to get her training done even on the days she admittedly isn’t feeling it, is making GREAT progress with her endurance, strength, shoulders/arms and booty (which unfortunately aren’t showcased in this photo), and is just so fun to coach and work with.

I love what I do because of awesome people just like her!

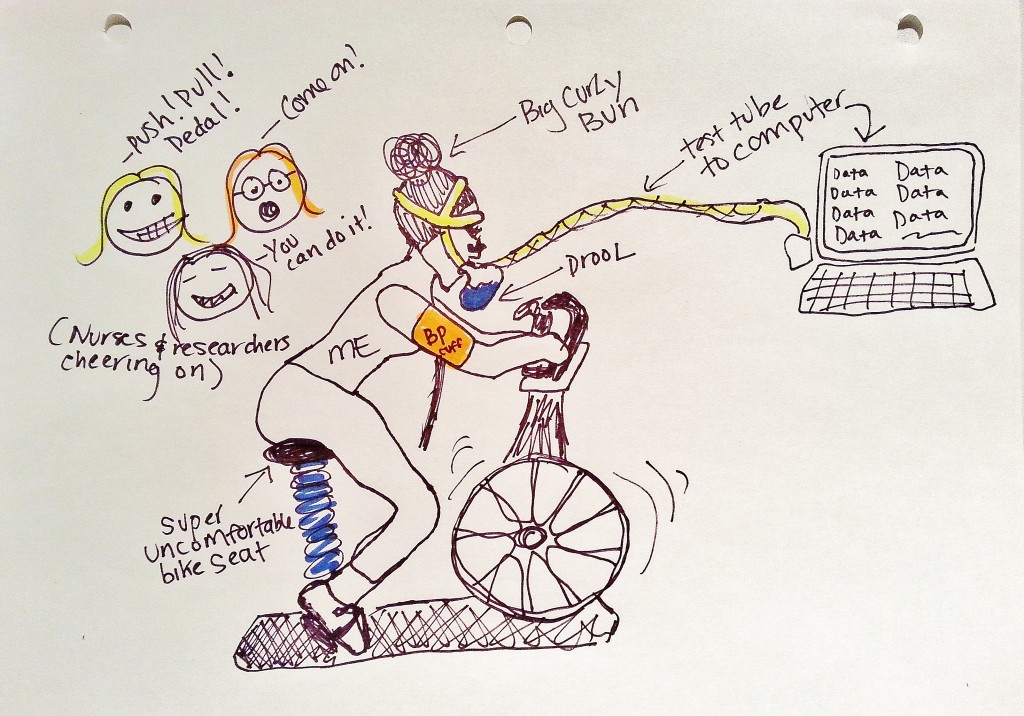
As for the newest fun-filled video including my first VO2 Max testing experience, stories about drooling, and legit stick figure doodles to boot, check it out below:


And if you’d like to take a longer look at the art that was my recollection, well here you go:

20140821_221739
I know. It’s crossing into Picasso and Dali territory. So deep.

And yes, there are a BIG number of projects in the works; one of which I’m really excited about is a video series to help anyone with degenerative discs, back pain, and health both inside and out. Make sure to sign up for the mailing list (or subscribe to my YouTube channel) to find out the latest with that once it’s available! :)

Are Fatty Foods Addictive? Do you eat ice cream? Must watch! (VIDEO)

It’s been a while since I’ve posted an update, blog, recipe, other fun-filled reads… BUT, this.

THIS.

Why am I choosing to share this video out of the hundreds of other videos, studies, essays, and research I’ve come across proving the message that is being put across? It’s pretty simple, really.

  1. It’s short enough to get and keep your attention for the whole thing.
  2. It’s JAM-PACKED with legit, clinical studies and information proving the point.
  3. It relates to a common struggle MANY OF YOU have expressed, and are unsure why.
  4. It’s quickly impactful, incredibly relevant, clear & concise…

Basically, it’s just good.

If you watch one 5-minute video this week, or this year… It better be this one. I’ll admit, that may even be including my own videos for you guys! There is a lot explained in this short video that can be a huge eye-opener to many people (which, in turn, will help you MAKE and STICK to your healthy choices):


What do you think? Does any of thing ring true to you? If you’ve gotten my Nutritional Cheat Sheet, you will see my notes regarding single foods that are both high in fat and carbohydrates (think ice cream, fried anything – especially sweets, most anything sugary and processed, even peanut butter, to name a few).

Hint: As you know by watching the above video, you want to steer clear of such apparent deliciousness!

Let me know what you think about this beneficial lil’ video of education in the comments below; will this effect your food choices from here on out? Have you experienced any of the side-effects mentioned when it comes to dopamine or satisfaction? Discuss!

P.S. Lots of great updates coming soon including my first exclusive e-book, members-only recipe book, instructional videos, and more! Make sure to sign up to our mailing list for updates and don’t forget to browse around the place! :)

EASY, Go-To Protein Shake Recipes!

Common Question: How do I USE protein powder?

Depending on the type of protein powder (for the sake of simplicity, I will refer to the two more common comparisons: whey and plant-based), there is little difference when it comes to actual preparation and ways to enjoy.

Compared to whey, plant-based protein (like my favorite: RawFusion), tends to act more like a ‘flour’ when mixed or baked into different things. It is a bit thicker, slightly harder to blend, and can even be made into a pudding quite easily (similar to casein protein for anyone familiar with Casein Fluff). Whey, however (especially whey isolate), tends to become more gummy and liquid-like and would not suffice in a pudding-type treat. Due to this, it does blend into liquids or other foods, like yogurt, much faster and easier.

So in the case of consistency, plant-based proteins = thicker like flour; whey proteins = easier to blend into liquid. Regardless, both are great for blended smoothies. And since most clients I have worked with are in need of a convenient way to use protein powder as opposed to becoming the next Master-of-Creative-Culinary-Uses-For-Protein (guilty, as proven by the video at the bottom of this post), I will share a couple of my favorite go-to protein smoothie ideas that are easy, delicious, and nutritionally-sound.

These are great any time of day: breakfast, an hour or so before your workout, after your workout, or literally any time. Sure, there are certain benefits timing-wise if you want to get more detailed with the science of nutrient absorption versus activity and a whole slew of other metabolic factors, but what ultimately matters is simply getting into the routine of having additional protein and feeding your body favorable nutrients in general. Trust me. Do not over-complicate things, especially with new routines. Focus on the grand scheme rather than minute details. Have your shake or smoothie where it fits best for you and your schedule.

Remember: it is best to start with small and simple habits!

Protein Mocha Frappuccino

  • 8-10 oz. unsweetened almond or coconut milk
  • 1 scoop Protein Powder of choice (or 2 for active men) *I use RawFusion
  • 1 Tbsp. Instant Coffee Granules
  • 1 Tbsp. Unsweetened Cocoa Powder *omit if you’re using Chocolate-Flavored Protein
  • 1 Handful of Ice
  • 1 Tbsp. Chia Seeds OR 2 Tbsp. Ground Flaxseed
  • Optional: 1 tsp. vanilla extract, or any extract of choice! Coconut, Mint, Orange, Banana.. tons of fun flavors out there! Be creative!

Blend in blender and enjoy!

Fruity Protein Smoothie

  • 8-10 oz. unsweetened almond or coconut milk
  • 1 scoop Protein Powder of choice (or 2 for active men) *I use RawFusion Vanilla
  • A big handful of raw spinach
  • 1 Cup Frozen Berries
  • 1 Tbsp. Nut Butter, Coconut Butter, Chia Seeds OR 2 Tbsp. Ground Flaxseed
  • Optional: 1 tsp. vanilla extract, or any extract of choice! Coconut, Orange, Banana… get creative!

 Blend in blender, sprinkle some cinnamon on top, and enjoy!

*For those seeking a trusty, inexpensive little blender, I always suggest this Hamilton Beach Single Serving Blender with Travel Lid. It is easy to find (sold at Wal-Mart or Amazon.com for $12-14), blends your shake smoothly, lasts FOREVER (I’ve had mine for over 6 years, plus check out these reviews), and is great to keep at work and/or at home.

The great thing about smoothies is that you CAN very easily adjust and get creative according to your taste! Make it a Veggie Smoothie by adding in some cucumbers, celery, spinachMake it an Apple Pie Smoothie by using vanilla protein, cinnamon, a chopped apple (or even organic apple sauce), and some walnutsMake a Pumpkin Pie Smoothie by using pumpkin puree, vanilla protein, cinnamon, ginger, nutmeg, and some pecans… Don’t be scared to try new things! You’ll be surprised at some of the deliciousness you come up with.

For those who ARE open to becoming more creative with protein powder, try mixing it into some organic Greek Yogurt, or mixing it into cooked and cooled down oatmeal, or even making it into a pudding like I mentioned and using it as a dip or sweet cream sauce like I did in this recipe.

Want to get really fancy?

Check out this video recipe for Protein Marshmallows!

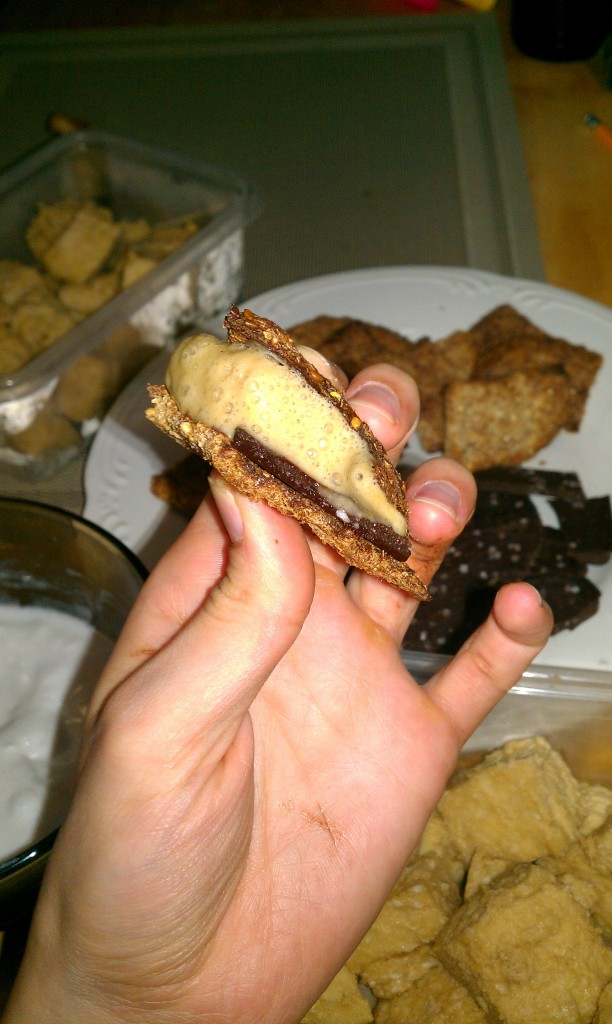
Coming soon: Recipes for both my easy, homemade chocolate bars and simple, sprouted grain “graham” crackers to use with the Protein Marshmallows for the delicious S’mores-From-Scratch as shown here…

Smores

Like I said, the possibilities really are endless! :)

Macronutrient Cheat Sheet now available!

Whether you are new to fitness and starting off your fat-loss journey, or you are playing with a macro-based form of nutrition and dieting (like IIFYM, or If It Fits Your Macros); or you want to learn more about the “categories” your favorite foods fall into in terms of Protein, Fat, Carbs, or Fiber; or you want to practice a sustainable way of figuring out portion sizes that doesn’t require you to carry a scale or measuring cups around (because, honestly, who wants to do that?!)… I am excited to share this with you!

Here is a little “cheat sheet” that I made specially for my clients, which is now available to all of you in the store!

This affordable, simple-to-follow Cheat Sheet will help you learn:

  • Numerous common different sources of protein, carbohydrates, and fats

  • Which common whole foods are natural combinations of proteins/fats or protein/carbs

  • General suggested serving sizes for men and women (that don’t involve measuring cups!)

  • General food timing suggestions for optimal progress or fat loss

  • Additional tips about fiber, greasy/junk foods, and seasonings

It has proven to be a huge help to many of you guys already, which makes me super happy to hear because I put a lot of thought and time into it for you all! I definitely encourage you to order up (it’s a full-size .PDF download you will gain access to once purchased), print it out, and keep on the fridge!

Shoot, print out a few and keep one at work and one in your wallet or purse, too. Look it over as a guide whenever you need to, and feel free to share it with friends!

THT Macro Cheat Sheet-page-0(1)

An even better idea (and how I provide these wonderful little things to clients in person) is to print your Cheat Sheet in half-page size and then laminate it at a local office supply store… this way you can circle or cross off foods with a dry erase marker, making it a compact re-usable grocery list!

IMAG1097-1

Whether you are just starting out towards your fitness journey with nutritional awareness or well on your way and in need of a handy guide to keep things in check, I hope this acts as a useful tool for you or someone you know! :)


Get yours here: Macro-Nutrient Cheat Sheet