Tag: breakfast

RECIPE: Cilantro Lime Rice & Beans (better than Chipotle!) – Easy, Plant-based dish!

Everyone loves Chipotle (right?) and their simple yet delicious spread of Tex-Mex goodness.

But… let’s be honest. Cost-wise, they make a killing charging what they do for some of the most affordable types of food around. Namely, rice ‘n beans (or arroz y frijoles).

Even if you do skimp on the guac (which, if so, who ARE you?) eating at places like Chipotle often can definitely put a dent in your finances.
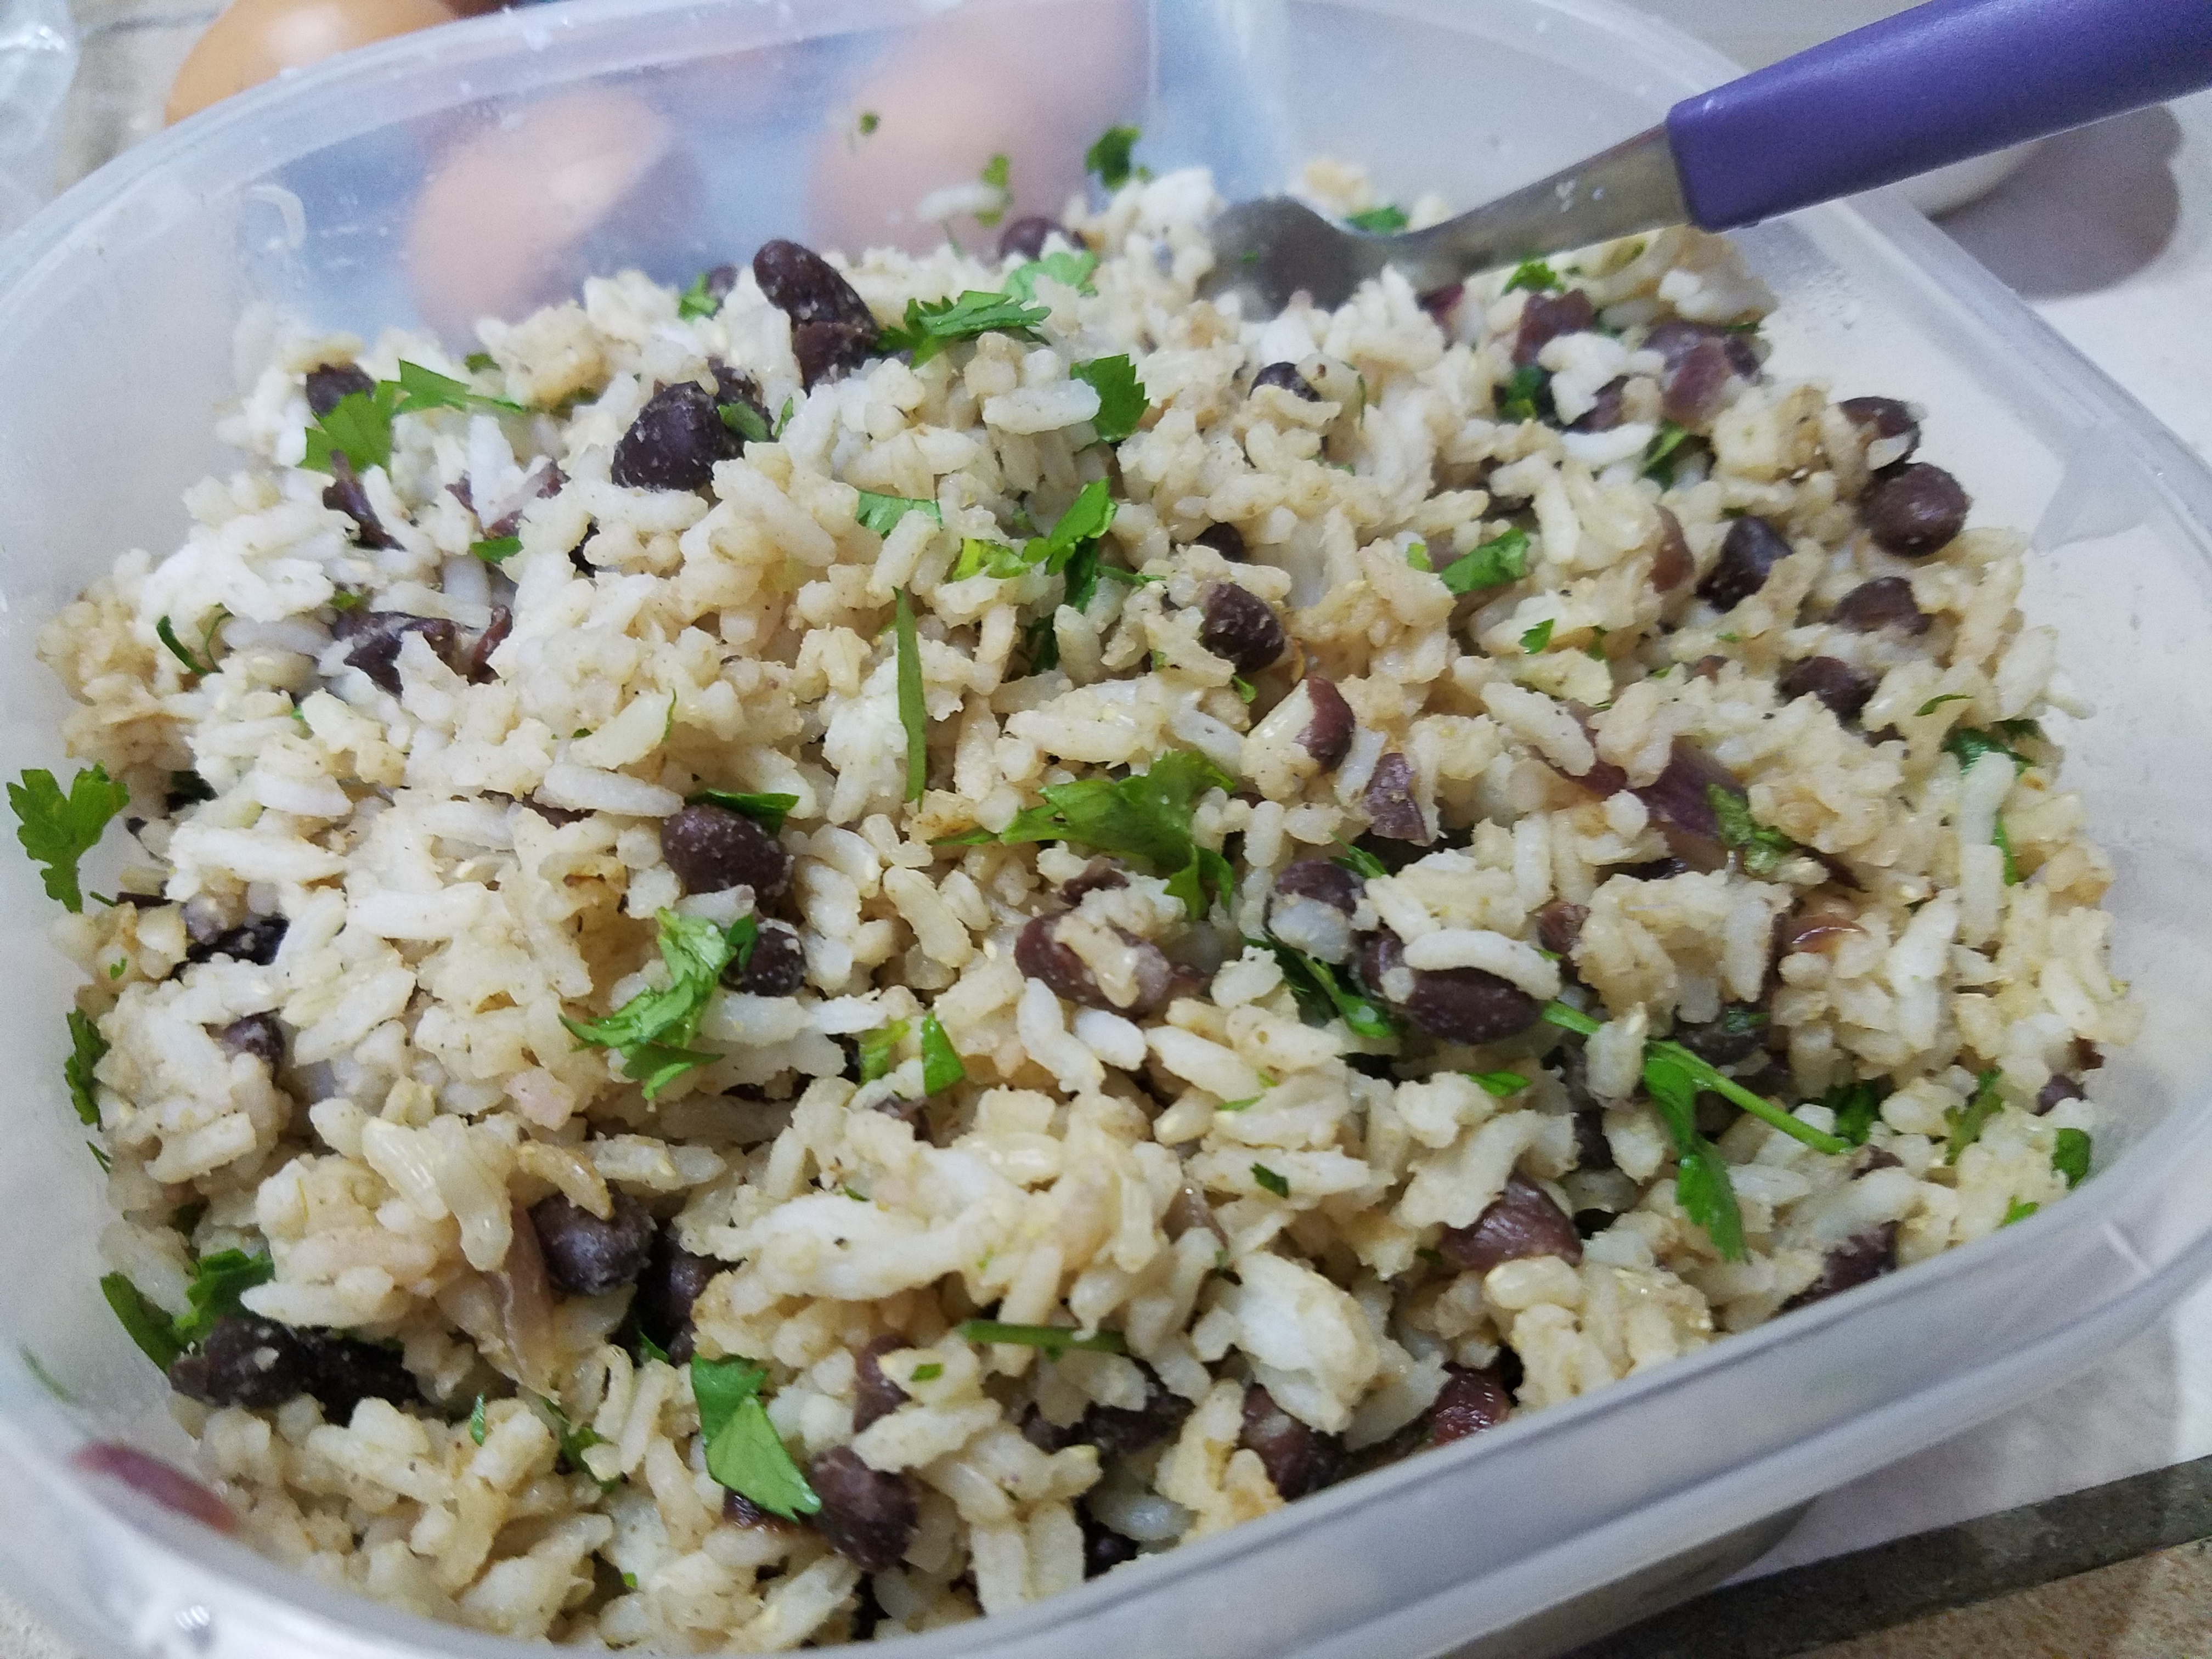
So, allow me to bring to you my HOMEMADE CILANTRO LIME RICE & BEANS (that are better than Chipotle).

I love me some rice ‘n beans, as do most people I know. Especially while traveling through Latin America, where gallos pinto – the traditional rice ‘n beans dish – is typically served with breakfast.. AND lunch.. AND dinner at times… I grew to love them even more rather than get tired of them.

I love this dish so much that there are at least 5 different, flavorful rice ‘n beans recipes I plan to share here on the blog (as well as helpful tips and advice for anyone who plans on traveling or living in places like Costa Rica).

It all starts with the two [obvious] key ingredients…
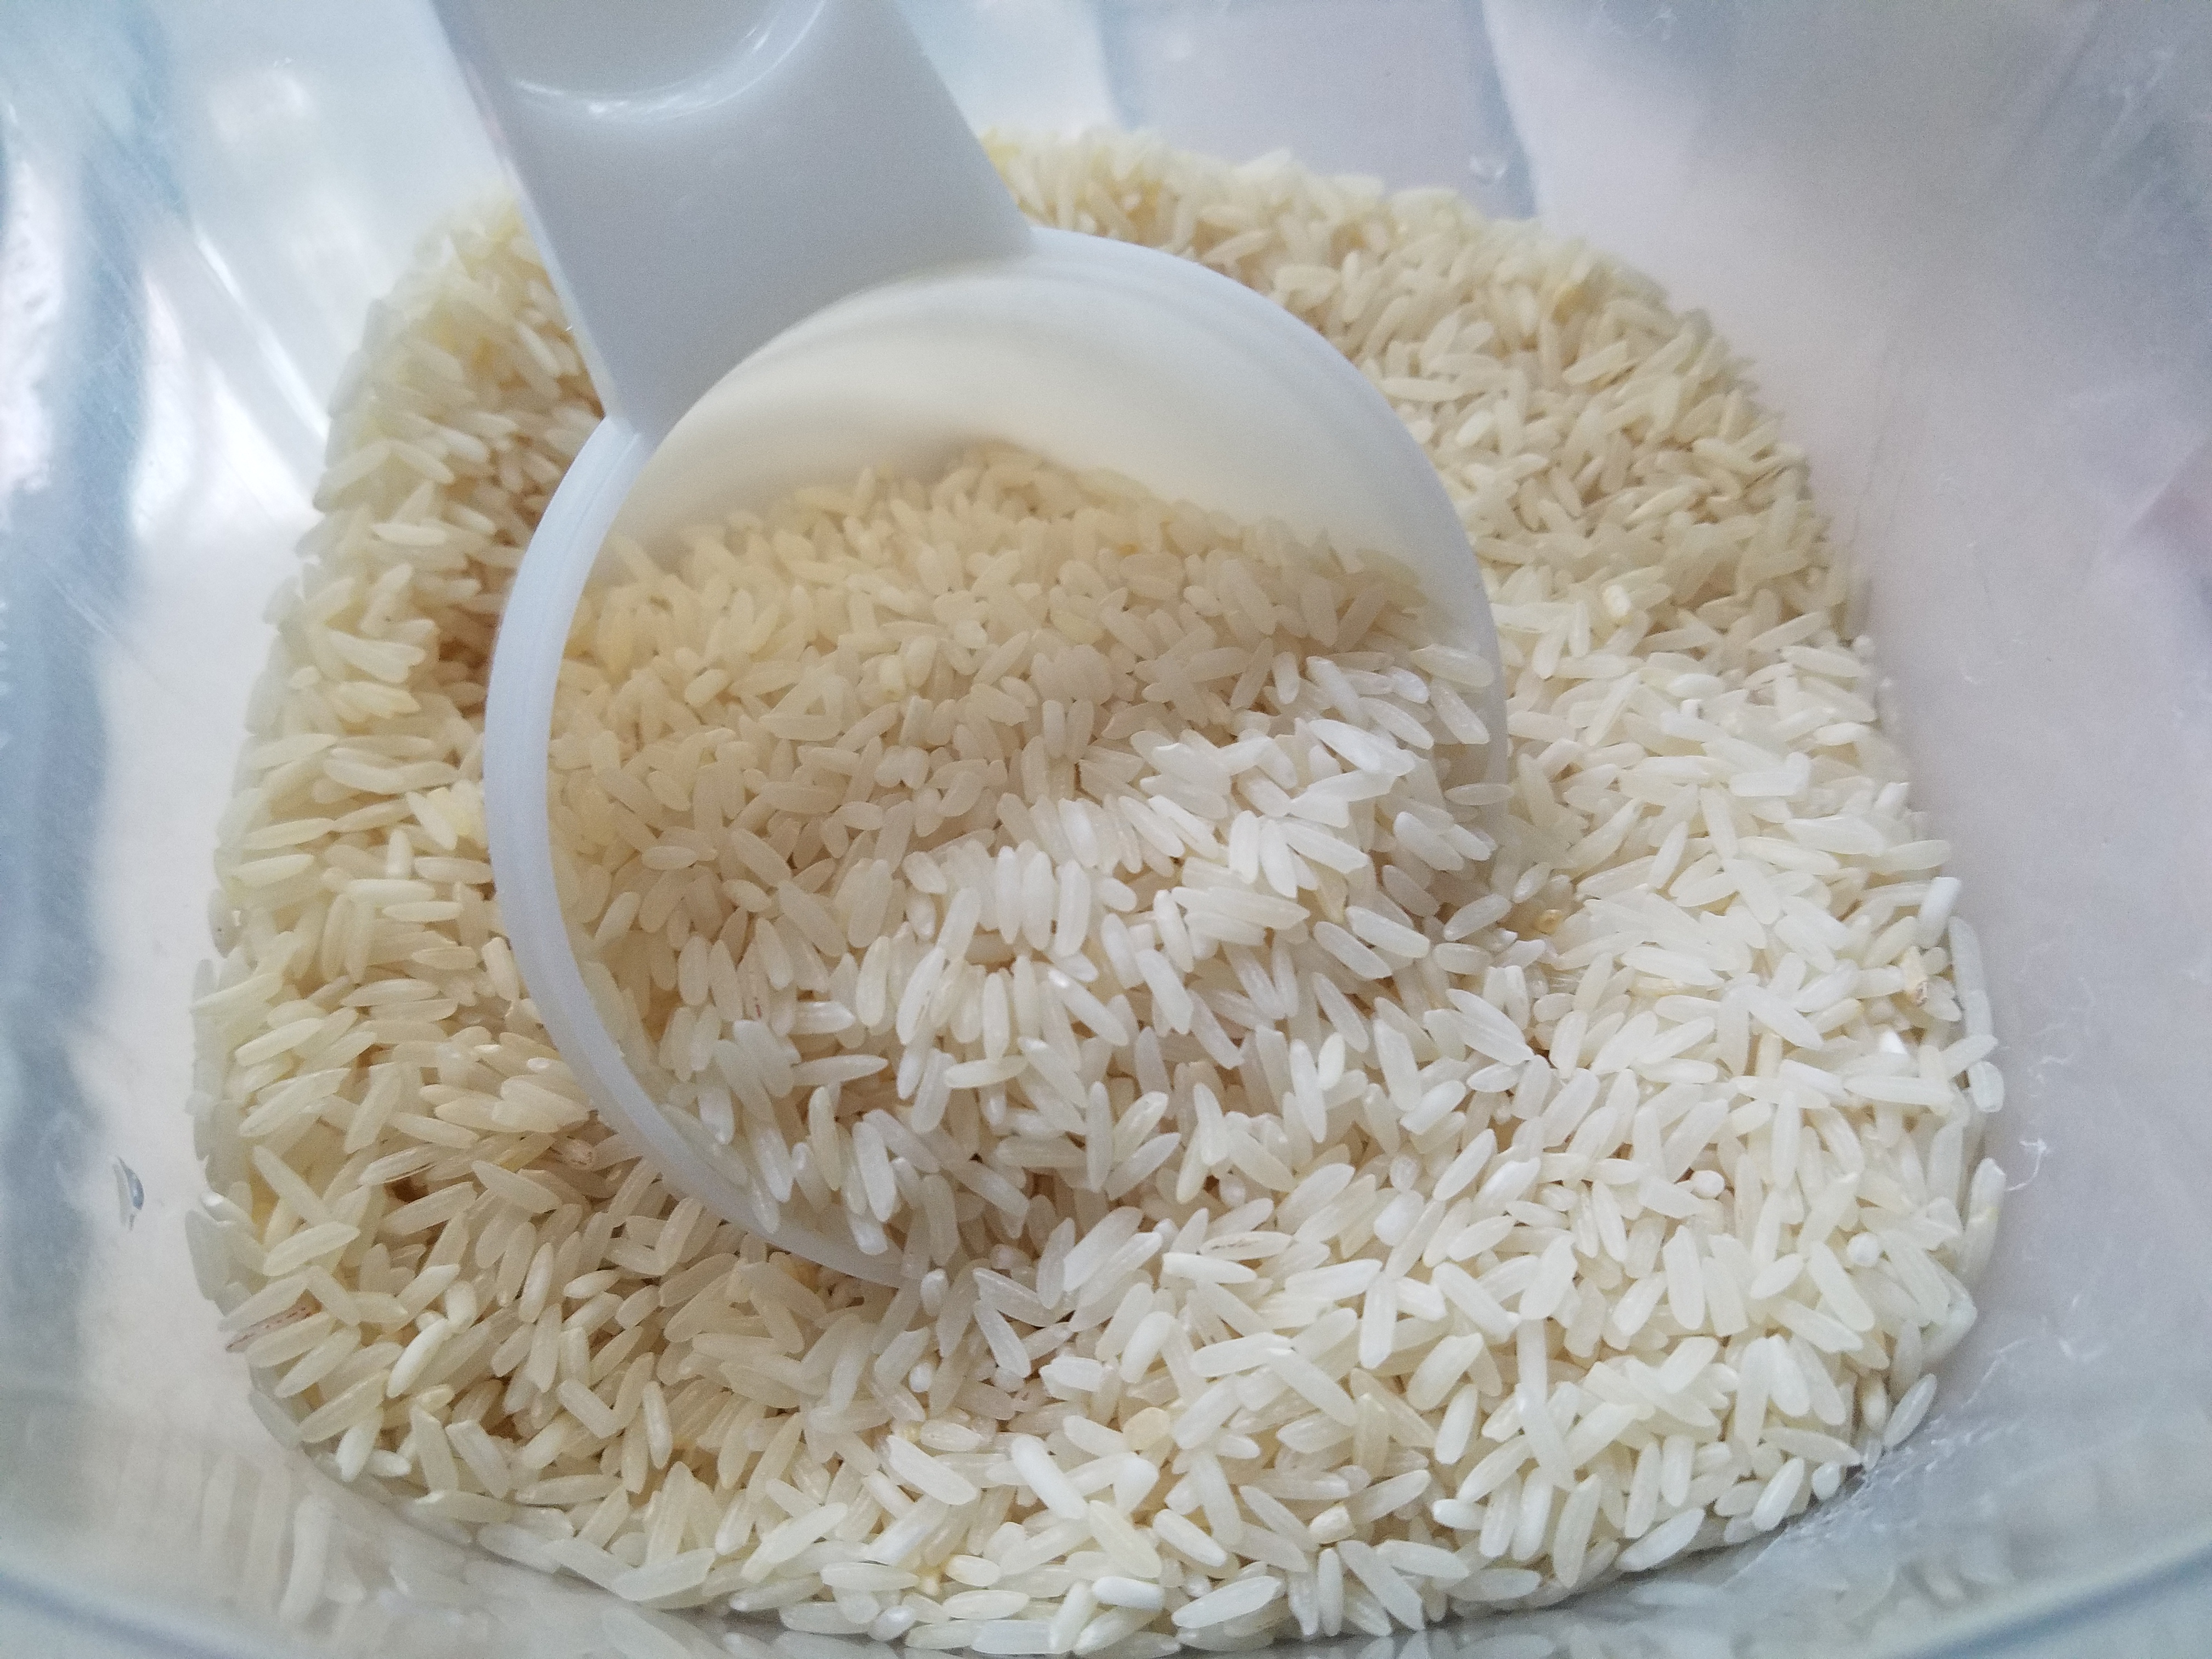
Arroz.

Y frijoles.

Now, if you don’t have the kitchen blessing that is a rice cooker, you’re still good to go. You can use a saucepan on the stove top. Yes, this may be the easiest, better-tasting, restaurant-replica recipe you have ever made.

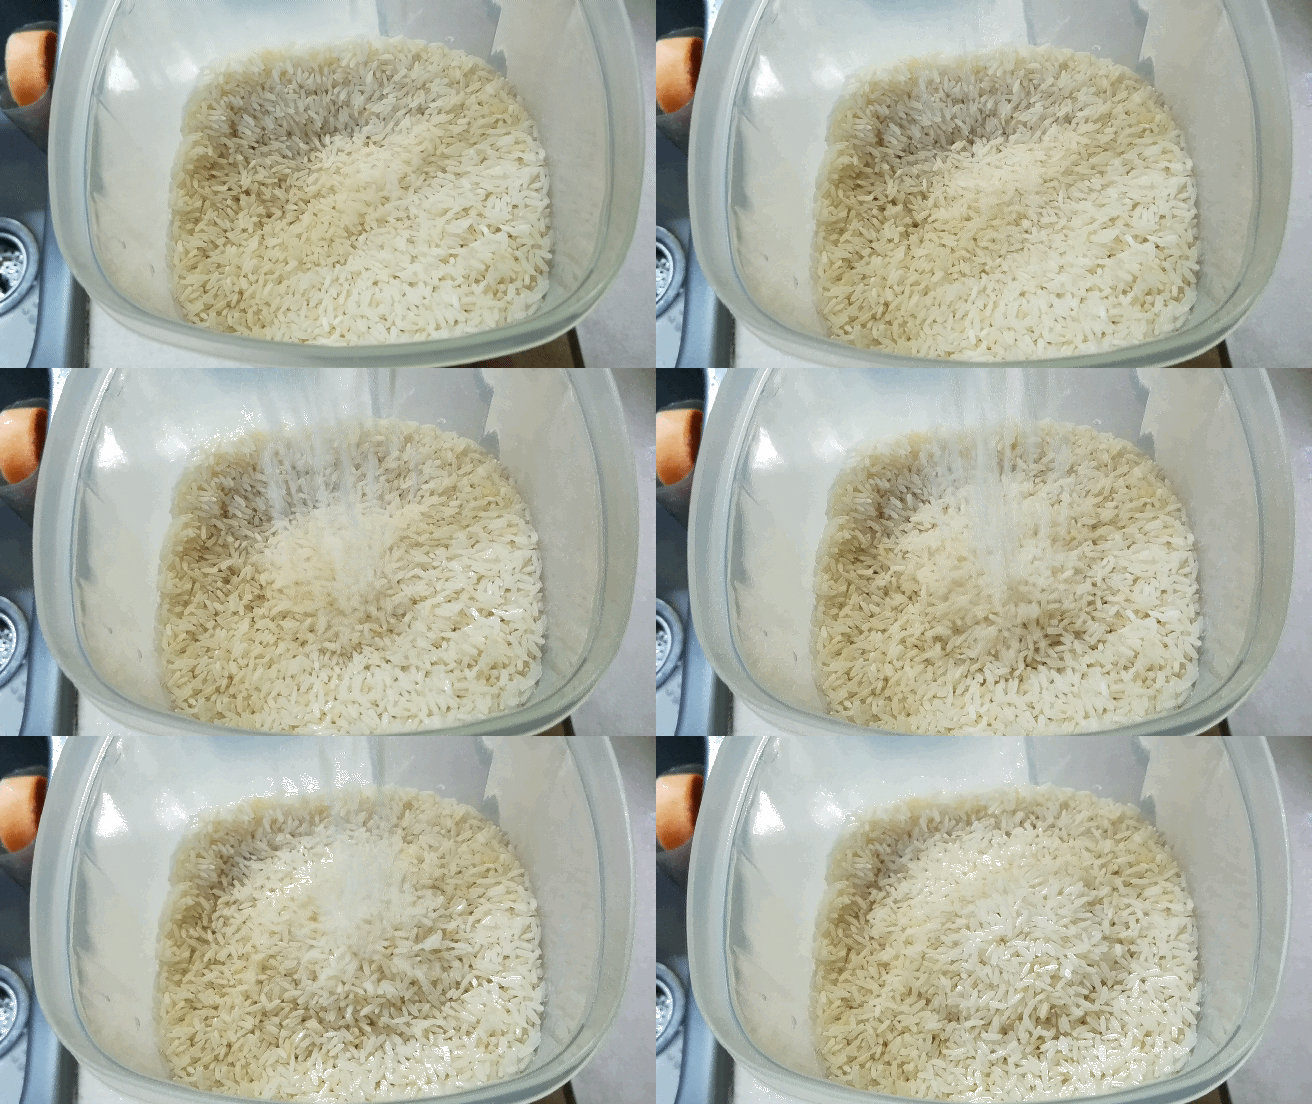
What kind of rice do you need? Whatever you have on hand. I had a blend of brown and white.
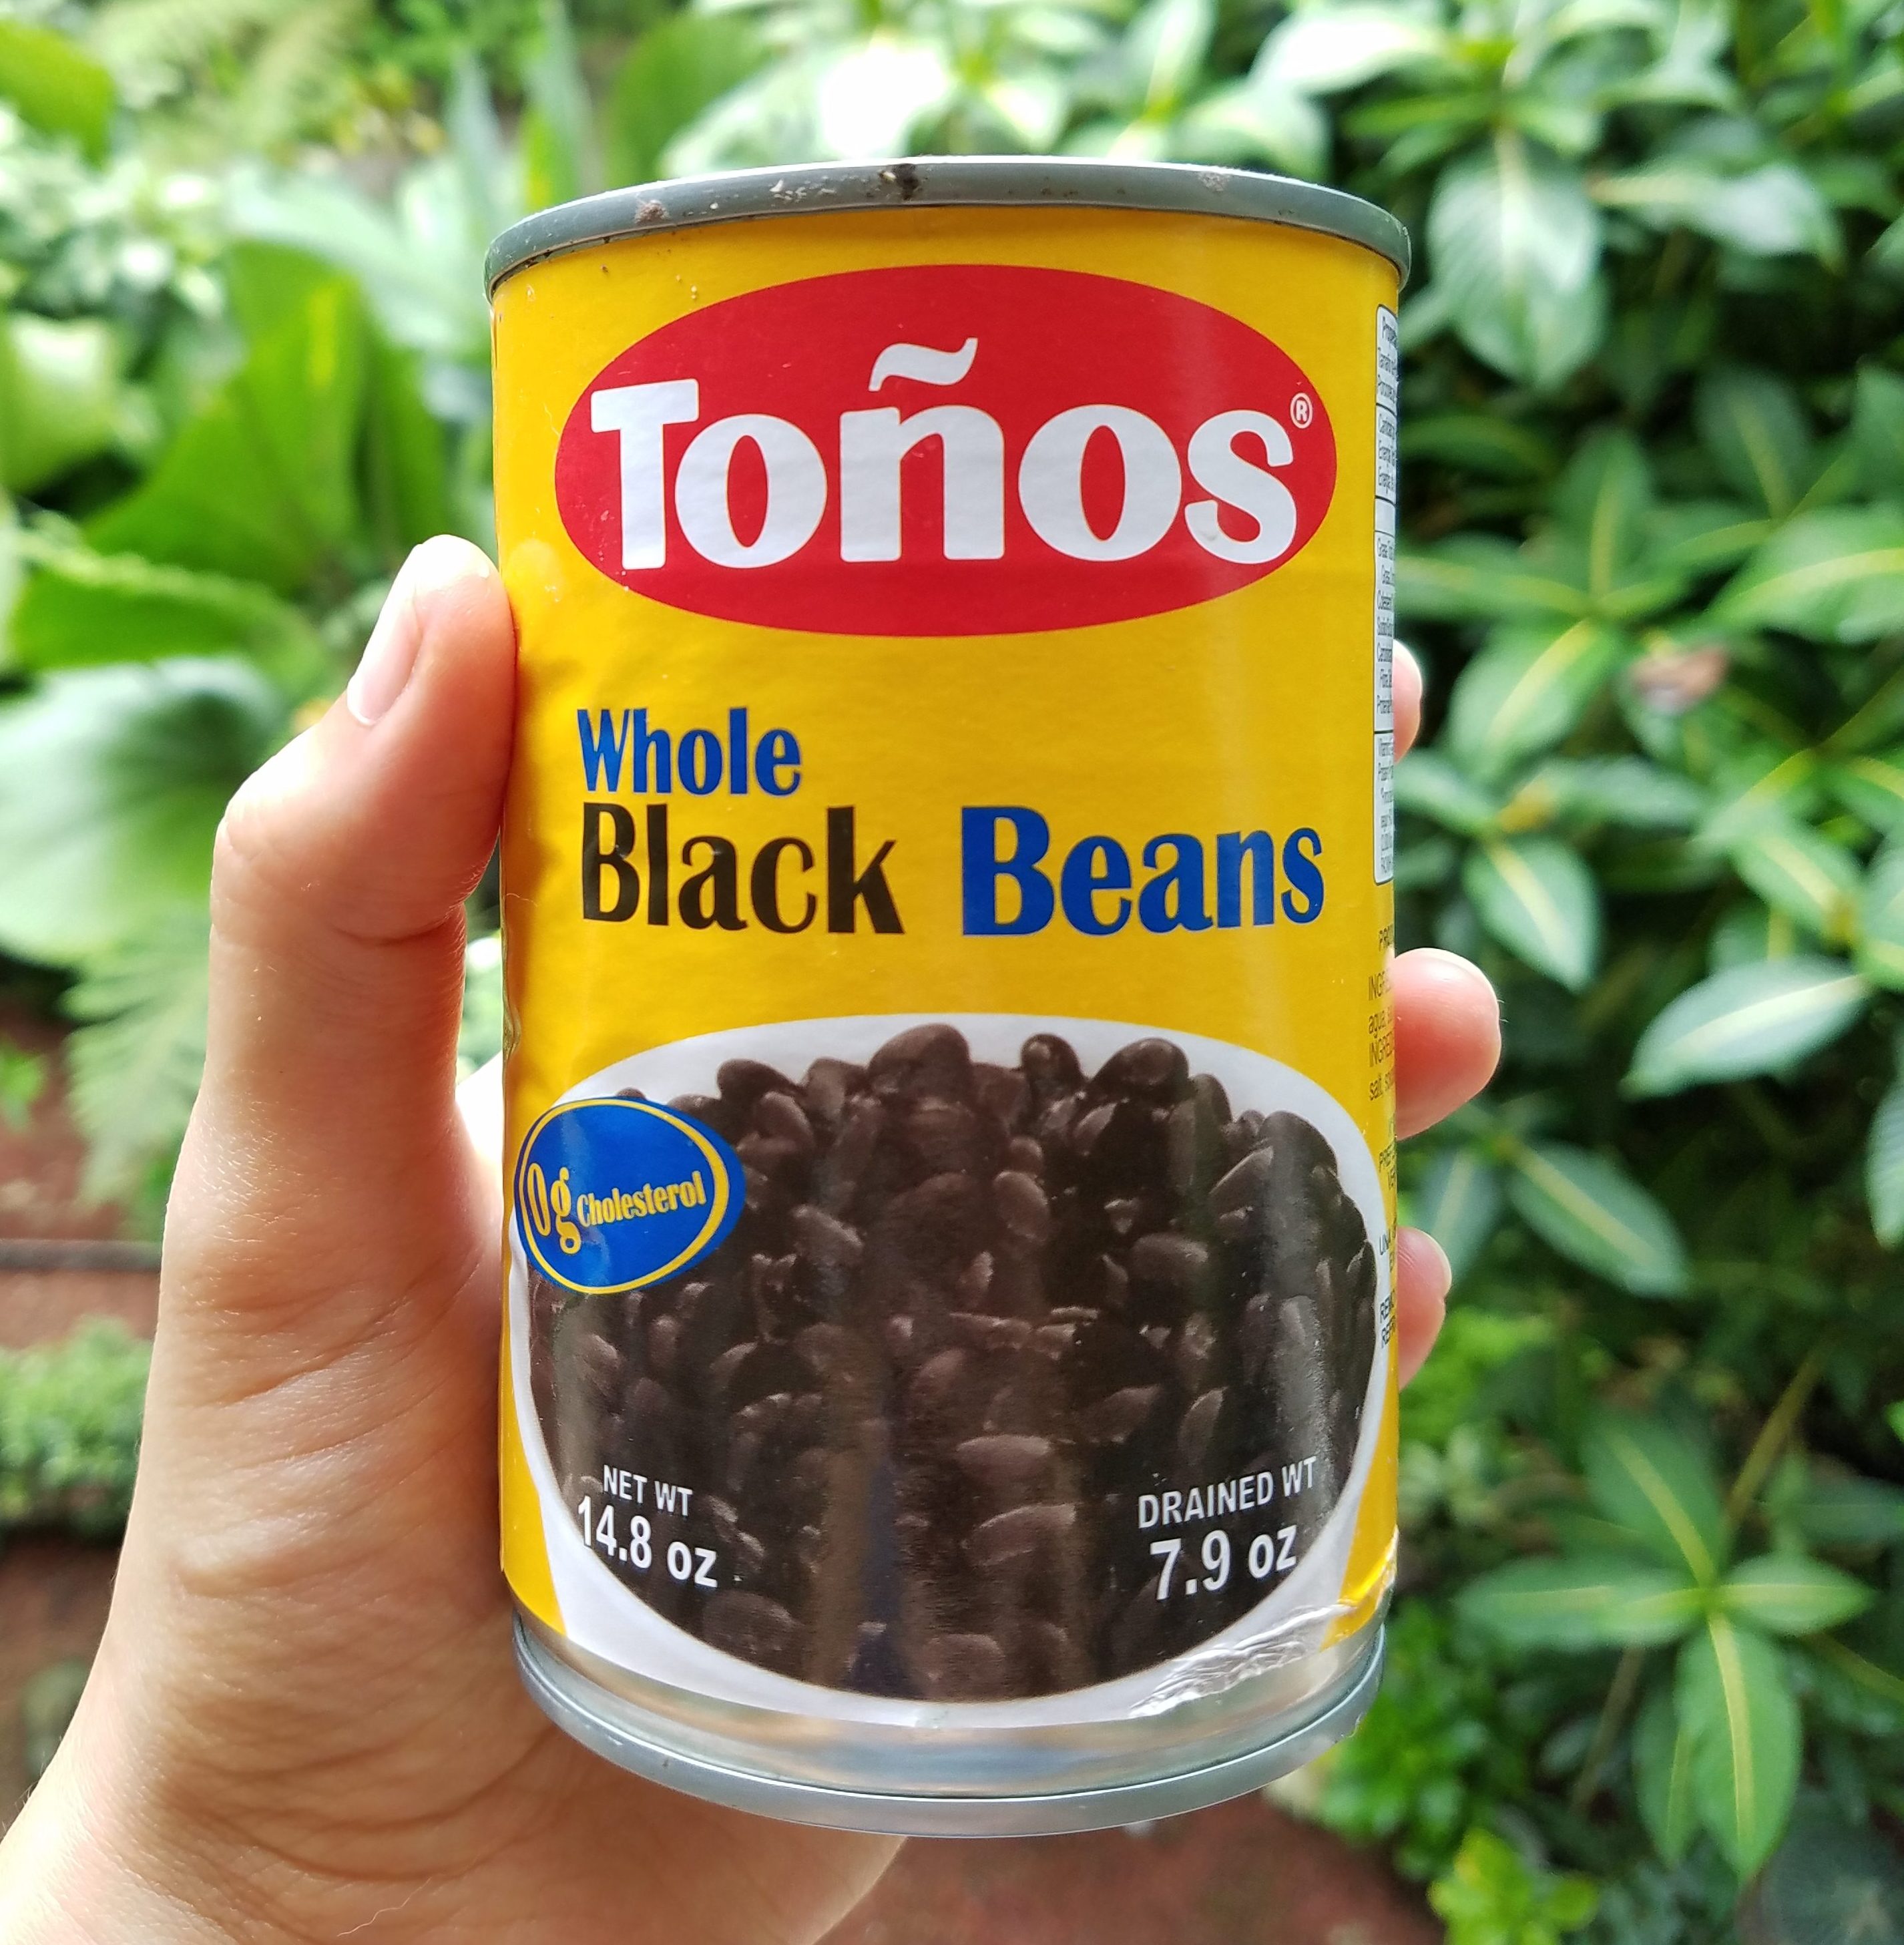
What kind of beans? Well, for this recipe, classic black beans. And yes, canned is just fine (though I’d recommend low or no-salt added to have better control of the sodium in your recipe).

Grab a handful of other ingredients – like fresh cilantro, onion, extra virgin olive oil, and lime – and you’re basically good to go.
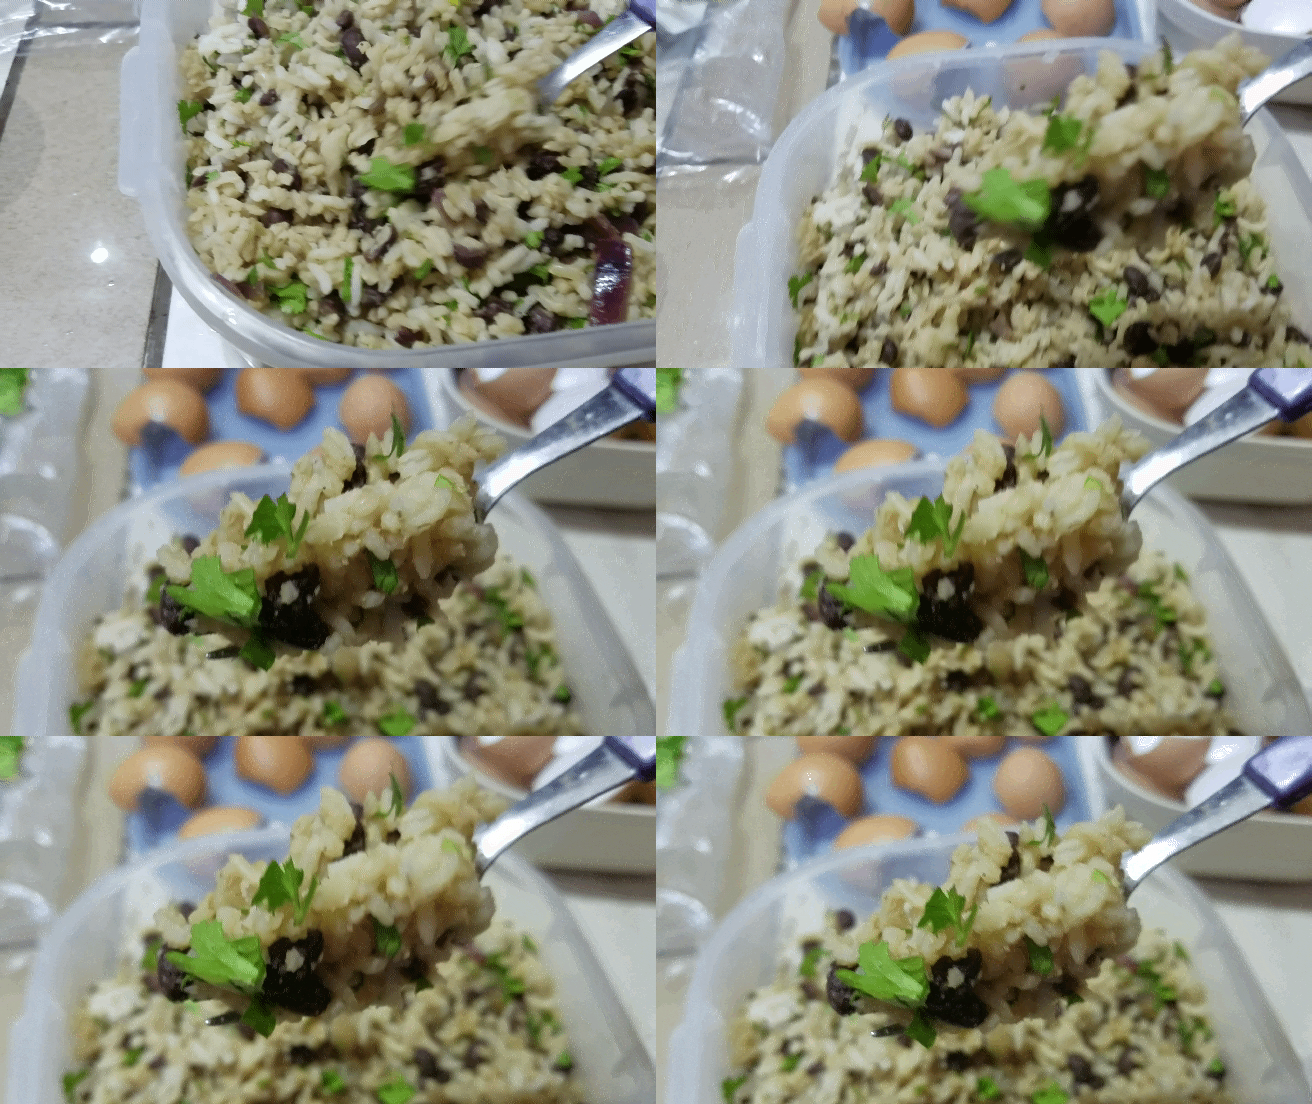
Mmmmmmmmmmmmmm yas.

The bigger plus? This recipe makes at least 6-12 Chipotle portions if you get their rice bowl… and it costs less than one or two orders.

By the way, you can find an amazing tex-mex bowl recipe (along with tons of helpful info) in one of my best-selling books, the grocery store tour guide, which is also available as an ebook!

Without further ado – here it is! Try it out, share, and let me know what you think :)


CILANTRO LIME RICE & BEANS (makes around 6 cooked cups)

  • 2 cups brown and/or white rice (before cooking) *cook according to packaging or using leftover rice is fine!
  • Half a large red onion, finely chopped
  • 1 Tbsp Extra Virgin Olive Oil
  • 1 (~8 oz.) can of Black Beans (preferably organic and low or no sodium to better control salt content), drained and rinsed
  • 1 small bushel of fresh cilantro, leaves picked and chopped (about 1/3 cup chopped)
  • The juice from one lime
  • 1 tsp. ground cumin
  • 1/4 tsp. sea salt (or more, to taste preference)
  • 1/4 tsp. black pepper (or according to taste)

Directions

  1. Cook rice according to package or use leftover rice. Two uncooked cups yields 4.5 to 6 cooked cups.
  2. In a fairly large saute pan heated at medium to high, saute onions in olive oil until fragrant and softened (about 2-3 minutes). Add rice and stir, letting cook for another 2-3 minutes.
  3. Add black beans, cumin, salt, and pepper. Stir to all incorporate. Lower heat to higher “low” spectrum, cover the pan, and let flavors marry for 3-4 minutes. You can also add 1/4 cup or so of water before covering, especially if the rice was leftover. This will add more moisture while cooking.
  4. Uncover and remove from heat. Stir in lime juice and cilantro, then taste and add more salt if necessary. Stir again and then ENJOY! :)
RECIPE: Homemade Coconut Milk (or Coconut Creamer) – Easy, Fast, GREAT for Dairy-Free Travelers!

This summer, I have been doing quite a bit of traveling. Starting off in beautiful Italy and then making my way to Latin America, I currently find myself in the middle of a legit jungle – monkeys howling and all – in the Southern Zone of Costa Rica.

Just hanging out off my balcony in Positano, Italy. Totally casual.

This tropical rainforest is amazing and refreshing, but also makes me miss a few small foodie preferences that have been a part of my daily routine for years.

Especially through the most recent experience living off-grid in an isolated, glorified tree house (thankfully with pretty impressive internet to benefit my online clients and me), I learned how to do without a number of American luxuries. These include everything from transportation (no car), no paved roads, no 24-hour convenience stores (or any stores within two miles), and no access to anything from supplements to electronics to mail being reliably being delivered…

Cuddly kittens and warm weather make everything better.

It also includes not being able to find carton-style coconut milk – never mind coconut creamer for coffee. And if you didn’t know, Costa Rica is known for its amazing coffee.

Needless to say, I’m not a milk drinker and never really have been. Anytime I’ve needed a “milk” for something, I’ve opted for the almond or coconut substitution. (If you have my book The Grocery Store Tour Guide, you’re probably familiar with this suggestion.)

Considering the fact that mango, banana, papaya, AND coconut trees are everywhere in this tropical part of the world, I was somewhat surprised that I couldn’t find any carton coconut (or almond) milk near the home I am currently living in. There is one market down the mountain (over 2 miles away and a 90-minute steady walk thanks to the incline) that has one small almond milk carton option, which was unsurprisingly overpriced… and expired by six months.

Luckily, there is also a decently stocked chain supermercado in the nearest town that is accessible by a 20-minute bus ride (in addition to the nearly three mile walk to the bus stop) where I did find a higher quality carton of pure organic coconut cream… but still no sign of a reasonably priced carton coconut OR almond milk.

Did I mention I’m in the [captivating, relaxing, sometimes boring, always magical, yet very remote] jungle?

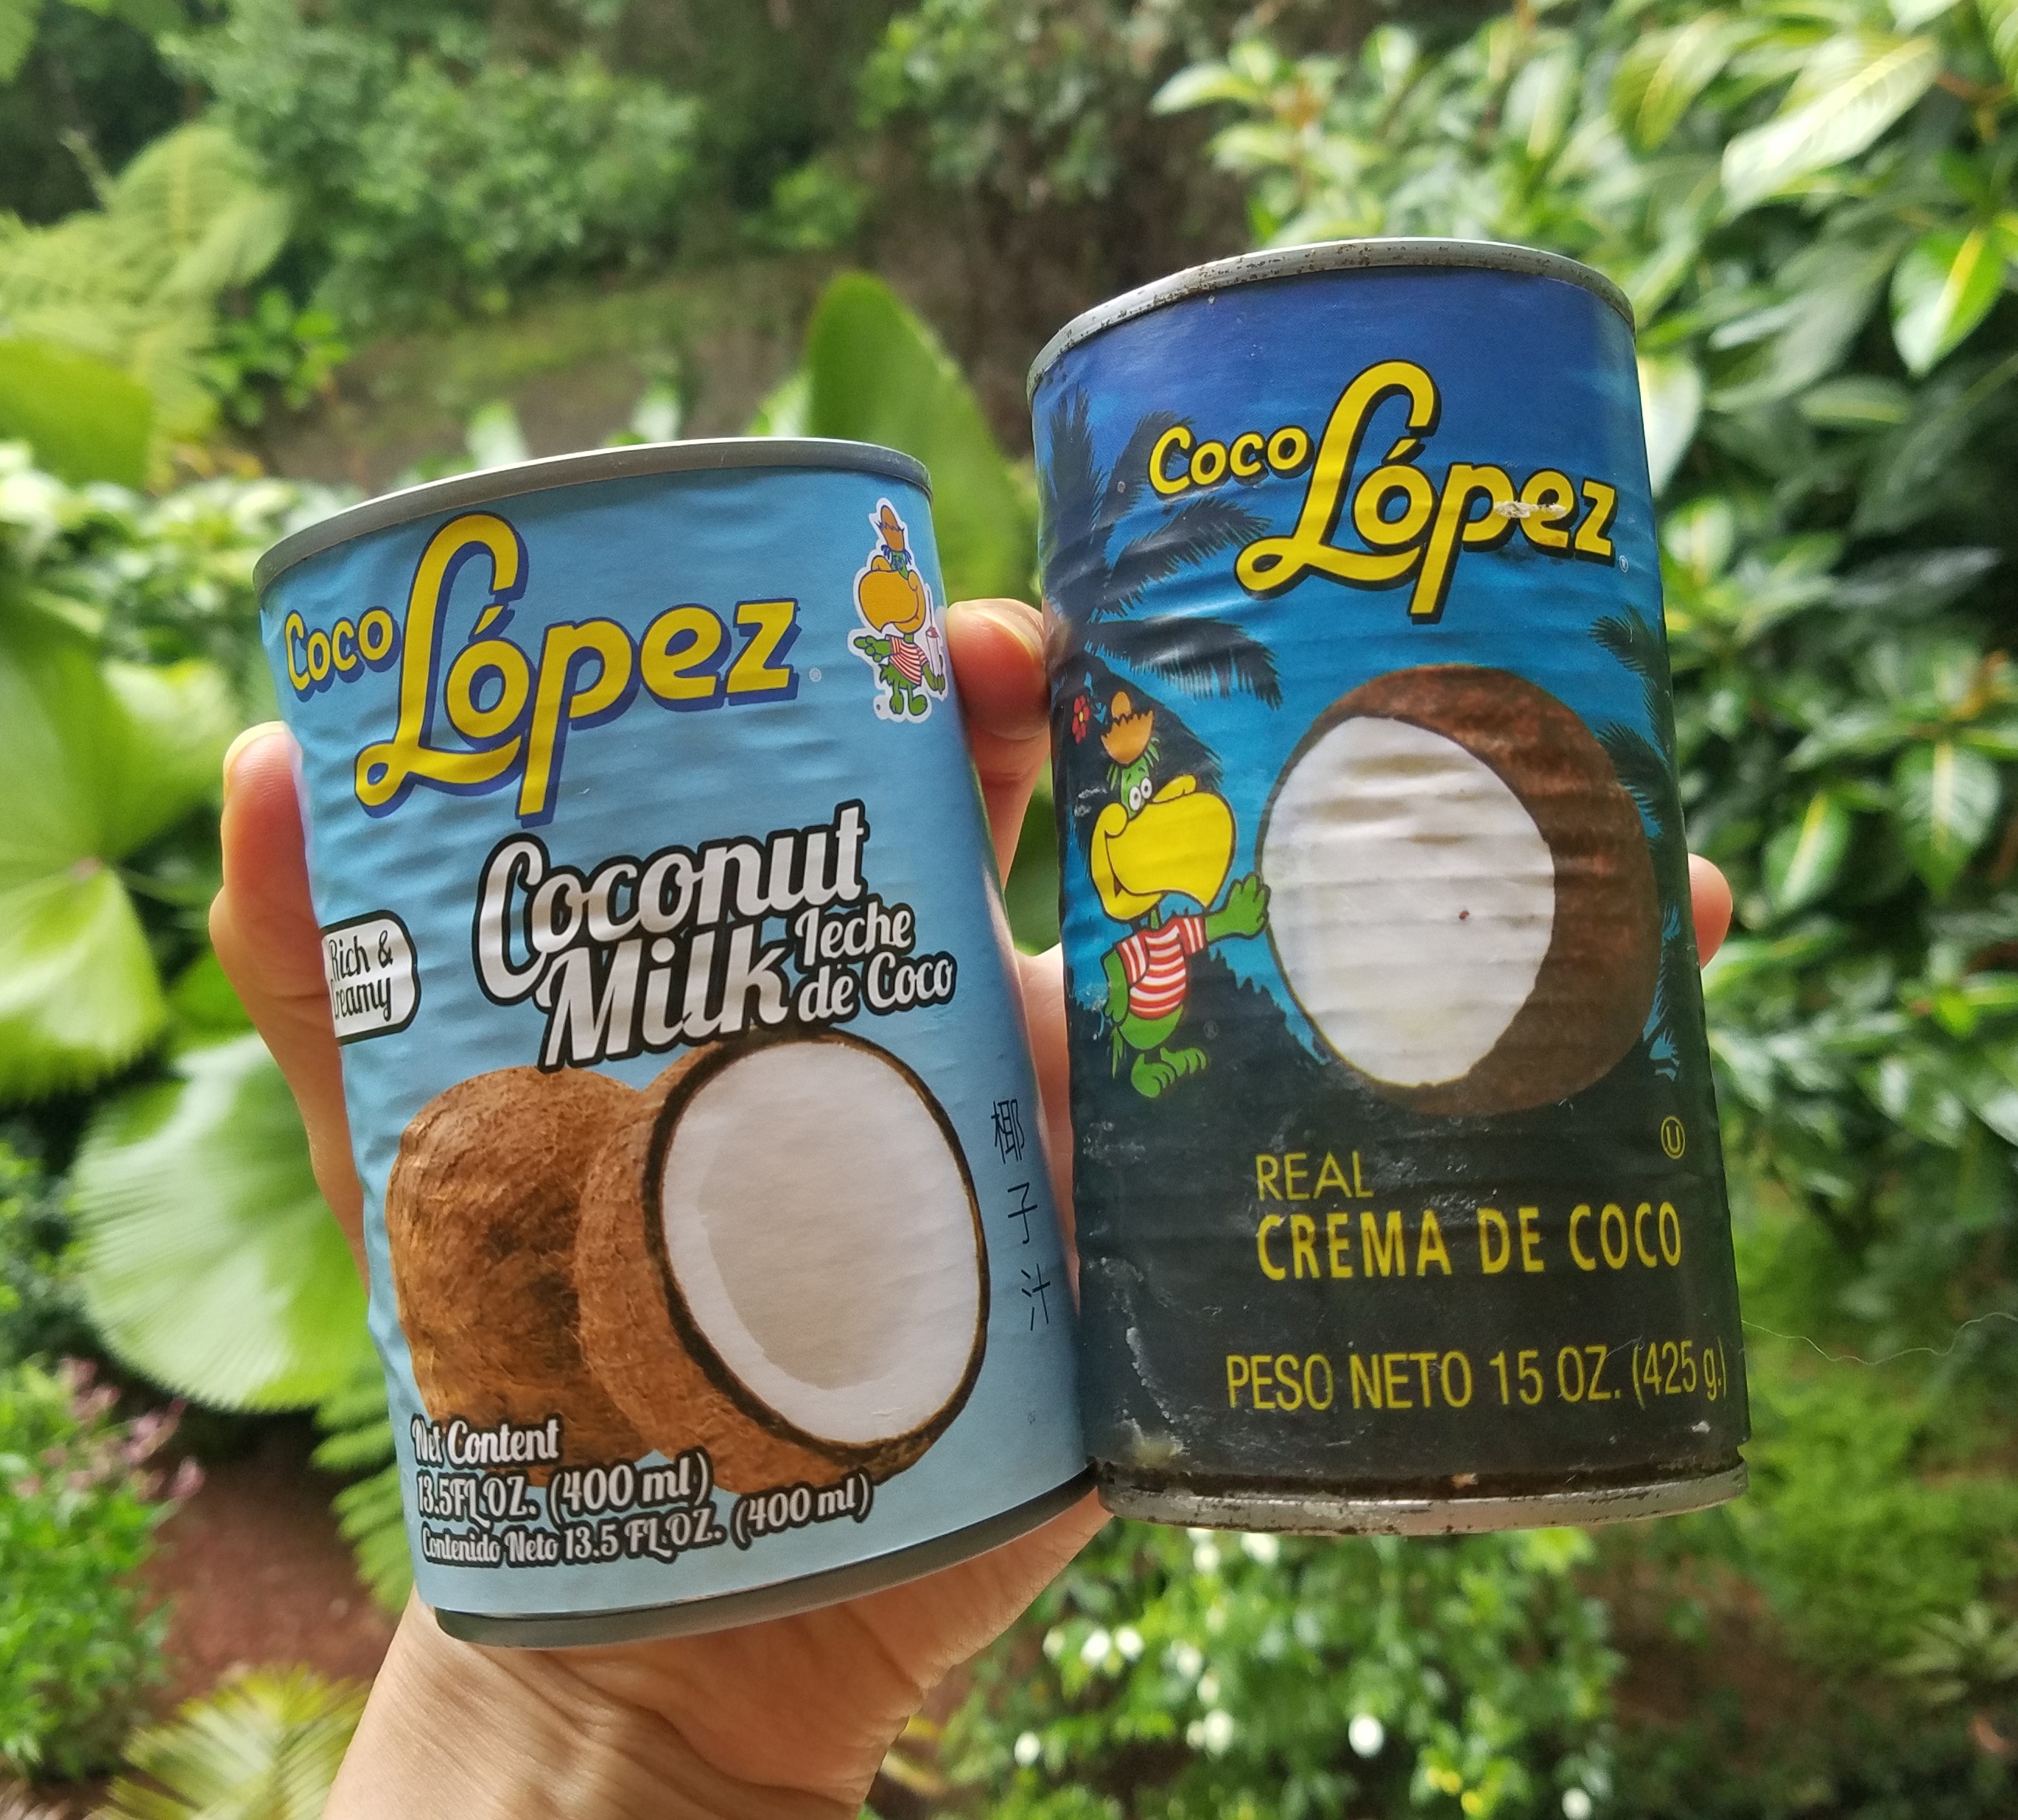
Here is what I did manage to find in the local market: canned coconut cream (and canned coconut milk).

And the good news for my fellow dairy-free, non-leche drinking people out there? To make homemade Coconut Milk (a comparable version to Silk or Almond Breeze brands that you can use for shakes, cereal, or to simply drink as is) AND/OR Coconut Creamer for coffee or tea, all you need is a can or carton of coconut cream (a second option could be canned coconut milk), water, and a pour-able container to keep it in.

That’s it.

Fun fact: if you read the ingredients on a carton of the aforementioned popular American brands of coconut milk, you will see that they are mainly filtered water and coconut cream (with some added preservatives and vitamins)… which is exactly what’s happening here!

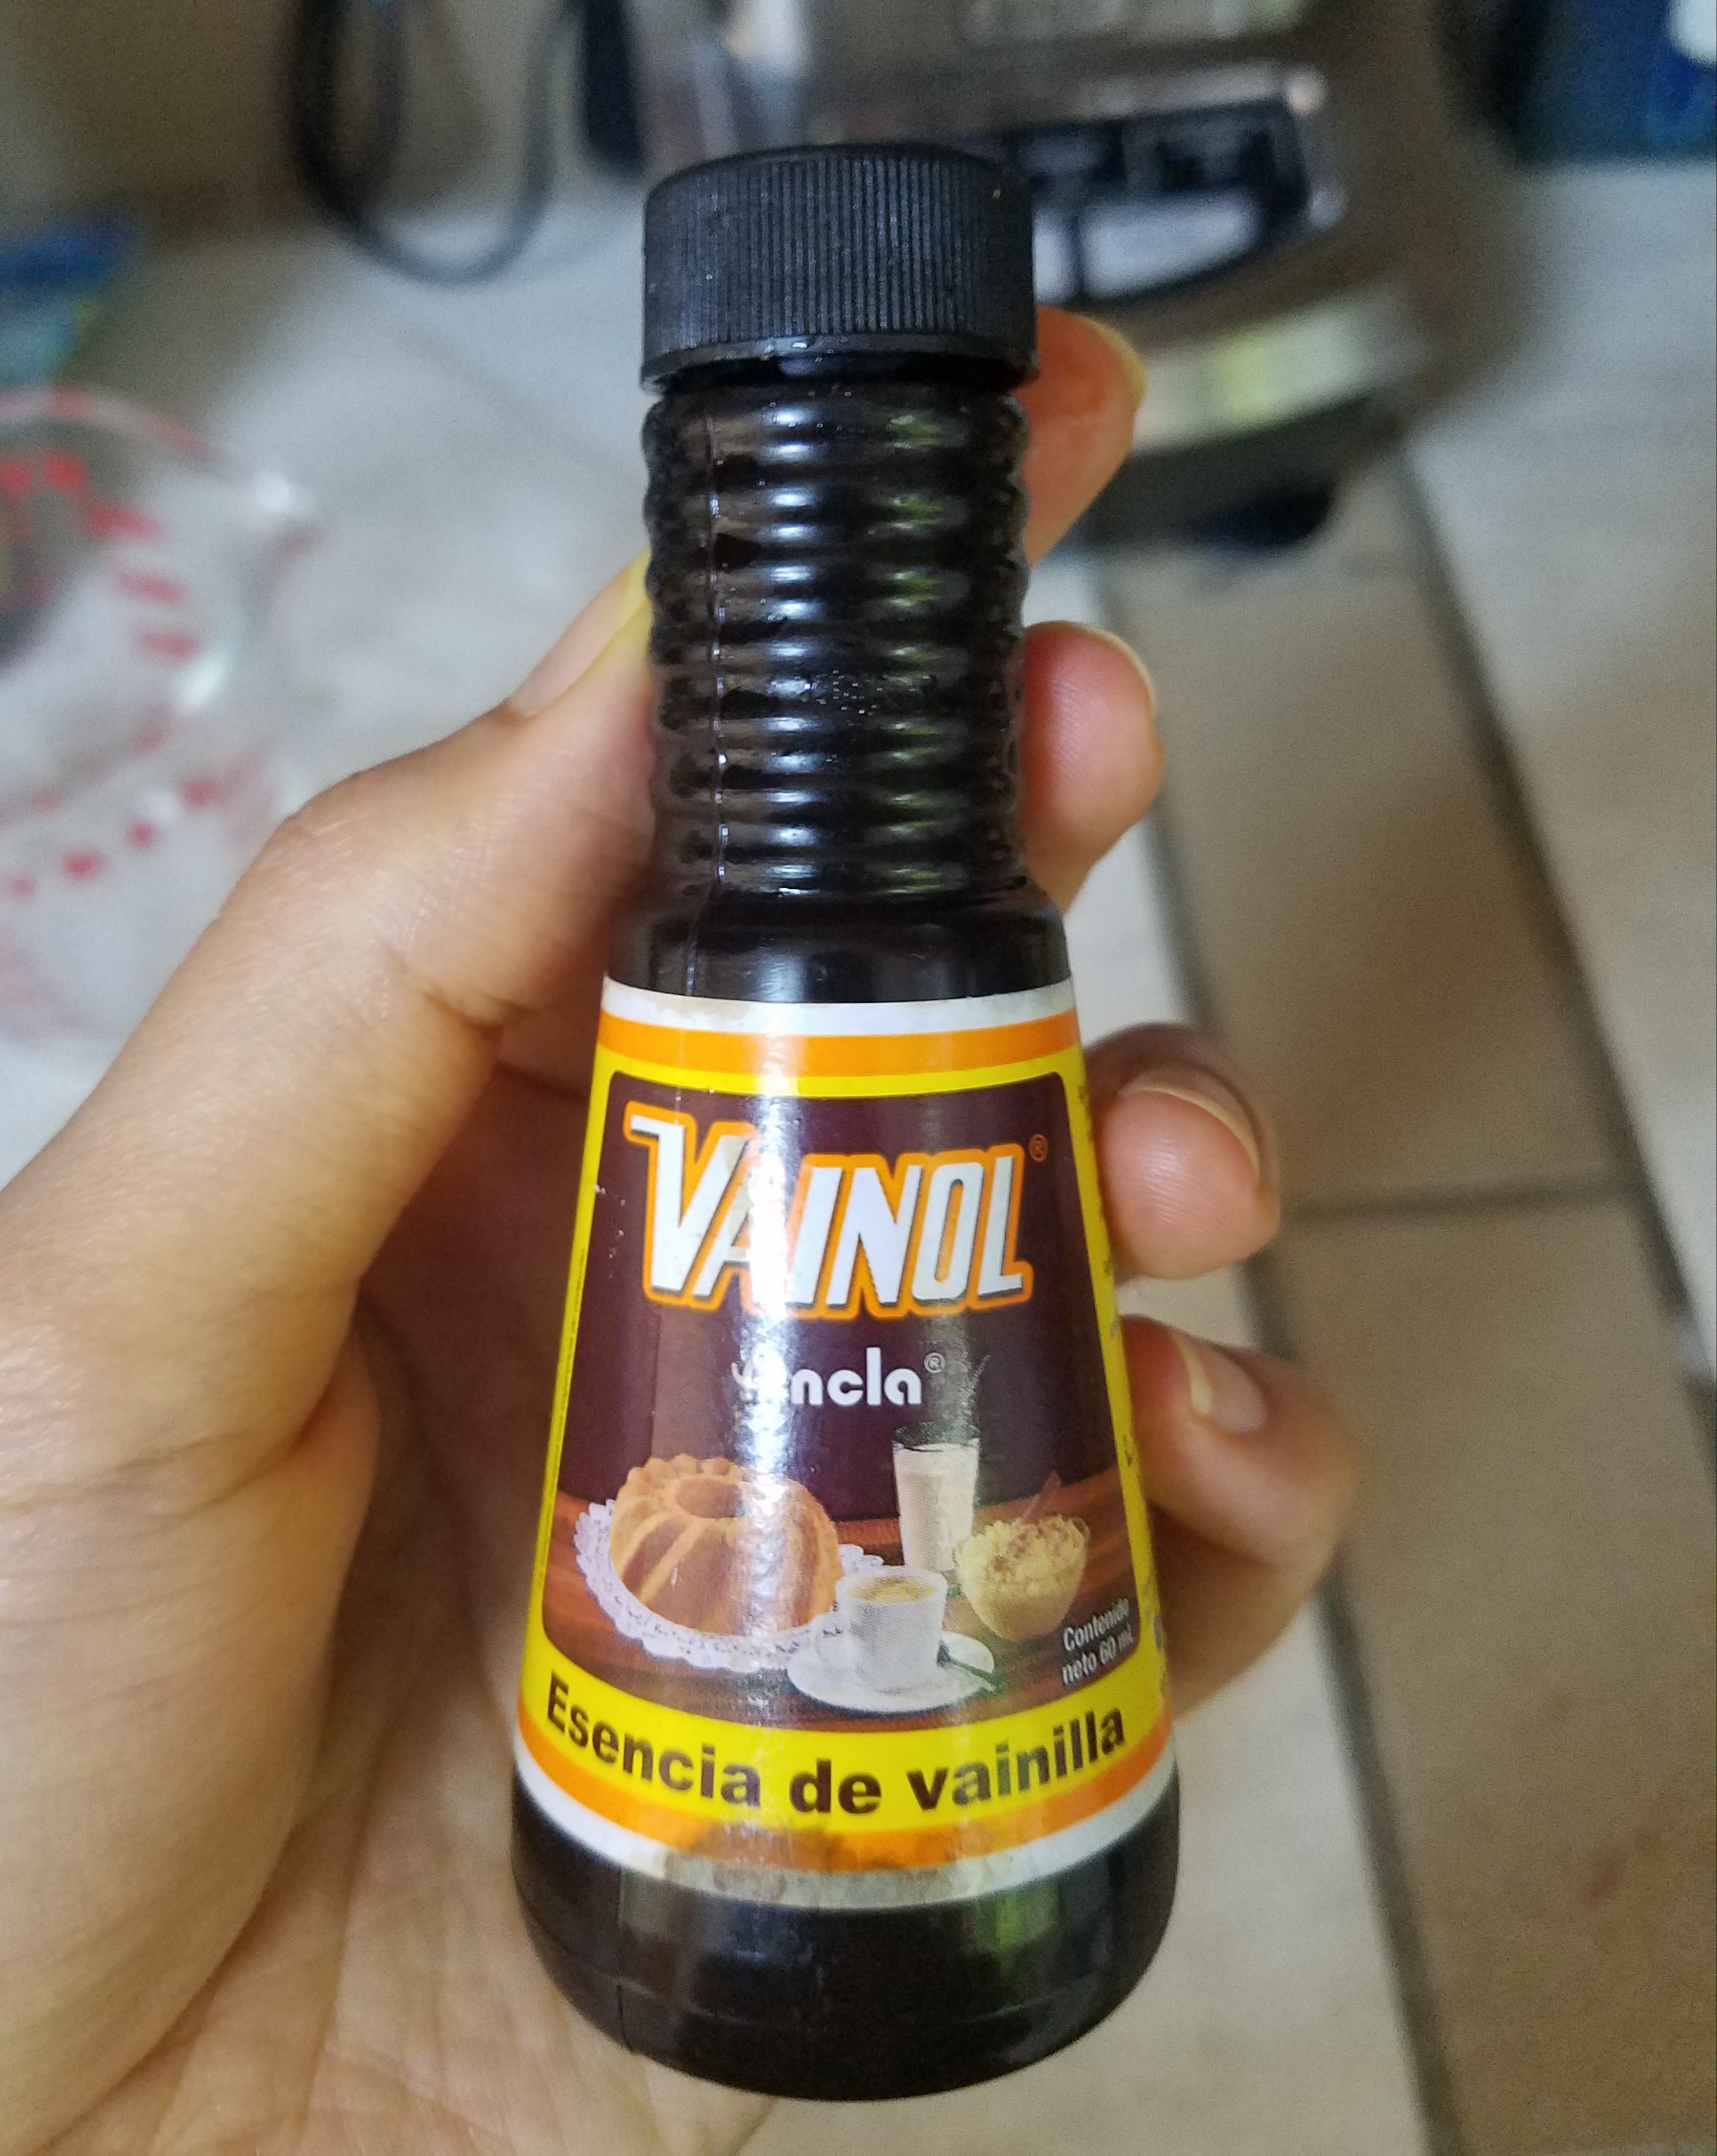
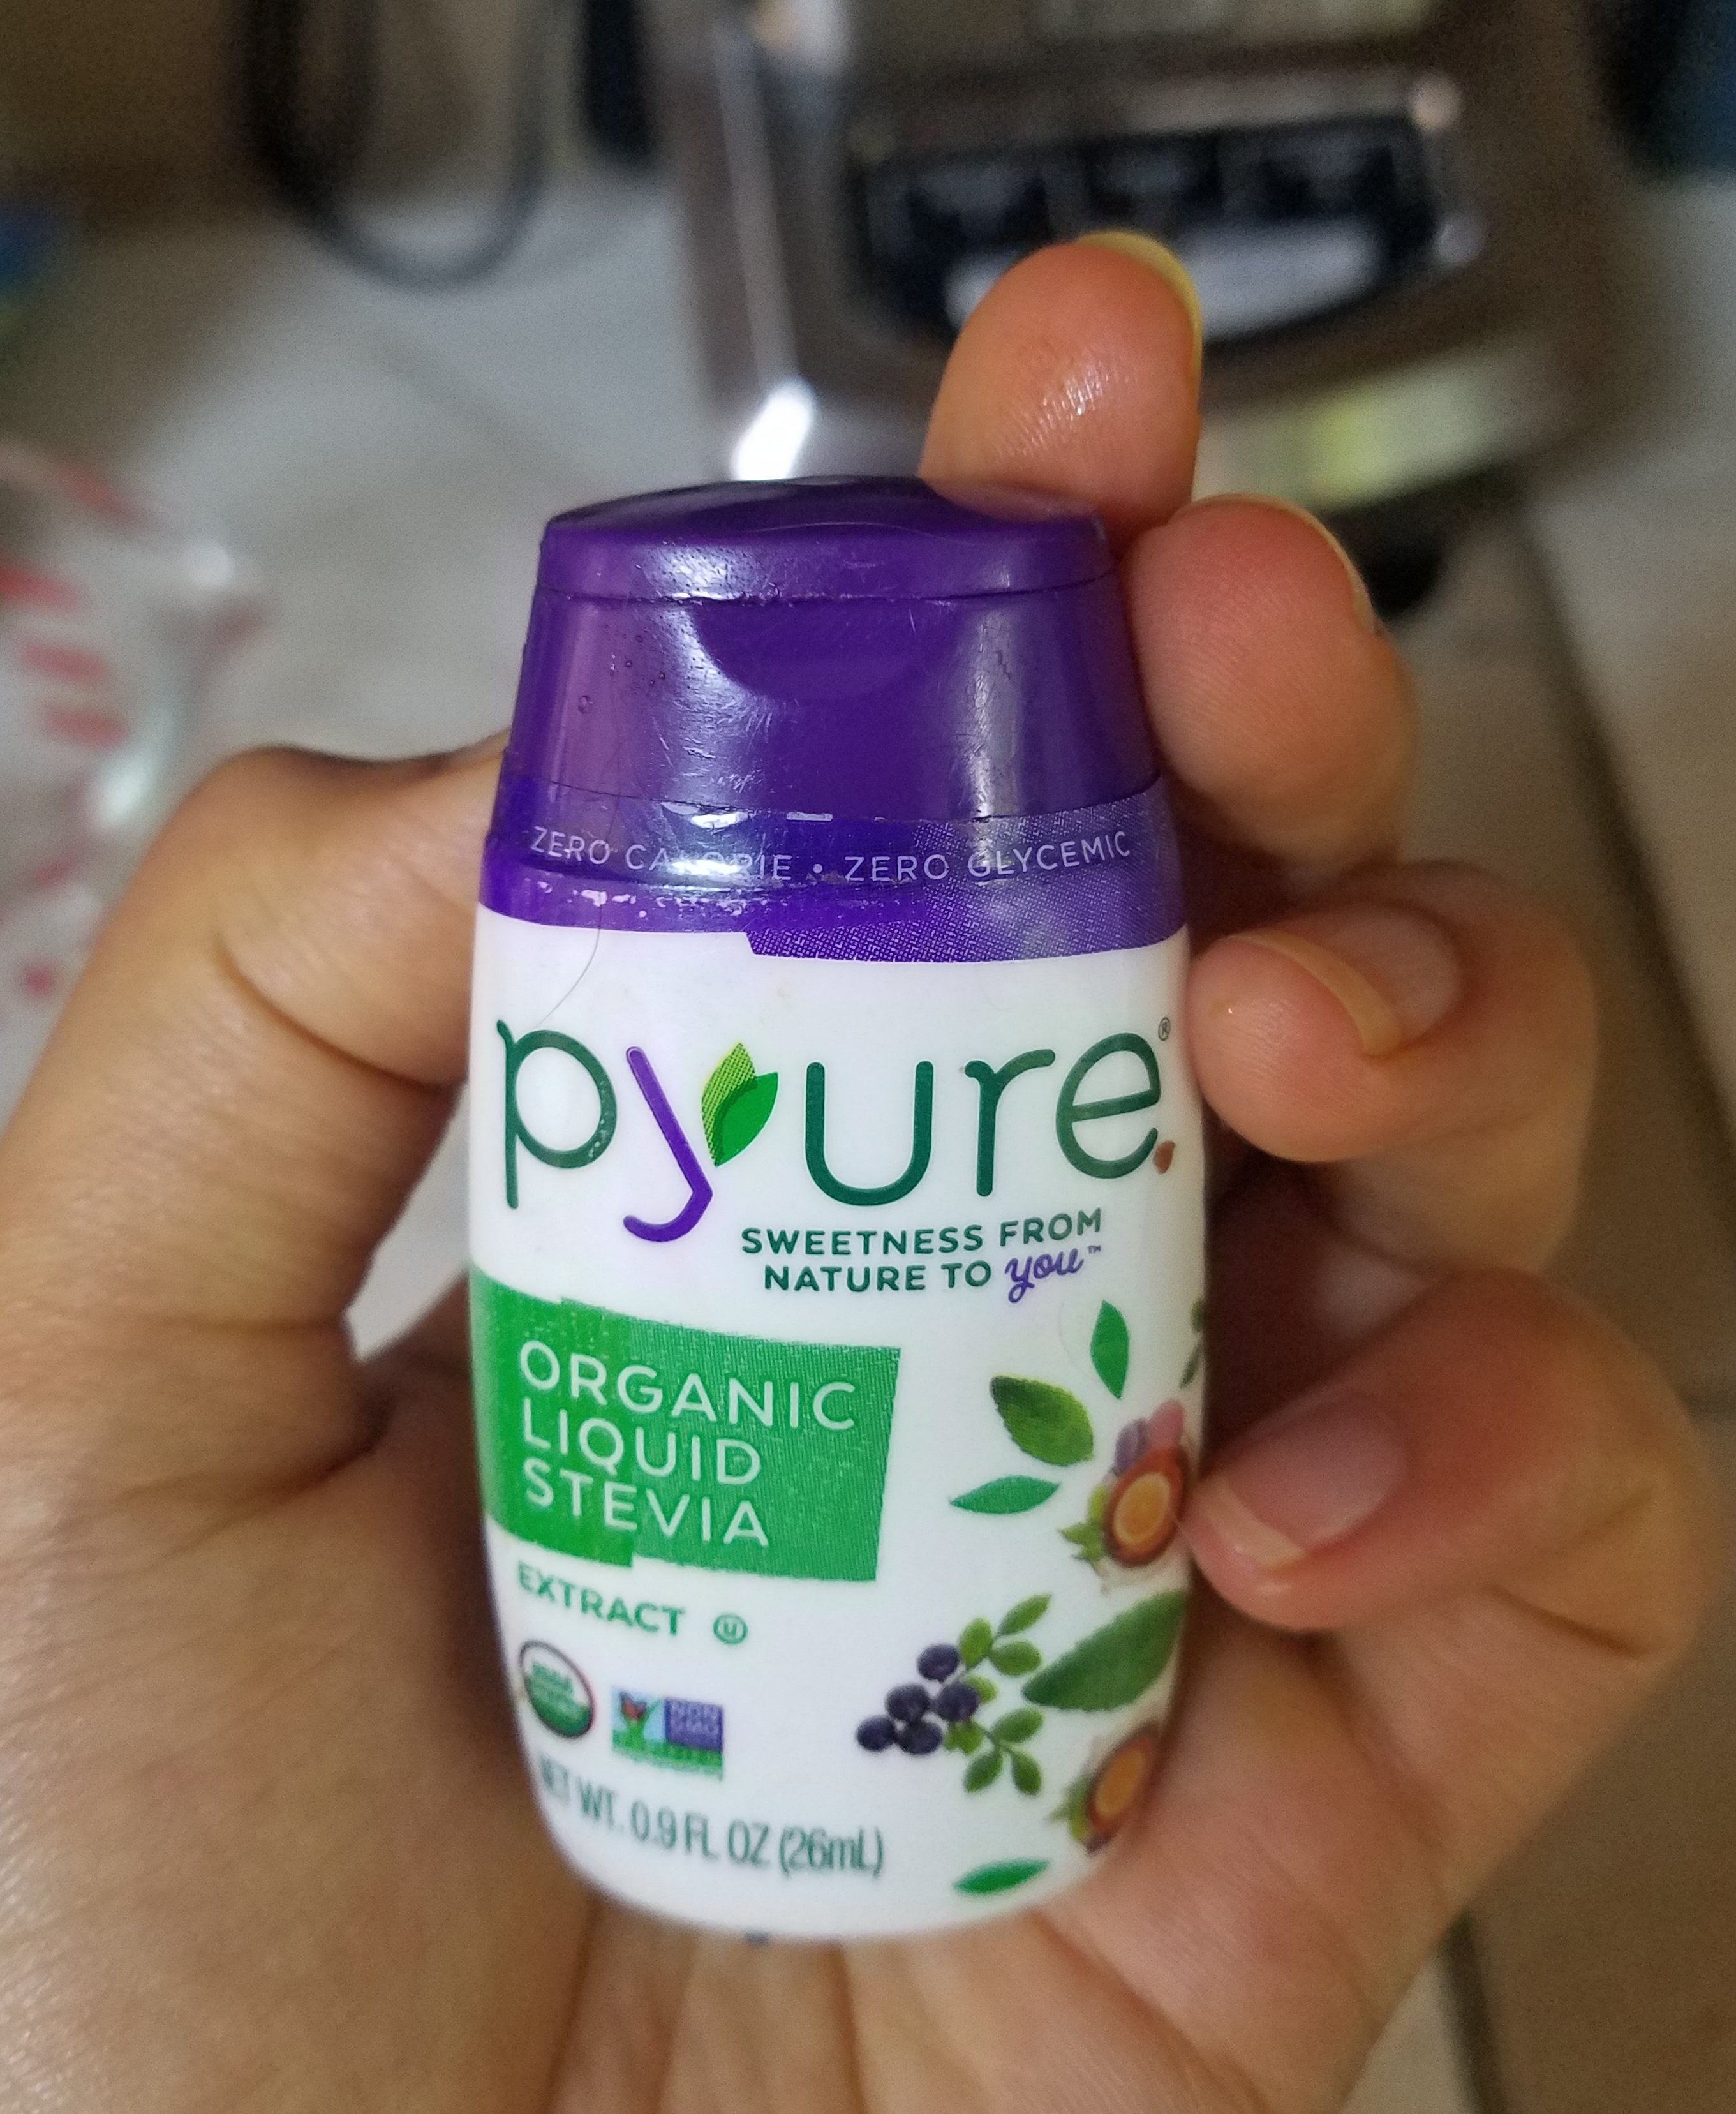
Of course I tend to get a little fancy and doctor things up, so I added a little bit of vanilla extract and a few stevia drops (which I obviously brought with me from the States) to make it taste just like slightly sweetened, cartoned vanilla coconut milk.

Whisking in a small amount of natural thickener such as xantham gum, guar gum, or gellan gum (if you can access it where you are) will lend a slightly thicker consistency that mimics store-bought Coconut Creamer even more – but the thinner, milkier version that results from this recipe suits my needs just fine. :)

And cost wise? One can of coconut cream cost me about 1500 colones (around $3 USD) and is enough for TWO to THREE GALLONS of drinkable coconut milk or creamer. One HALF gallon of Silk brand coconut milk typically costs $3-5 USD anywhere in the world that I’ve been, so this recipe is a very budget-friendly one that is well worth trying no matter where you are!

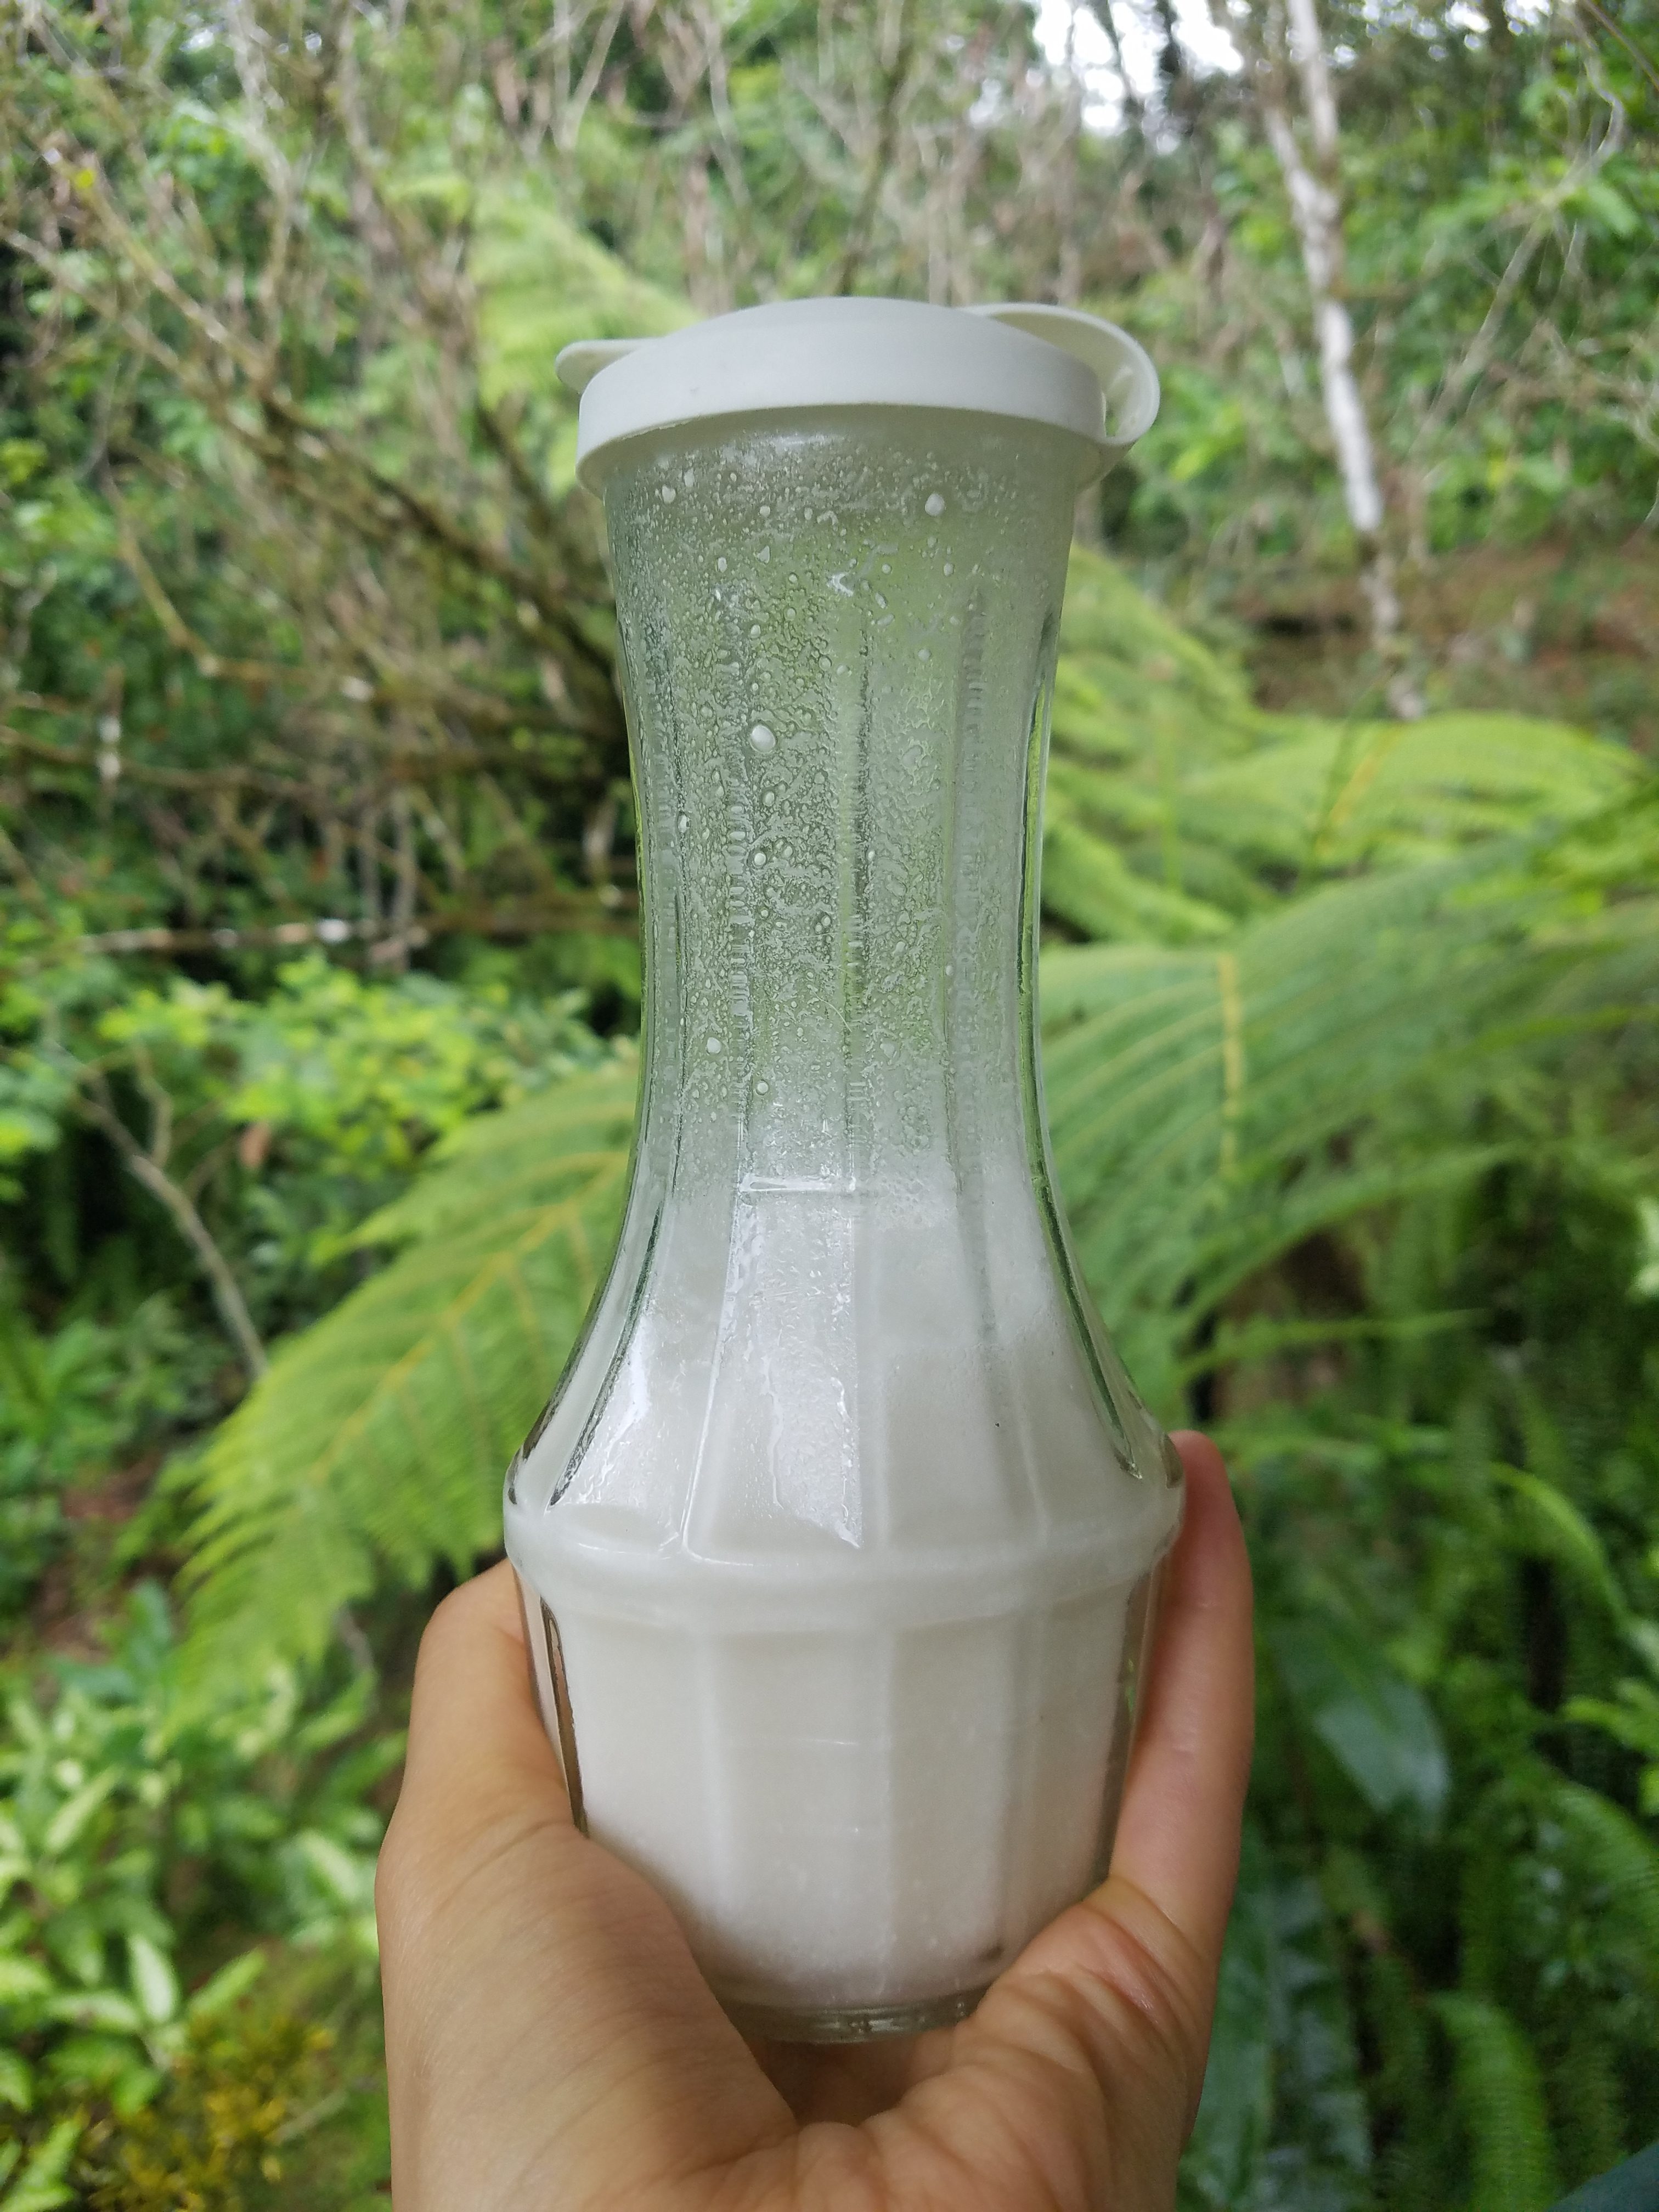
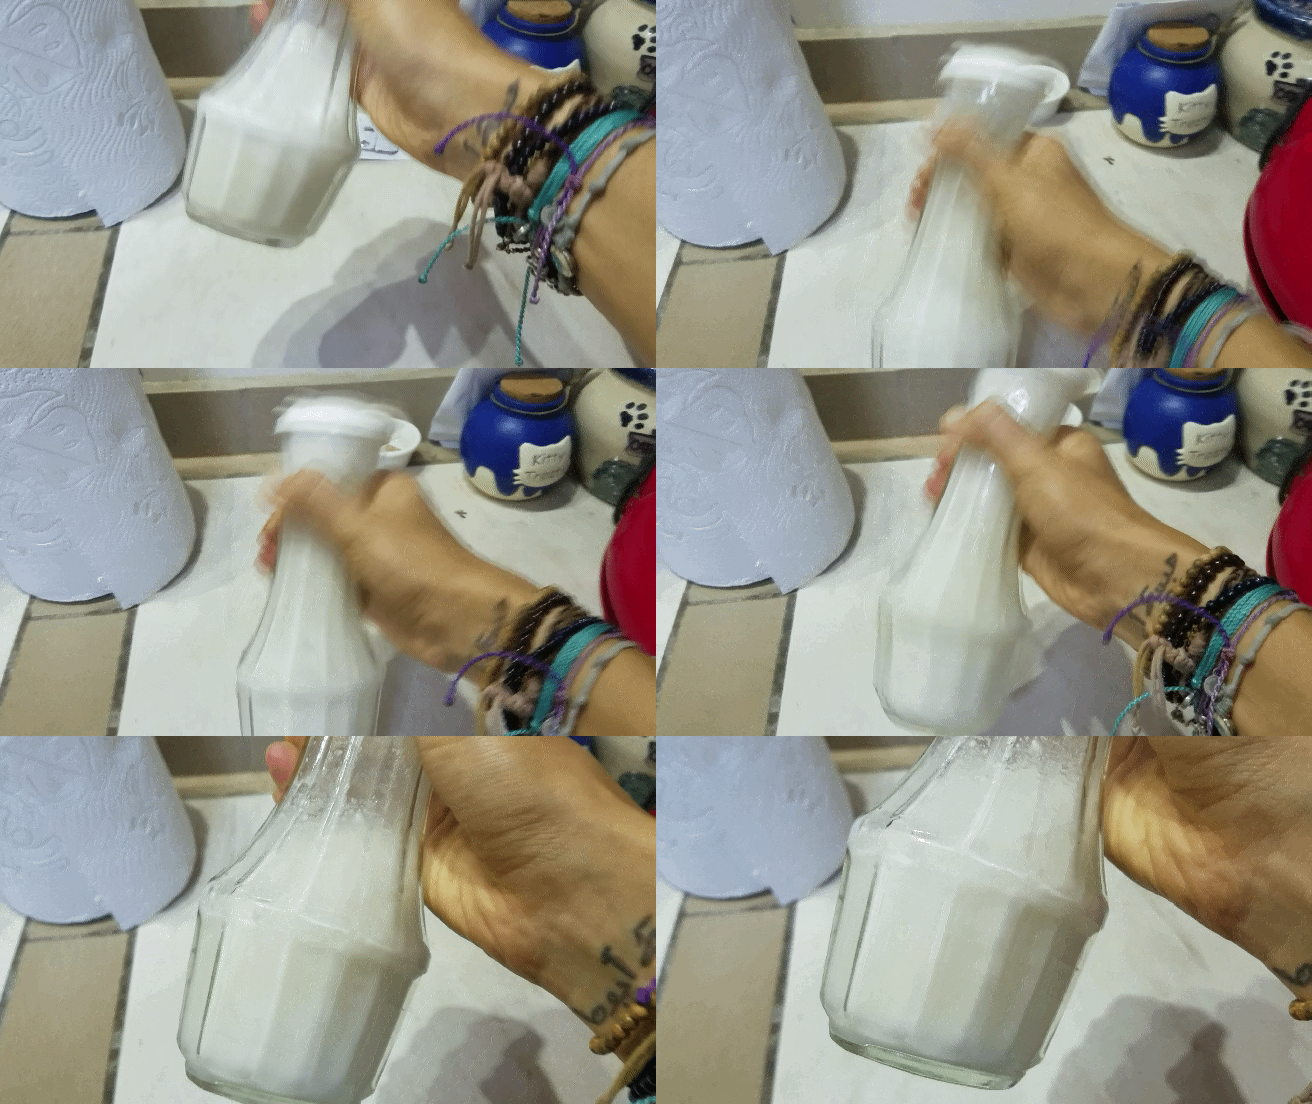
To prepare, you can whisk everything together or blend it in a blender. Then just pour into your chosen container like this perfect one I found on Amazon. It’s important to remember to keep it refrigerated and shake it up well before using each time since it does slightly separate (adding the thickening gum does help keep it more consistently smooth).

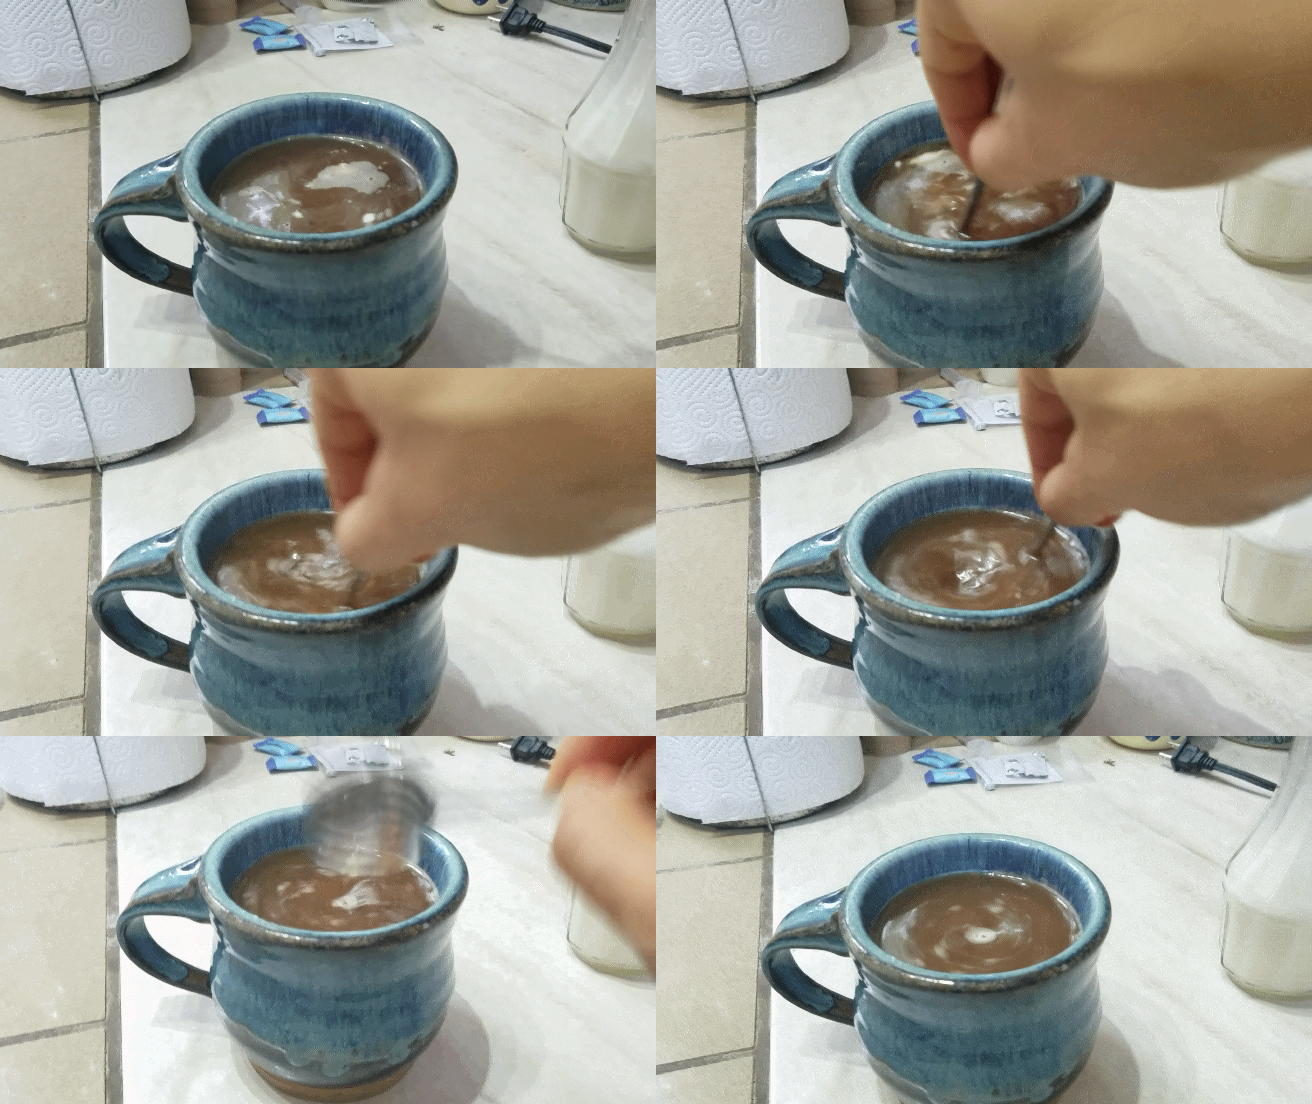
I mainly use this as a “creamer” for my coffee, but it would also make a great milk replacement for any of your milky needs.

Here’s the crazy simple recipe :) Enjoy!

Homemade Coconut Milk or Coffee Creamer

  • 14 C. coconut cream (ingredients should be only 100% coconut cream, if possible) OR 12 C. canned coconut milk (full fat, not “light”)  – shake cans well before opening
  • Slightly less than a 12 gallon of chilled, filtered water
  • Small pinch of sea salt
  • Optional (for vanilla flavor): 12 to 1 tsp. vanilla extract
  • Optional (for sweetness): Stevia drops to taste OR 1 Tbsp. cane sugar liquified in a small amount of warm water OR 1 Tbsp. maple syrup
  • Optional (for chocolate flavored): 1 Tbsp. unsweetened cocoa powder
  • Optional (for coffee flavored): 2 Tbsp. instant coffee granules liquified in a small amount of hot water
  • Optional (for thickness): 12 tsp. guar gum, xanthan gum, or gellan gum

Directions

  1. Put coconut cream or milk, chilled water, sea salt, and your optional ingredients of choice in a blender and blend on low until all incorporated, about 1-2 minutes (you can also whisk very well in a large bowl).
  2. Carefully pour into your milk jug or container.
  3. Refrigerate (shaking well before each use) and enjoy as a milk or creamer! It should be good for about two weeks, though mine never lasts that long. Yum!

*If it doesn’t turn out “milky” enough for you, simply add more coconut cream by the teaspoon (or coconut milk by the tablespoon) until your desired flavor and consistency is reached. To make it thicker and creamier, add in more thickening gum by the one-eighth of a teaspoon and blend well after each addition.

*You can freeze your remaining coconut cream/milk in a separate container for future use.

Interested in finding amazing homes to stay in around the world at no cost to you?

Sign up and get 20% off your membership at TrustedHousesitters.com, my favorite website for finding worldwide house and petsitting opportunities, by CLICKING HERE. I use and highly recommend it!

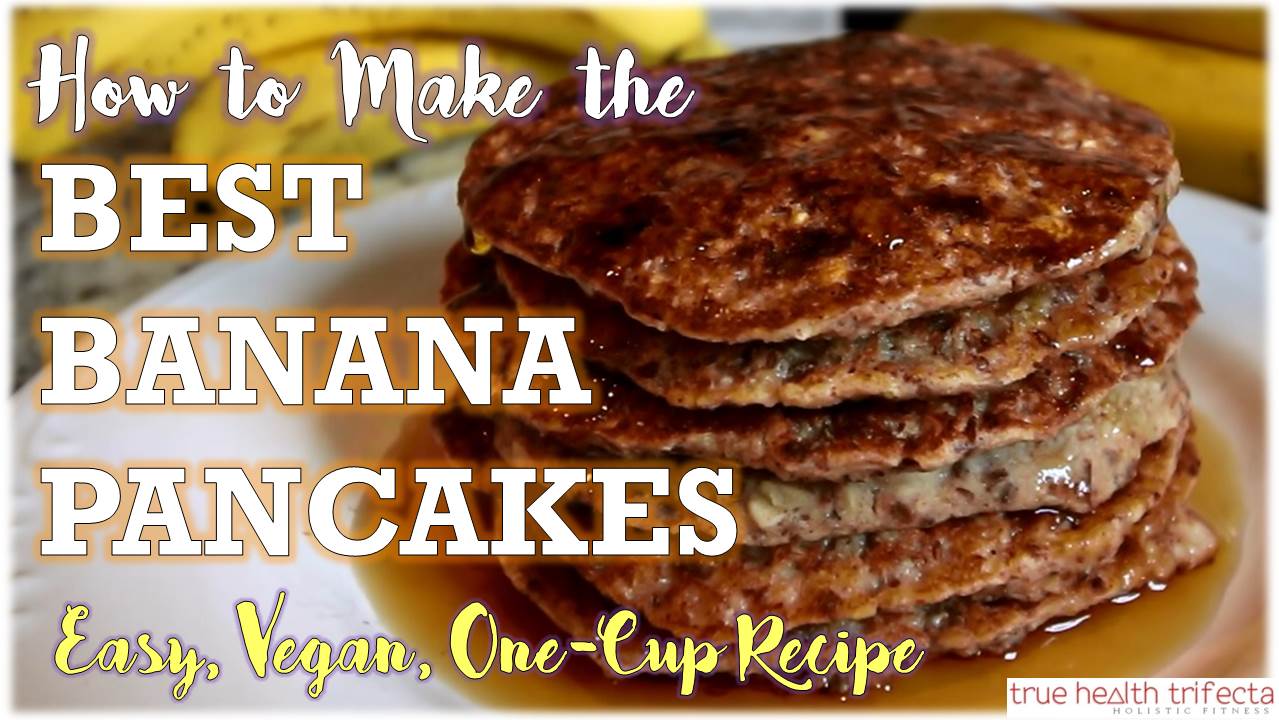
RECIPE: How to Make the BEST Banana Pancakes – Vegan / Easy / Single-Serving / Gluten Free

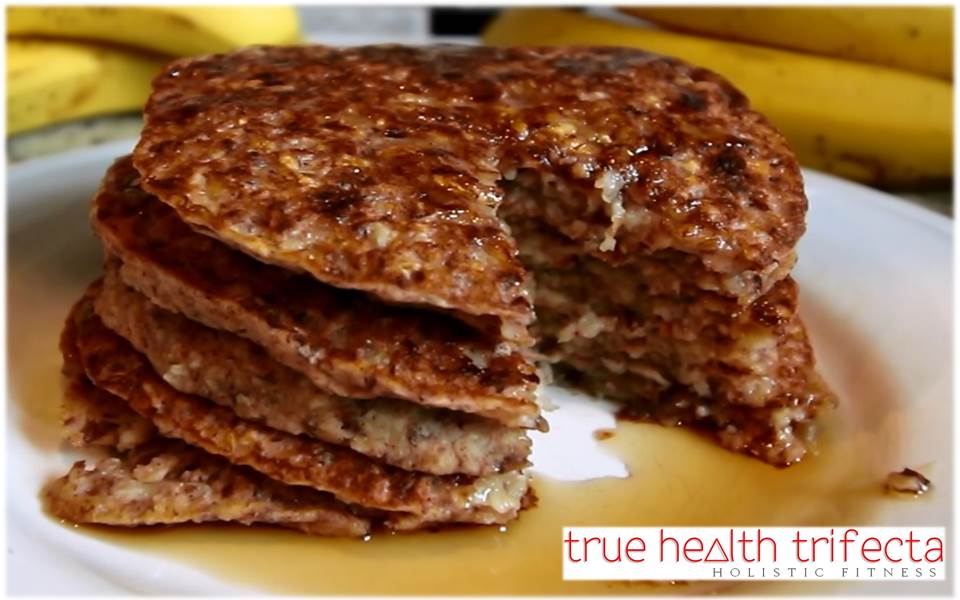
This is one of my GO-TO recipes for the easiest, most delicious, minimal-ingredient Banana Pancakes ever…

Banana Pancakes thumbnail

I have this almost every morning with my “moon egg” (if you don’t know what I’m talking about, check out this video: https://youtu.be/pNkGUw9HPNE).

These Banana Pancakes are not only moist and delicious, but also happen to be vegan, gluten free, and sugar free (for you fans of the “free’s” out there) while being very fiber- and nutrient-rich. Not to mention, crazy flavorful!

WATCH THE VIDEO HERE, FULL RECIPE IS BELOW:

 
SINGLE-SERVING BANANA PANCAKES

Ingredients:

A Splash of Apple Cider Vinegar (about 2 tsp.)

½ cup Unsweetened Almond Milk to start (have more on hand to get batter consistency)

A small splash of Pure Vanilla Extract (about ½ tsp.)

4-5 drops of Liquid Stevia (to taste)

½ of One Large, Ripe Banana (make sure it is spotty with brown and NOT green or all yellow)

1 Tbsp. Chia or Flaxseeds (or one packet of this Flax Chia Blend by Carrington Farms)

½ cup Quick Cooking Oats, pulsed in a blender or food processor to be semi-ground

½ tsp. Baking Powder

Generous sprinkle of Ground Cinnamon

A pinch of salt

DIRECTIONS

  • Get out a 2-cup Liquid measuring cup, like this one I use in the video and a mini-spatula or fork. Put all of the liquid ingredients in the measuring cup (measuring as you go), stir, and let sit for a few minutes.
  • Take half of the banana and break it apart with your fingers as you add to the liquid ingredients. Then take a fork and mash/mix it in until larger chunks are gone.
  • Add in all dry ingredients, mixing well. Add more almond milk (typically ¼ to of a cup) until it is more of a moderate batter consistency – not too thin, but not thick. Allow the batter to thicken by letting it sit ~5-10 minutes.
  • Preheat stove top to medium heat (I typically go to level 4). Once pan is heated, spray pan with coconut oil spray. Give batter a quick stir and pour in about ¼ cup per pancake.
  • Set a timer for 3 minutes, then flip. Pancakes should be a light golden brown. Let other side cook another 3 minutes.
  • This makes 4-6 pancakes depending on your size. I like to pour a little maple syrup on the side and dip them, but you can also stack ’em up pretty and pour maple syrup on top! Feel free to slice up the other half of your banana to top them off, too!
  • ENJOY (I know you will… they’re amazing) :)

bananapancakes


Find more recipes and smart food-shopping tips in my Grocery Store Tour Guide!


Easy, Homemade Oat Waffles (or pancakes) – gluten-free, vegan, low-fat, delicious! (RECIPE)

If you’re looking for a twist on getting healthy oats in for breakfast, but want to venture from the typical (delicious) bowl of warm oatmeal as your only vehicle – this recipe is exactly what you need.

EASY, Homemade Oat Waffles (or pancakes, if you don’t have a waffle maker).

20160207_114526

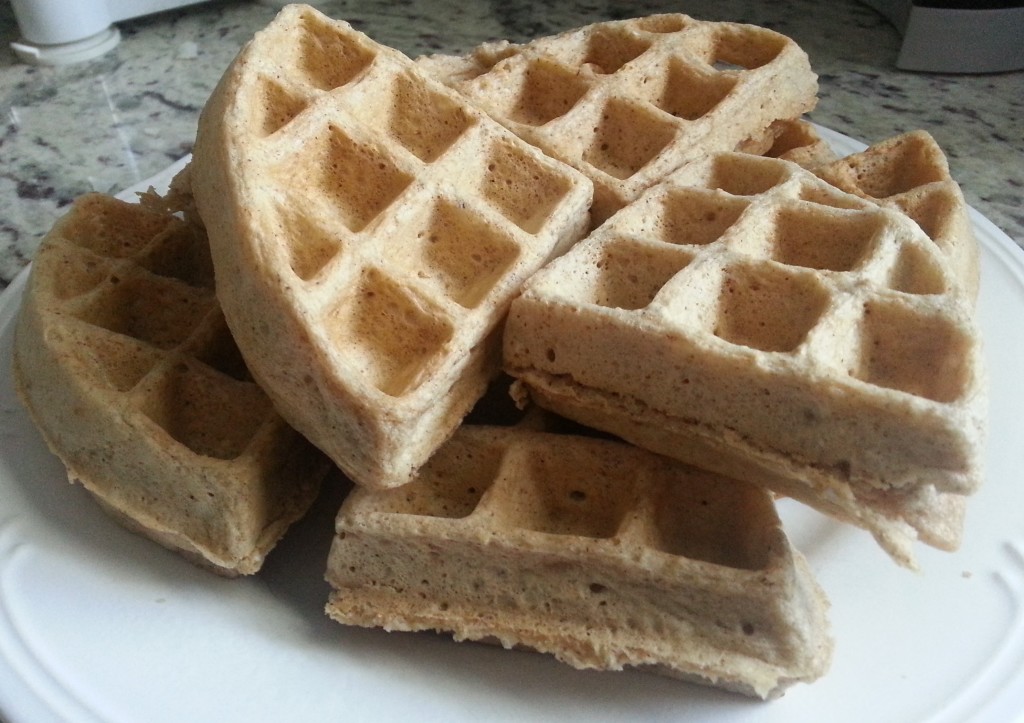
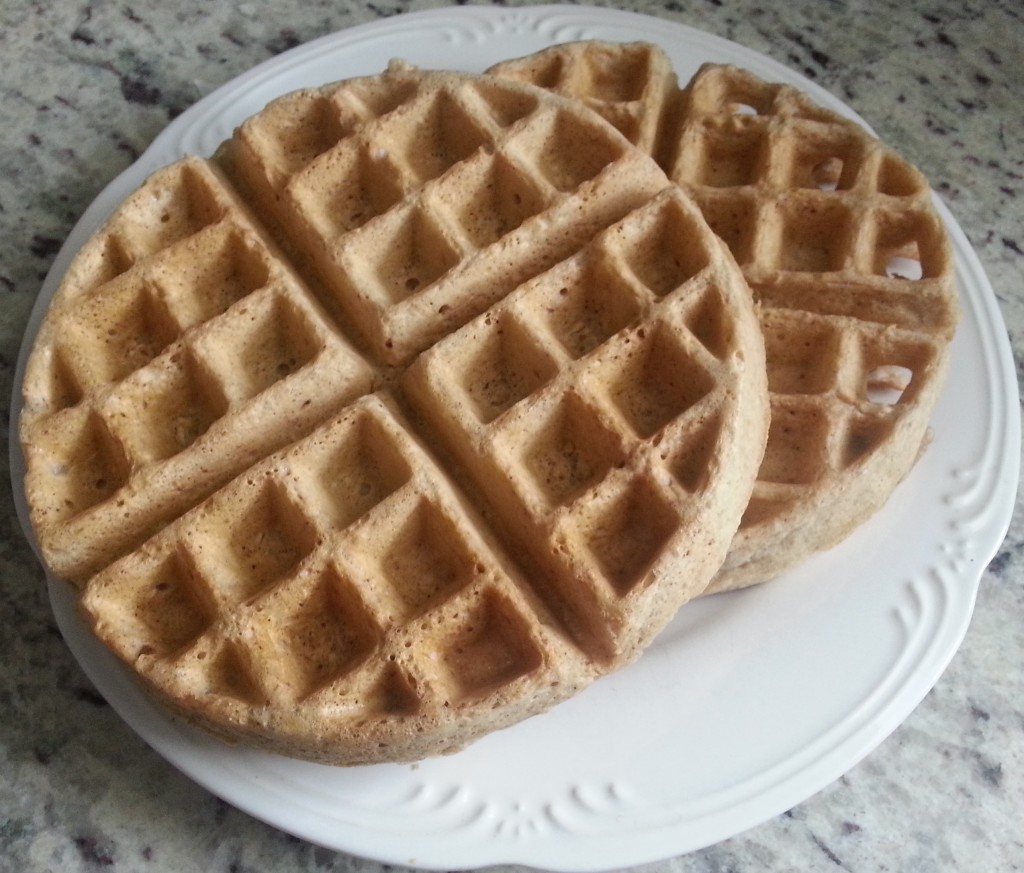
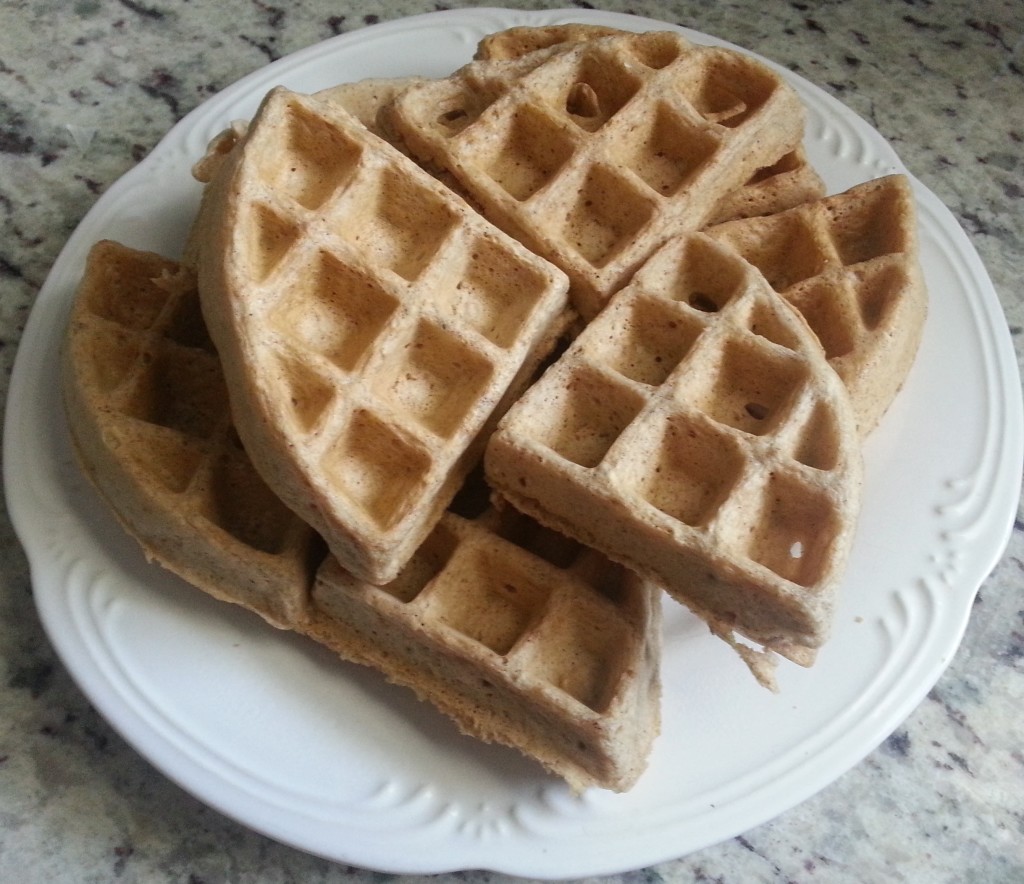
This recipe takes less than ten minutes to put together, twelve total minutes to cook, and the result is two giant waffles (which can yield 2-4 servings depending on your size and satiation) or 6-8 medium pancakes. It also utilizes ingredients that can all be found on the grocery list within The Grocery Store Tour Guide & Nutritional Workbook.

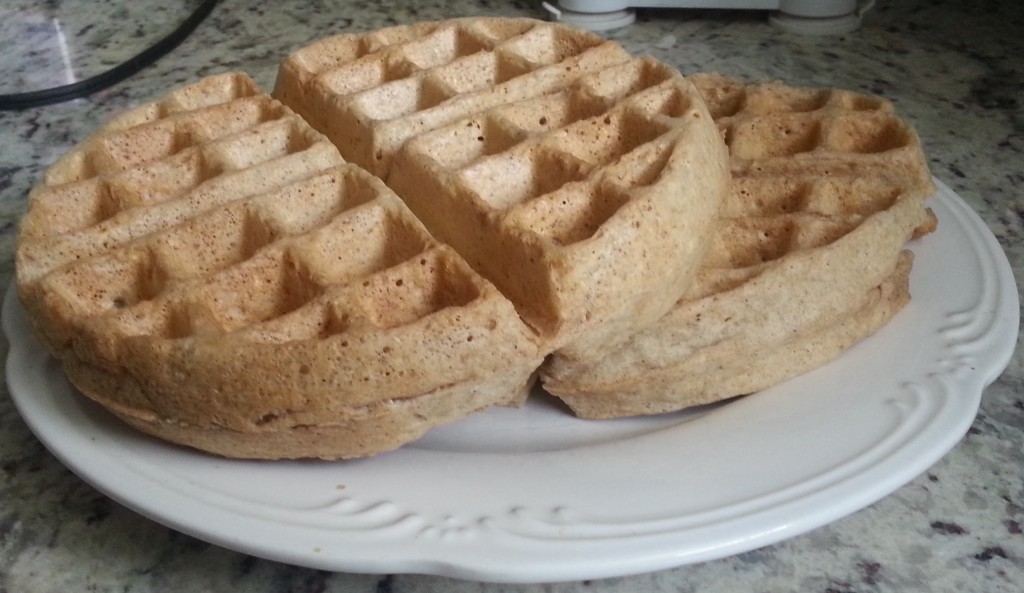
And if you’re worried about the overt denseness that a lot of oat-based recipes are guilty of producing? You’ll see that these waffles – though seemingly more dense than those made with a typical store-bought batter at first – turn out perfectly crispy on the outside while staying soft and fluffy on the inside.

20160207_114314

Plus, these high-fiber waffles will help satiate you and keep you full much longer than processed or store-bought mix versions. You can enjoy them with a touch of maple syrup or honey, eat them aside a scramble, or even use two pieces as your bread for an almond butter and banana sandwich.

You can even make these in bulk and freeze them. Just pull your serving out of the freezer and heat up in the toaster oven whenever a waffle-urge hits!

20160207_114230

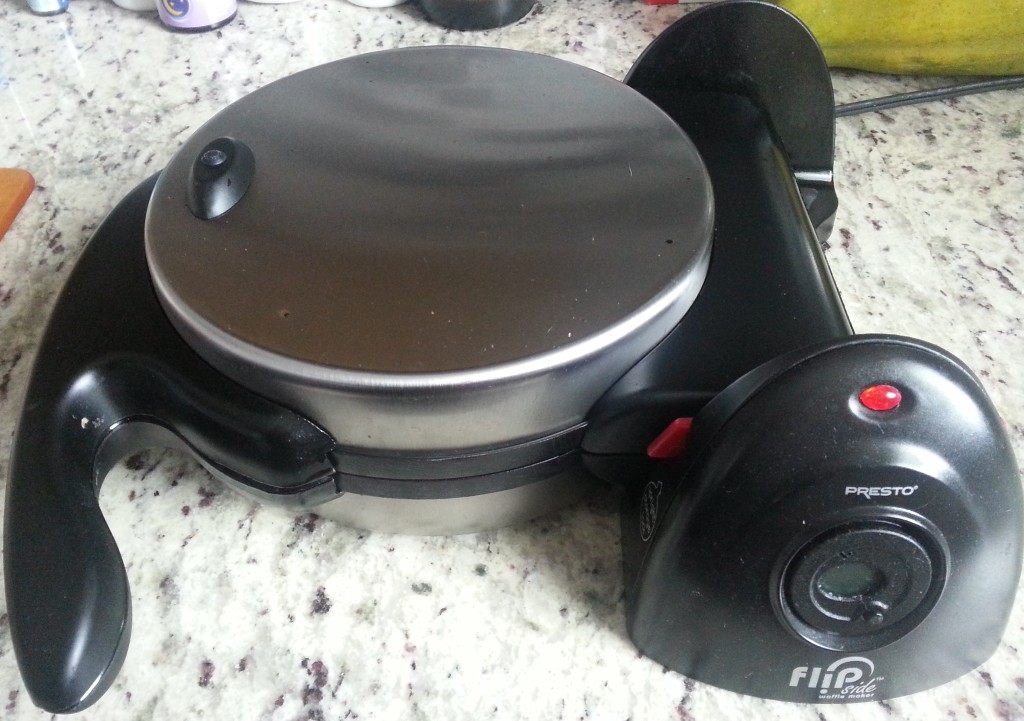
As for the waffle maker I use, it is the Presto FlipSide Waffle Maker and it is amazing. I got it off of Amazon over two years ago and use it once a week on average, if not more. It not only makes the perfect waffles every time, but can be used as a sandwich press, scramble cooker, hash browns, and for tons of other sweet or savory concoctions. It’s easy to clean, takes up no kitchen space to store, and is virtually fail-proof.

20160207_112250

Basically, don’t be surprised if I organize a compilation of recipes utilizing this thing for a special eBook in the future… because it’s that awesome.

Once you bite into one of these crisp and fluffy waffles, you will taste their mild sweetness and hint of vanilla with cinnamon. They have just the right amount of whole-grain flavor while keeping the traditional feel of a classic Belgian waffle.

Now, enough talk. Onto this delicious recipe!


HOMEMADE OAT WAFFLES (or pancakes) *photos below

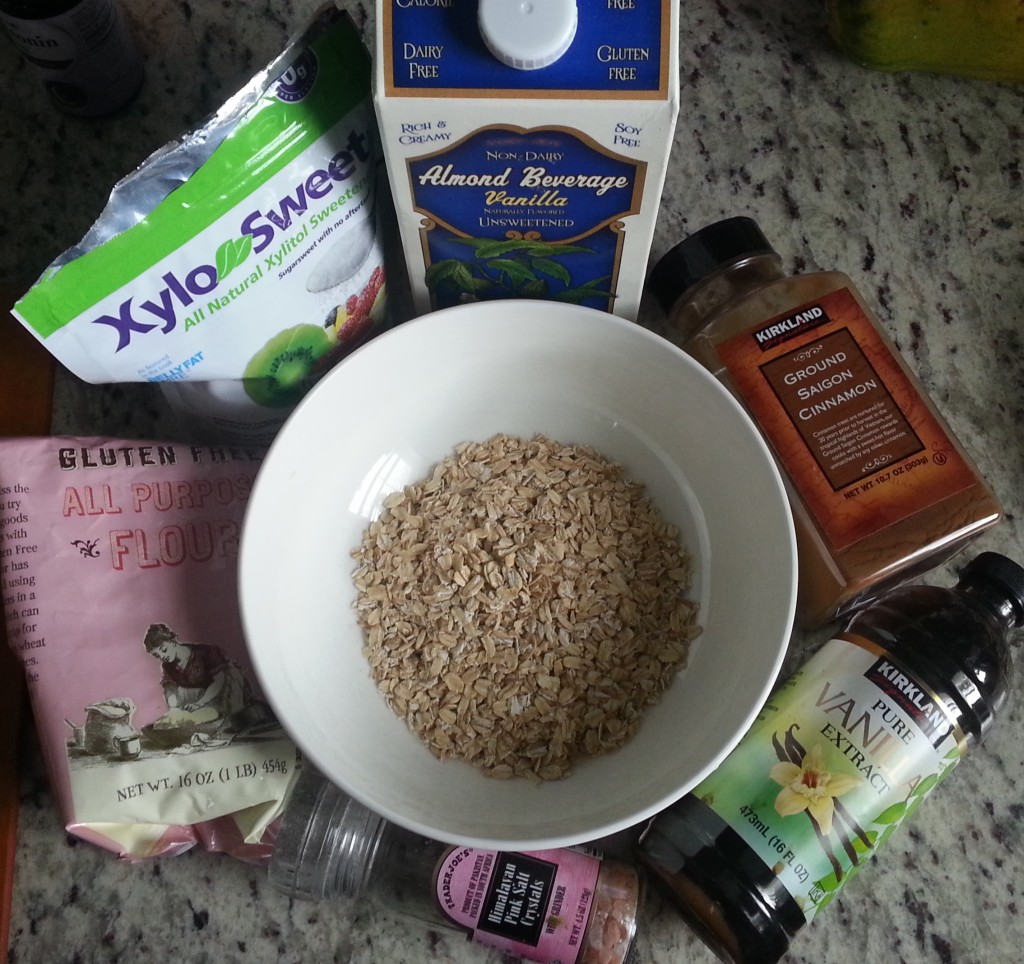
  • 1 cup of quick-minute or old fashioned rolled oats
  • ½ cup flour (I use a gluten-free flour blend, like Trader Joe’s brand)
  • 1 Tbsp. xylitol (or sweetener of choice, like stevia for baking, turbinado, regular sugar, or coconut sugar)
  • 2 tsp. baking powder
  • tsp salt
  • ½ tsp. ground cinnamon
  • 1 cup almond milk (I use unsweetened vanilla flavored)
  • 2 tsp. apple cider vinegar
  • 1 tsp. pure vanilla extract
  • ~8 drops liquid stevia (if you do not have this, use 2 Tbsp of your above sugar/sweetener instead of one)
  • 1 whole egg or a flax substitute (using a 1:3 ratio of ground flaxseed to water)
  • 1 tsp. coconut oil
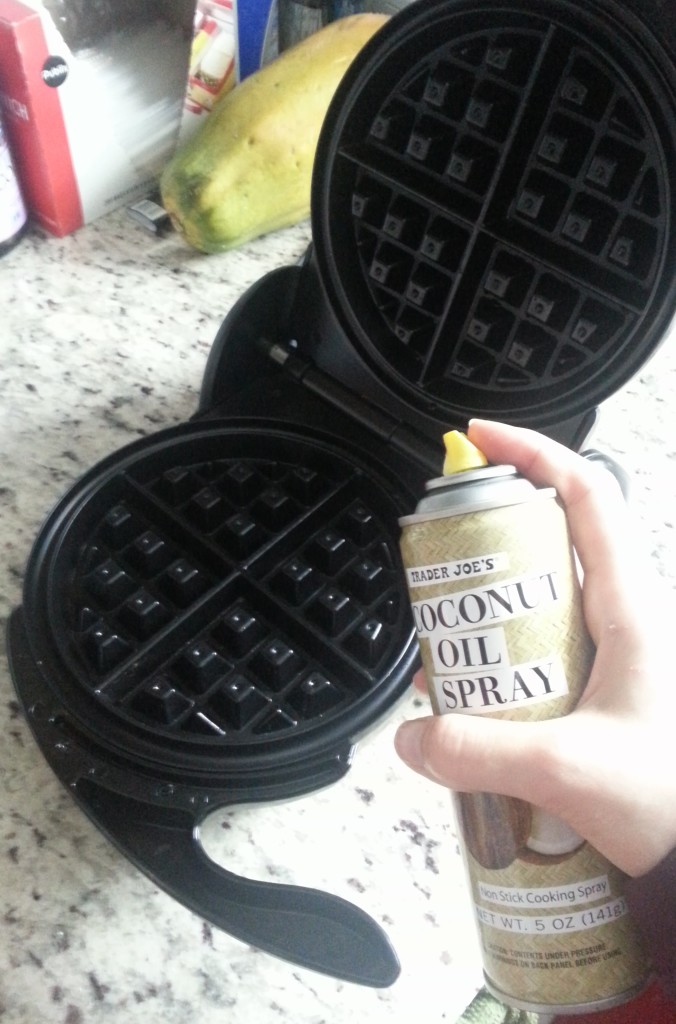
  • Non-stick cooking spray (like Trader Joe’s Coconut Oil Spray) for the waffle maker or pan
  1. Get out a large bowl, a liquid measuring cup (at least 16 oz large), your blender/food processor, and your waffle maker.
  2. Pour almond milk and apple cider vinegar into the measuring cup. Whisk and let sit as you do the following steps.
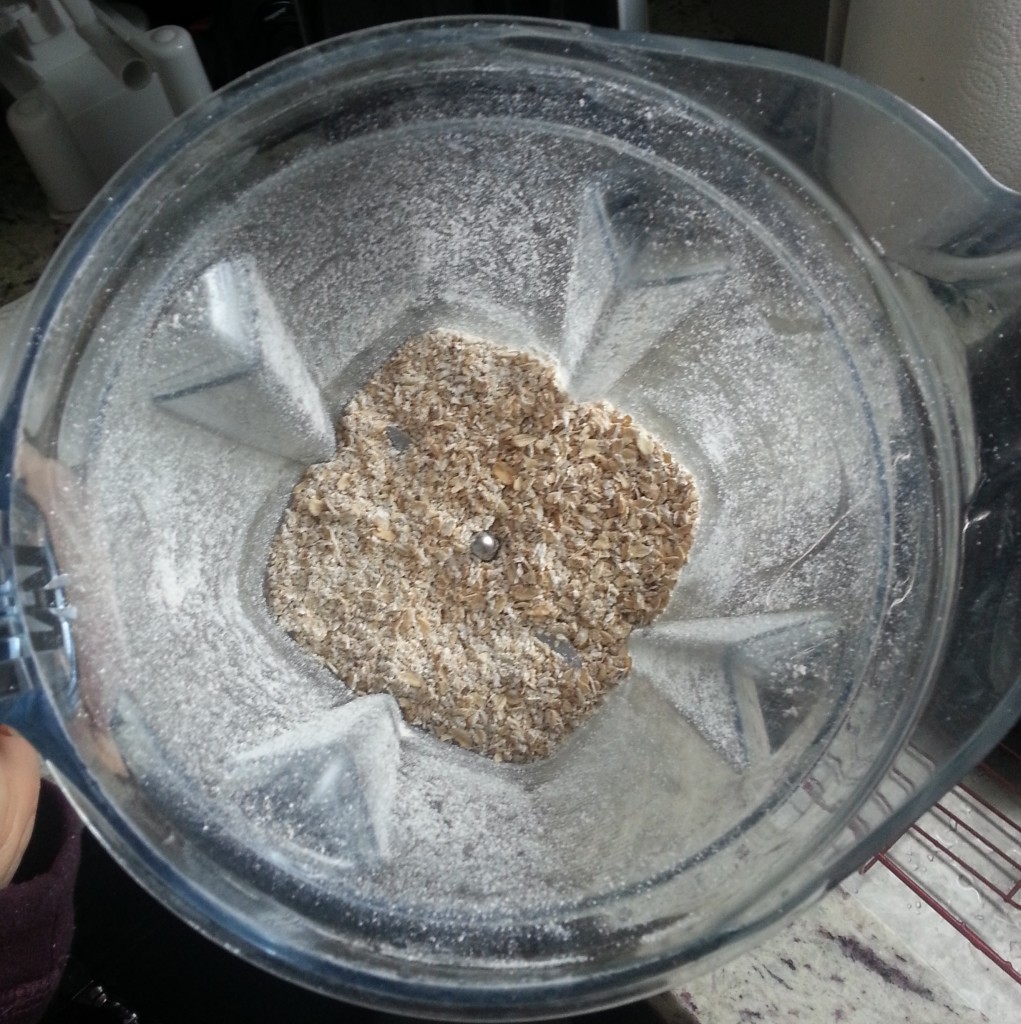
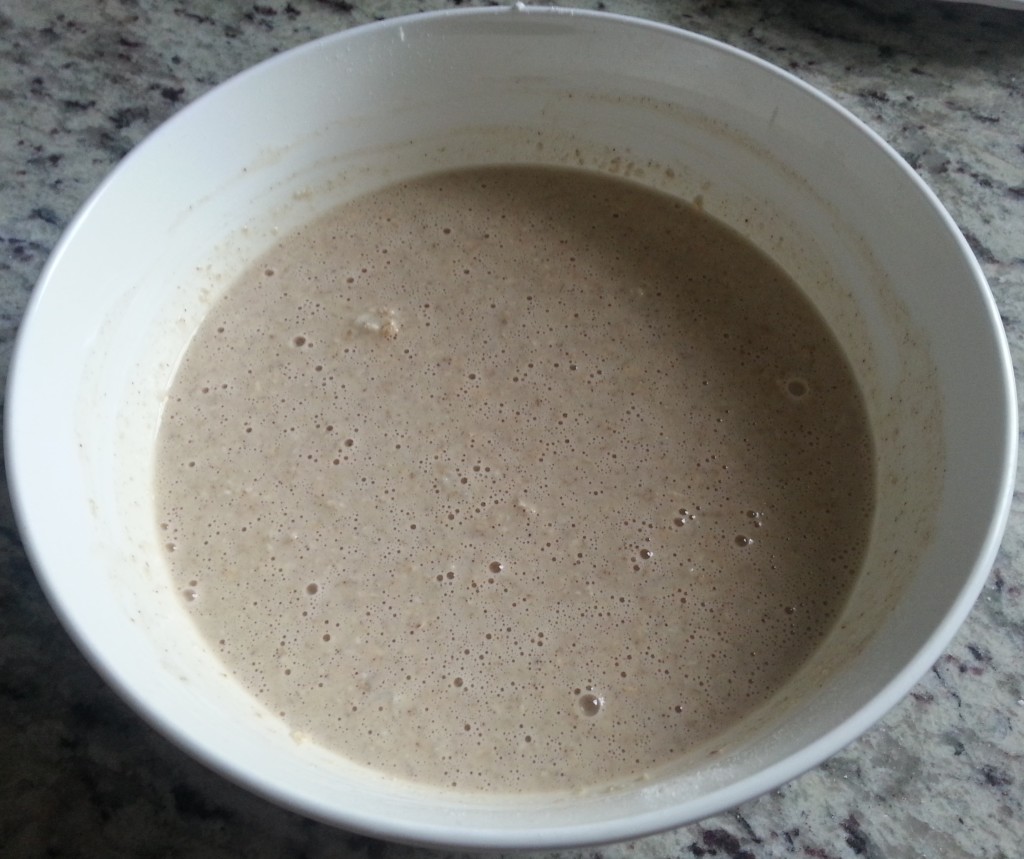
  3. Put oats into your blender or food processor and blend for about ten seconds, or until they are ground to about half the consistency that they were beforehand (see photos below).
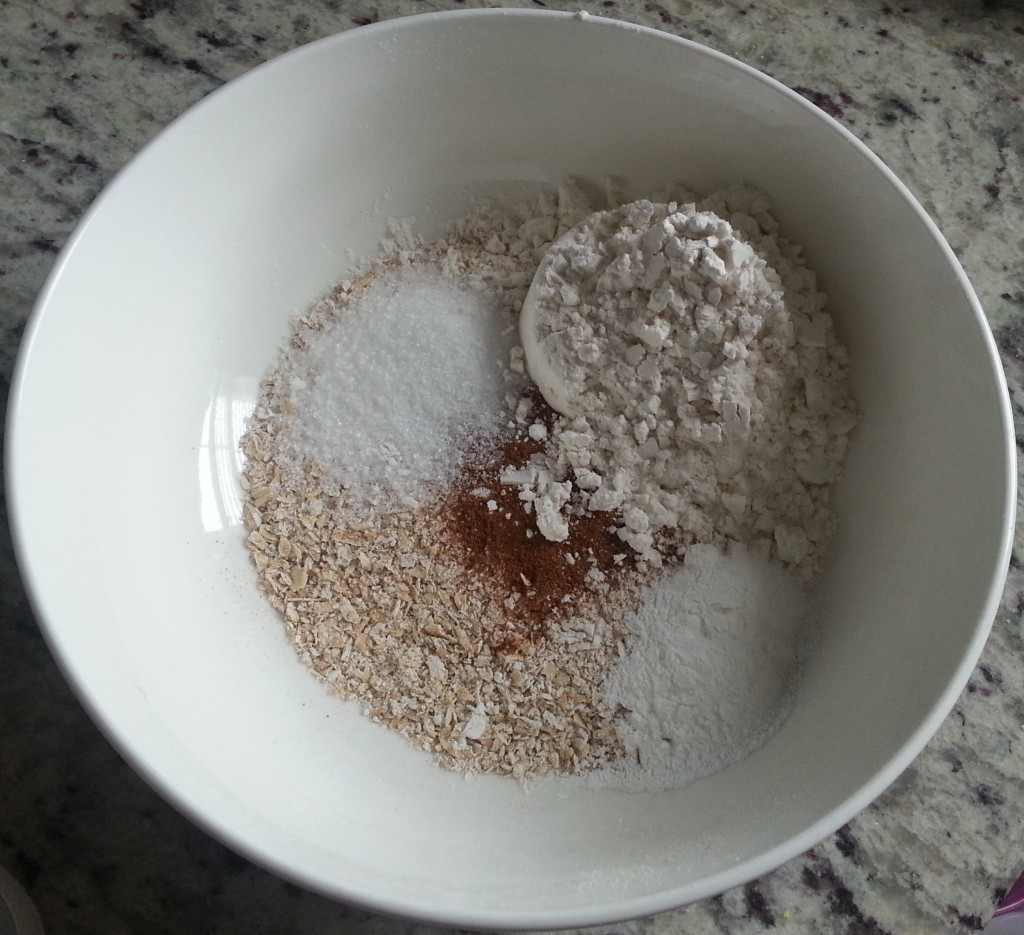
  4. Into your large bowl, put oats, flour, baking powder, xylitol/sweetener, salt, and cinnamon. Whisk altogether to incorporate.
  5. Into the measuring cup with liquids, add vanilla extract, liquid stevia, and egg (if using). Whisk to blend well and make sure egg is mixed, then add liquids to dry ingredients in bowl. Whisk well.
  6. Add flax-egg substitute, if using, and coconut oil into bowl. Whisk well (making sure coconut oil blends since it may be more solid due to the cold batter). Let batter sit for at least ten minutes to thicken.
  7. Plug in waffle maker to let it preheat (or begin heating pan, if making pancakes, on medium-high heat).
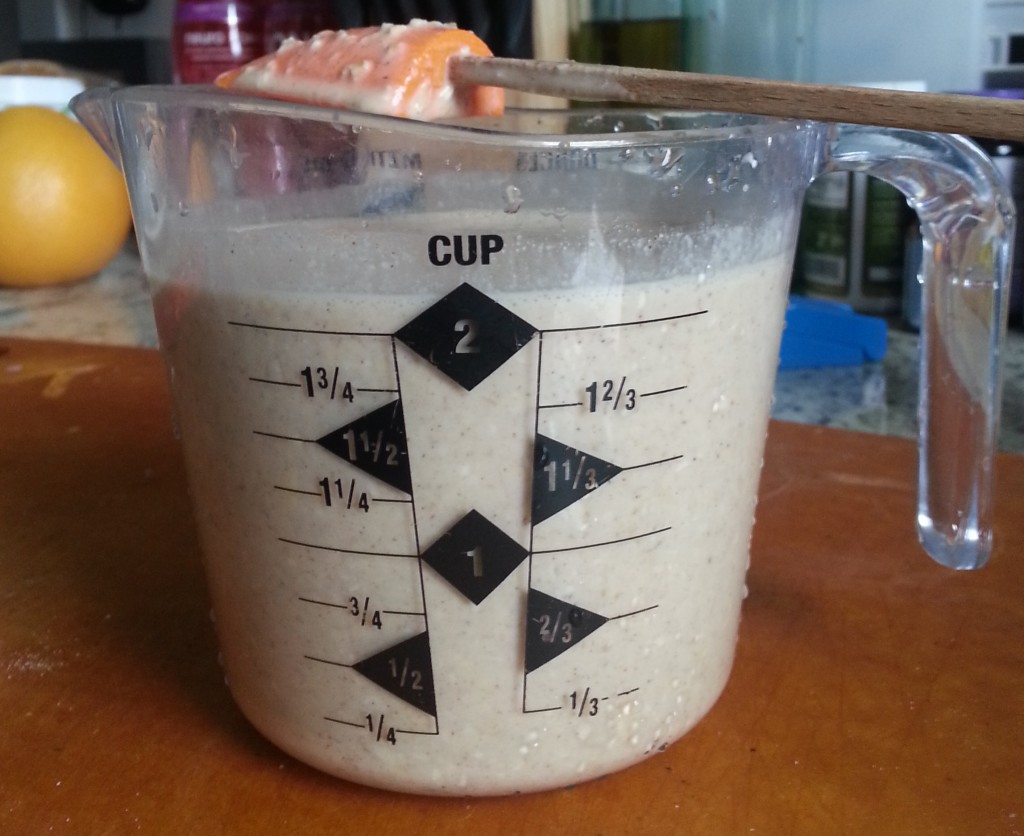
  8. After batter has rested for at least ten minutes, give a quick stir and pour it all into the liquid measuring cup. Scrape the bowl with a spatula to ensure you get all of the waffly-pancaky batter goodness into the cup (photo below).
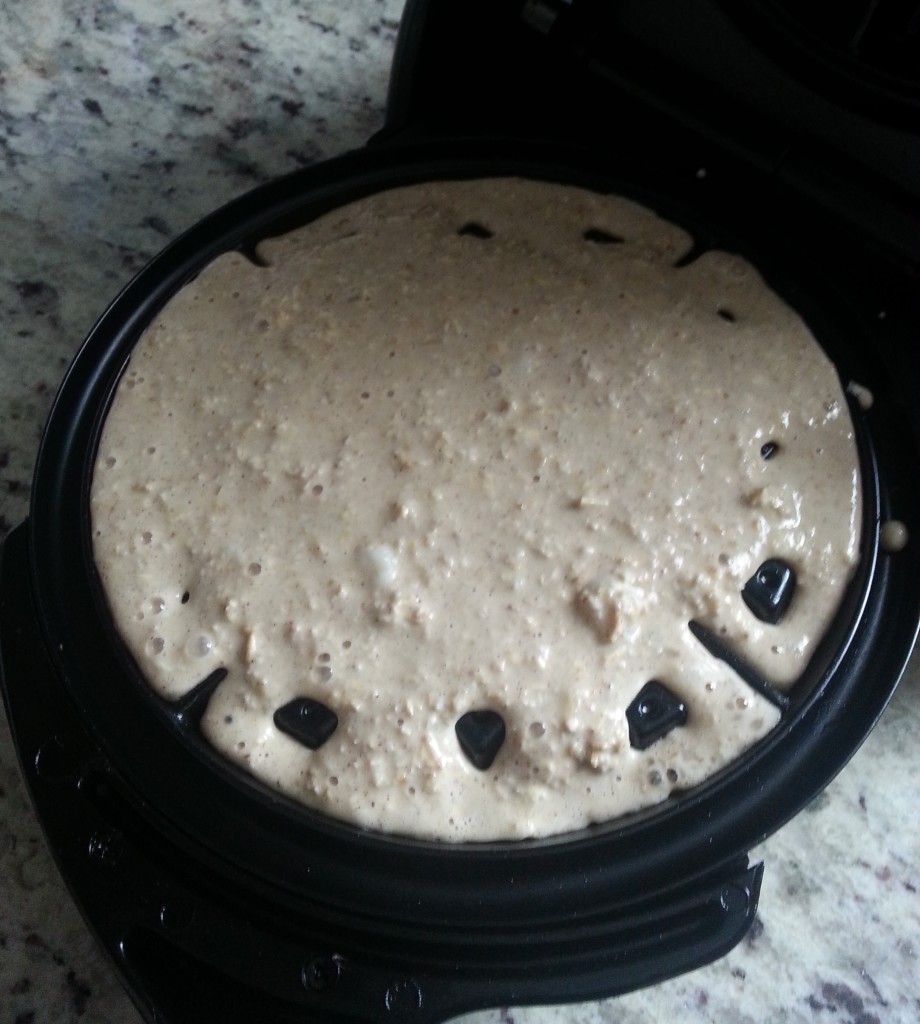
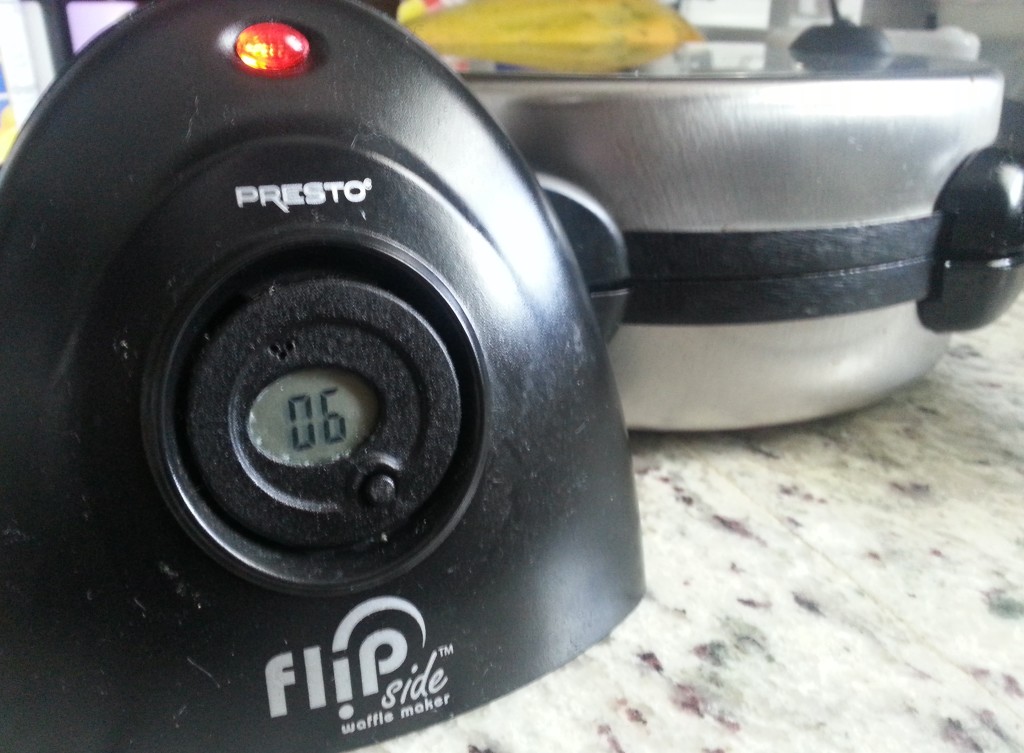
  9. Once waffle maker is heated, open and spray lightly with non-stick spray on both sides. Give batter a quick stir and pour exactly half (or 1 cup) of your batter into the center of the waffle maker. Close, set timer for 6 minutes, and flip to other side (if you are using the same Presto FlipSide waffle maker I own).
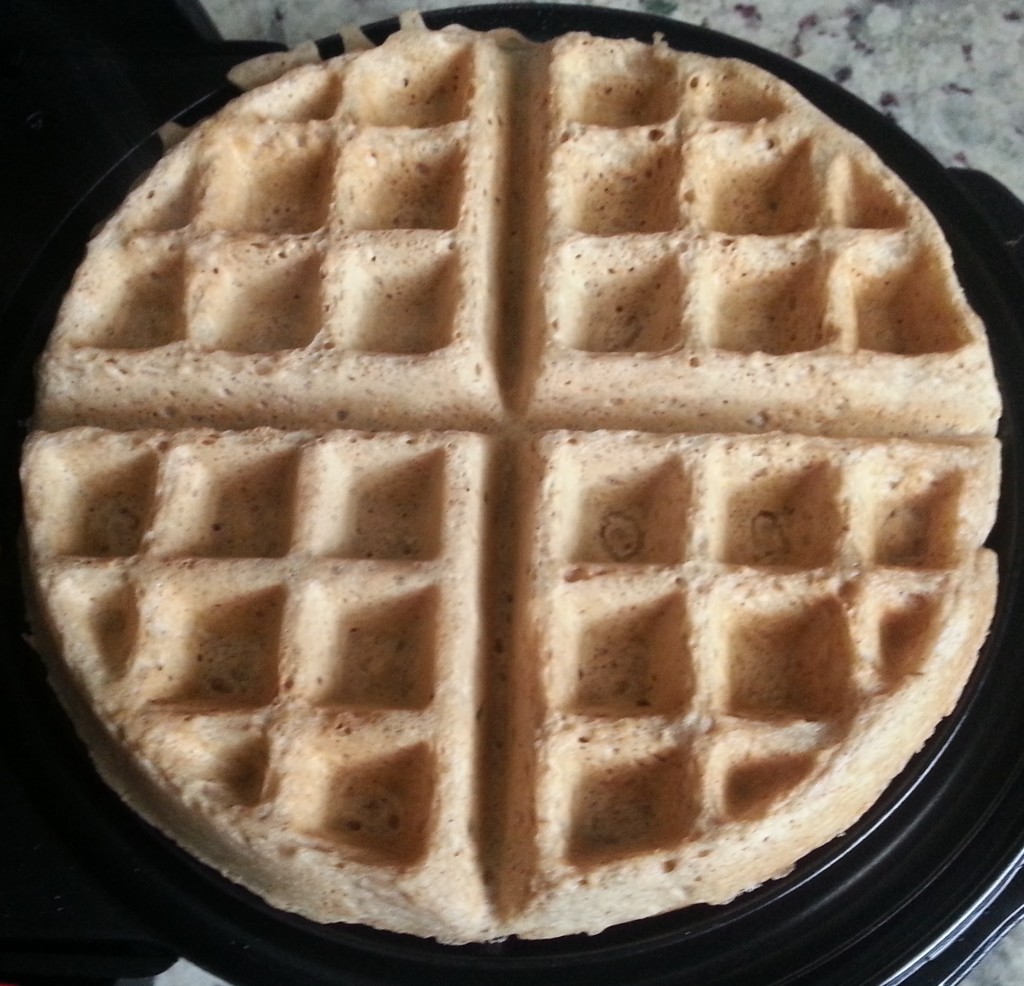
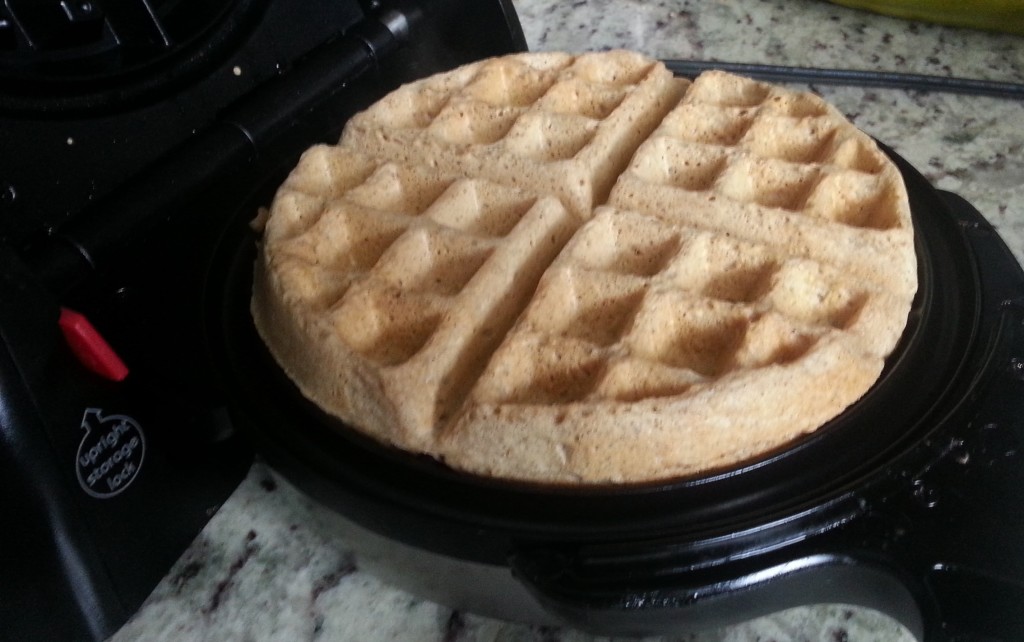
  10. Once the timer goes off, check your waffles. They should be light and slightly golden in color (see photos). Feel free to let them cook an additional 1-2 minutes if you like a really well-done and crispy waffle.
  11. Enjoy however you like! *To maintain crispness if you do not plan on eating immediately, set your oven to about 200 degrees F and place cooked waffles directly on the racks. This will keep them from getting soft as it keeps them warm. If you plan on freezing them, make sure they are cooled completely on a rack before freezing.

Remember to tag #truehealthtrifecta and share how you like this recipe on the True Health Trifecta Facebook page!

Step-by-step photos:

20160207_110133

20160207_110328

20160207_111316

20160207_112140

20160207_112703

20160207_112734

20160207_112826

20160207_112858

20160207_114224

20160207_114329

20160207_114509

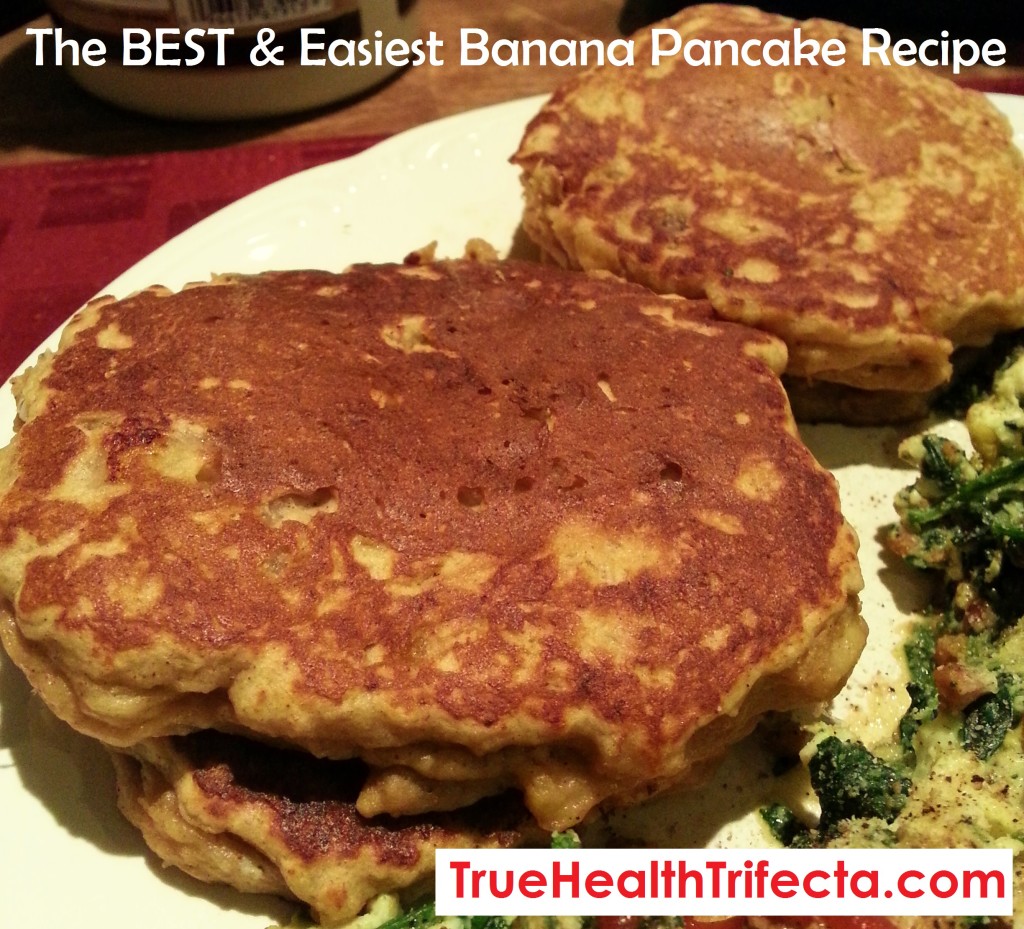
The BEST and Easiest Banana Pancake Recipe (using Manzano or “Apple” Bananas)

These amazing, healthy, easy-to-make pancakes were tweaked to perfection after about a week of making them daily… for dinner… because sometimes, week long pancakes-for-dinner-kicks just happen. And when they do, you just have to go with it.

Thank goodness I hopped on this nightly breakfast train, because by the end of the week I can hands-down say that I perfected this simple little recipe that I am now super excited to share!

It all started off with a little trip to one of the local Asian markets, where I always make sure to pick up at least one random fruit or veggie that I wouldn’t necessarily find in a typical grocery store.

Enter: These little guys…

Not my photo, but totally my little Asian banana find.

When I got them from the store, they weren’t as yellow as the photo above (with some black spots and edges). As one who is well versed on the ideal ripeness of regular bananas, they seemed ready to enjoy! But, as I soon found out, these bananas were nothing like regular bananas (except appearing like a mini-version). They were not even close to ripe and actually closer to tasting like a starchy, rough, unpalatable banana fraud.

I then did some research and realized that these particular bananas are ripe when the peel is about black – similar to plantains. So, a week or so later, I tried another one. And I finally understood what others had said about these lil’ nanaz tasting like an apple and banana had a baby with a hint of strawberry. That is pretty much exactly what they taste like – and it’s amazing.

So, lessons to learn here:

  • Baby-looking bananas need to be black (or nearly black) to be the most palatable.
  • They are also “starchier” with more bite than regular bananas, even at their ripest.
  • They taste like an apple and banana had a baby, and that baby only eats strawberries.
  • Most importantly, they’re dang tasty and add the perfect non-mushy-yet-banana-licious texture and flavor to the world of banana pancakes.

Back story over, onto what matters: the recipe!

20150213_150936

The BEST and Easiest Banana Pancake Recipe

(using Manzano or “Apple” Bananas)

Ingredients:

4 manzano bananas (ripe and black), mashed – about 150g *You can use 2 regular bananas equaling the same amount, but this may result in less dense/mushier pancakes
1 egg (or flax substitute using a 1:3 Tbsp. ratio of ground flaxseeds to water) *if using regular bananas and flax substitute, do not add water and use 1 Tbsp. ground flaxseeds only
1/2 Tbsp. coconut oil
Scant 1 tsp vanilla extract
3 Tbsp. quinoa flour
1/2 scoop Rawfusion Protein Powder in Vanilla (or your favorite plant-based protein powder; using whey will change pancake consistency)
1/2 tsp baking powder
1/4 tsp baking soda
2 tsp (small splash) apple cider vinegar
Good pinch of salt
1/4 tsp ground cinnamon

Directions:

  1. Mix mashed bananas, egg/flax egg, vanilla extract, coconut oil, and cinnamon together.
  2. Add dry ingredients and apple cider vinegar, and whisk or mix until all incorporated.
  3. Grease skillet lightly at medium/slightly before medium heat (level 5 or 250 degrees).
  4. Spoon 1/4 cup or so of batter into pan and spread out eventually.
  5. Let cook 2-3 minutes until edges look dry and top just begins bubbling, flip and cook another 2 minutes.
  6. Stack up and enjoy! (Makes four 5-inch pancakes, or one serving)

These can also be frozen after cooled, and reheated in a toaster oven! Practical AND tasty!

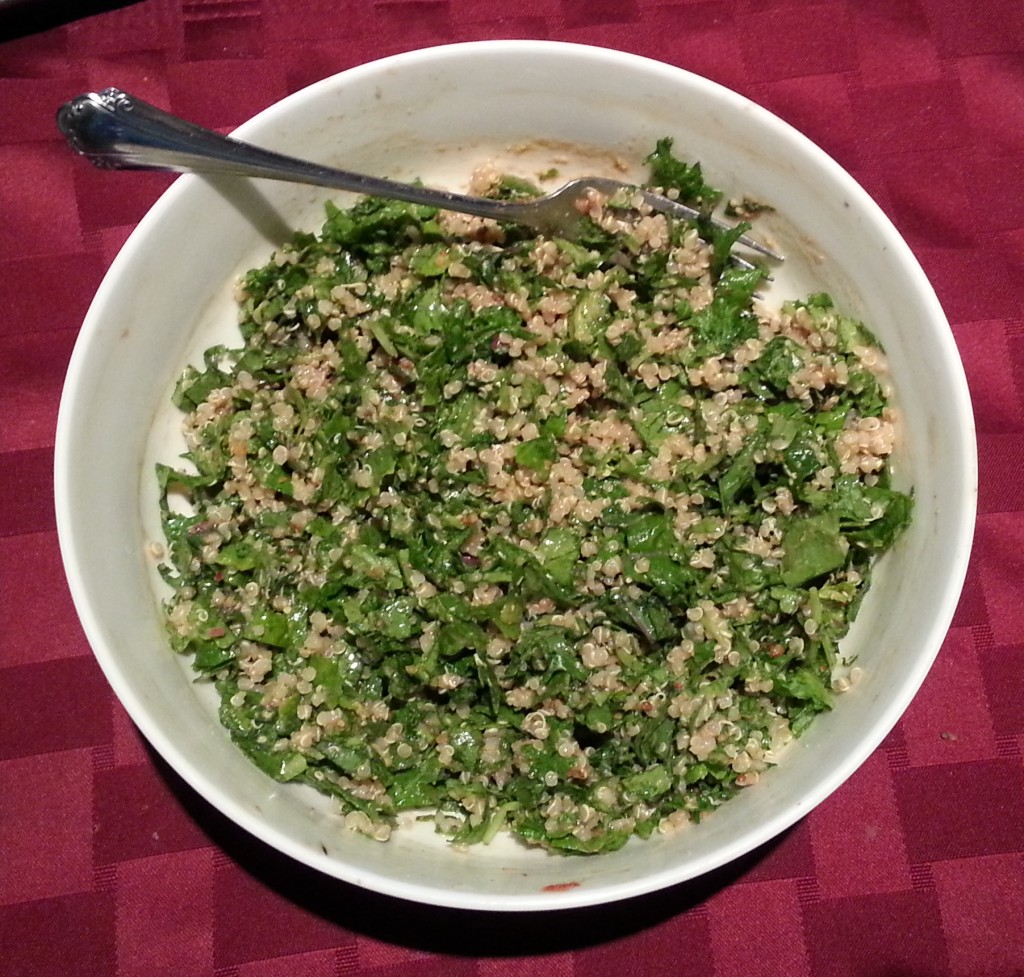
Kale & Quinoa Bowl: Easiest, Filling, Nutritious Go-To Meal (RECIPE)

I introduce you to my latest obsession:


Nom nom nom....


You can’t really tell by the picture, but that bowl is HUGE and it’s holding 1 cup of cooked quinoa and 100g of chopped kale… along with an insanely delicious dressing that I will share below. This simple whole food duo is the perfect, delicious, filling, hearty base for so many different things – the list is nearly endless.

You can go savory, sweet, or spicy; you can add everything from more vegetables like tomatoes, cucumber, zucchini, or pumpkin – to fruits like chopped dates, figs, berries, or apples.

Another super bonus? If you’ve put yourself into a nutritional category box – I bet this fits into it. It’s all the “free’s” (Gluten-free, Dairy-free, nearly fat-free, egg-free) and all the “friendly’s” (Paleo-friendly, Vegetarian–friendly, Vegan-friendly, Carb-friendly, Allergen-friendly).

And when it comes to macro-nutrient ratios, this particular serving size has:

272 Calories

11g Protein

39g Carbs

5g Fat

7g Fiber

56g Sodium

Adding even more benefit? Both of these foods are incredibly nutrient dense in not only the macros above, but the micros such as: tons of anti-inflammatory phytonutrients, vitamins and minerals ranging from B-vitamins to Vitamin E and zinc, body-loving fibers, and more.

Basically, quinoa and kale are soul mates in my book.

Like I said, there are ENDLESS directions this two-ingredient base can go; but let’s start with one of my favorites these days…

Creamy Southwest Spice Dressing

Ingredients:

  • 2-3 Tbsp Lemon Juice
  • .5 to 1 Tbsp Extra Virgin Olive Oil
  • 1 heaping tsp Tahini (sesame seed butter, in Middle Eastern section of most markets)
  • 1 Tbsp Dijon Mustard
  • 2 tsp Mrs Dash salt-free Southwest Chipotle Seasoning
  • 1/4 tsp Himalayan Sea Salt (I just fresh grind in to taste)
  • 2 Tbsp Balsamic Vinegar
  • 1 Scant Tbsp Garlic Powder OR 2 cloves minced garlic
  • 2 tsp Onion Powder OR 2 Tbsp minced red onion
  • Freshly Ground Black Pepper (to taste… I like quite a bit)
  • Half a dropper of liquid Stevia, OR 1/2 Tbsp honey, OR 1 Tbsp Stevia in the Raw

Directions: Put it all in a bowl, whisk together, and toss with quinoa and kale…. That’s it. (Hint: make ahead of time by at least 30 minutes to let the flavors all soak up and merry. Nom!)

I always have a few cups of cooked quinoa in the fridge that I prepare in bulk in my rice cooker, one or two days a week. As for the kale, get 2-3 BIG handfuls, remove any stems (they tend to be a bit bitter sometimes), and chop up well before tossing.

Coming soon:

The True Health Trifecta Nutrition & Recipe Book:

Simple Salads, Soups, Sauces, & Dressings Edition!

This is turning out to be the perfect collection for everyone; from those beginning their health and fitness journey, to those well on their way and looking for new, EASY, healthy go-to meal ideas!

It will include TONS of crazy-easy yet healthy recipes like the one above; plus photos, nutritional facts & tips, kitchen & pantry basics and recommendations, my Macro-Nutrient Cheat Sheet, Pre- and Post- workout meal ideas, Soups, Salads, Dressings, and more!

Not to mention, unless you are allergic to a specific food, this book is EVERY-diet friendly! So whether you have put yourself in the Paleo box, Vegan category, High-carb-low-fat, Low-carb, Gluten-free, 80/10/10, intermittent fasting, carb-cycling… I purposefully made this a compilation of nutritious options that can be enjoyed by the majority of dietary lifestyles out there!

And, I know most people don’t have the time or interest to become the next Iron Chef in the kitchen… especially with the hustle and bustle of every day life. That’s why I made sure the recipes and tips in this book aren’t incredibly elaborate or time consuming. These are some simple basics to help anyone successfully achieve their goals without spending hours preparing and while getting in nutrient-dense foods that taste flipping amazing.

Can you tell how mega excited I am to be putting this together for you guys?! :)

Make sure to sign up for the newsletter and like the True Health Trifecta Facebook page for word on when it is available for sale in the shop! :)

How to Make Perfect Hard Boiled Eggs EVERY Time (video)

I absolutely LOVE eggs. Always have, always will. Whether they’re scrambled, sunny-side-up, chopped over a salad, or even straight out of the carton (whites, in that case. And no, it doesn’t taste like foot. It’s tasteless and awesome)… Eggs have always been a staple food in my regime of deliciousness.

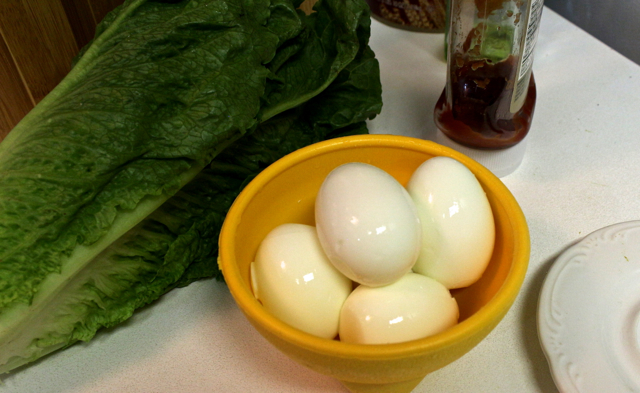
Eggs in bowl

Cadbury Creme Eggs were even my favorite holiday treat growing up, for goodness sake. Side note: Are you aware they have actually decreased 30% in size since back in the heyday? Truth.

I partly hold this on account of my dad and the memories of him making his yummy breakfasts of eggs, mushrooms, cumin, and close to a half-stick of butter in a pan. I always wanted whatever he was making because it smelled so warm and spicy. Plus, he always ate everything with Lebanese pita bread. Believe it or not, the pita and butter was my favorite part… I just kind of put up with the eggs (reminder: Nutrition Specialists are not born Nutrition Specialists) and I could still hear my mom saying, “That is TOO much butter for her! Way too much,” to which he would say okay and then slice me off another chunk of golden, melty goodness when she wasn’t looking.

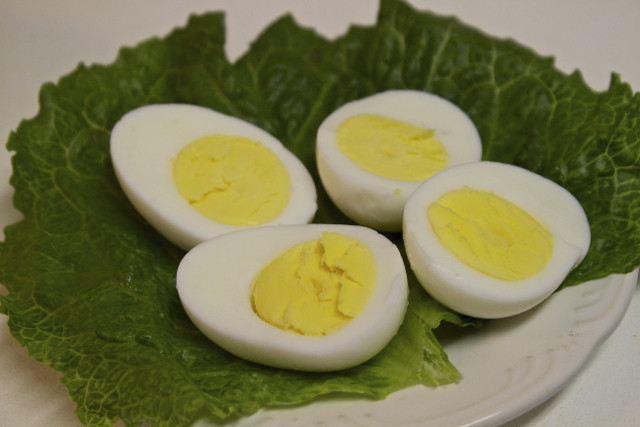
Egg Halves

Coincidentally, I really miss my dad about now… and the thought of that much butter at this point kind of makes my stomach turn. But, I digress.

When it comes to the most convenient form of eggs – hard boiled – there is actually a LOT more involved then throwing eggs in a boiling pot of water and then peeling them after a few minutes. It’s a SCIENCE, and if you don’t have it down, you’ll likely experience one (or all) of the following hard boiled fails:

  1. Tearing and peeling half the whites off with the shell. I call this the Moon Crater fail.
  2. Success with peeling… but a puke green rim (or totally green, for that matter) yolk on the inside. Aka: the Groke.
  3. A yolk that isn’t completely cooked and still runny (which is on purpose, at times, ie. the soft boiled egg).
  4. A cracked or broken shell while boiling which ends up in seeping out whites and tumor-growth looking eggs.
  5. (Add your hard boiled egg fail here)

It came to my attention recently that so many people don’t know exactly how to make the perfect hard boiled egg. Whenever anyone asks me what a good, portable, convenient option is for a snack, one of my go-to suggestions is this winner. However, 9 out of 10 people say they can never make them right! As soon as a couple of clients mentioned spending way too much money on a way questionable means of this amazing, protein-packed snack (*cough* 7-11 ready hard boiled eggs in a plastic baggy), I KNEW I had to share this post to benefit their bellies and everyone else who fears attempting the delicousness that is the HBE.

I’m pretty happy to say I have it down to a science and am even happier to share it here!

IMG_1842

HOW TO MAKE THE PERFECT HARD BOILED EGGS

You’ll need:
  • Eggs
  • Water
  • Large sauce pan with lid
  • Large slotted spoon
  • Large bowl
  • Ice

As an example here, I’m using a small saucepan and just a few eggs. But I highly suggest making these in bulk and using the biggest stock or sauce pan you have because you want to make sure the eggs are covered by a good inch of water without it boiling over once things get moving. Plus, it’s amazingly convenient to have a bunch of them ready to go in the fridge, especially if you don’t have time to prepare food during the day and need a quick snack (or protein for a full) to grab and go.

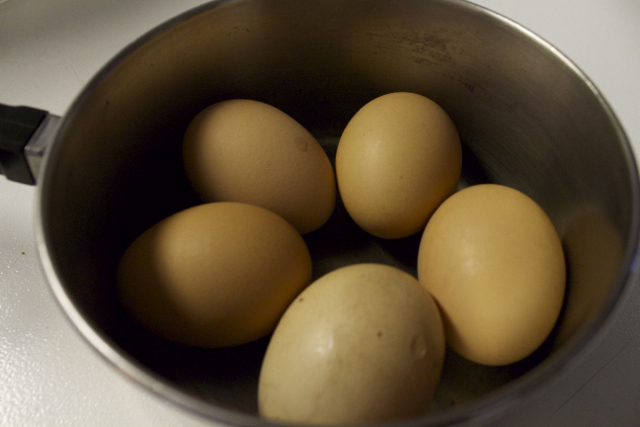
Step 1: Carefully place cold eggs in a single layer at the bottom of your sauce pan.
Eggs in Saucepan
Notice the bottom egg is a little cracked. At the end, I share a tip that helps salvage the whites if they seep out while boiling.


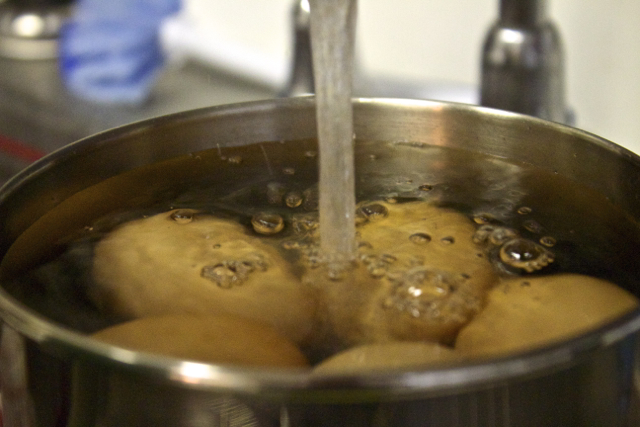
Step 2: Fill the sauce pan with cold water until all the eggs are completely submerged (about an inch of water above eggs).

Cover with Cold Water


Step 3: Put sauce pan on stove and set it to high to boil.
Put it on to boil
Keep a good eye on it because it won’t need to boil for long…


Step 4: Once water gets going with a rolling boil, let boil for only one minute before removing from stove top.

Boiling eggs


Step 5: Cover with lid and take off the burner, setting it to the side

IMG_1803


Set a timer for 15 minutes. The eggs will continue cooking in the hot water as they sit.

Timer


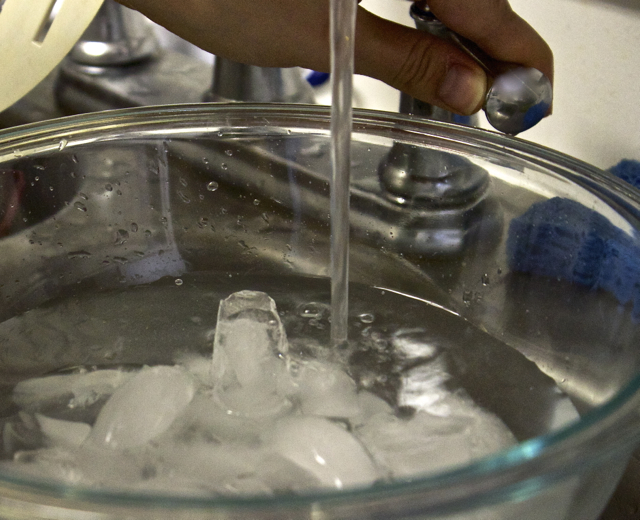
Step 6: Fill up a large bowl halfway with ice and then up about 3/4 high with cold water

Ice Bath


Step 7: Once timer goes off, use a slotted spoon to remove eggs from sauce pan and place in ice bowl.
IMG_1809Eggs in Ice


Let sit about 10 minutes, until ice is mostly melted down.
Eggs in Ice Bath
Can you guess which egg is the one that had the crack in it?


Now. Time for things to get serious.

Peeling

 You’ve made it this far, peeling glory is soon ahead.
And what would an instructional post be without a little video for the visual people?

Main tricks are:
  • Have water handy for rinsing (and even peeling under). It will help the shell slip off.
  • Tap both ends of the egg gently on a counter, then do a gentle “rolling’ motion to break it all around before peeling off (this REALLY helps!)
  • Use the side of your thumb to gently glide the shell off (as opposed to nails or the tips of your fingers). This alleviates risk of tearing any whites off with the shell.
  • Organic, brown eggs are harder to peel than regular, white eggs. Basically, the fresher the egg, the harder to peel. I definitely suggest and prefer organic, free range eggs if you plan on eating the whole thing including the yolk-y goodness. But if you mainly just want the whites, it will be easier on your prep (and wallet) to just get regular white eggs.
  • Try not to eat them as you’re peeling. At least not all of them. Yummy little health balls they are.

Additionally, if for some reason an egg cracks in the pot and whites start seeping out (like one of mine did because it had a slight crack in the shell before putting in), have some distilled white vinegar handy and throw a splash or two in the water as it begins to heat up. This helps the white coagulate faster and works well to salvage the egg.

Food for thought: Do you feel like hard boiled eggs make you bloated and gassy?

There is actually justification for this. Eggs (particularly the whites) are very high in sulfur… what most people familiarize with the “rotten egg” or Florida sprinkler system smell. Sulfur is a beneficial nutrient and one of the reasons eggs are a great super food. Any time eggs are cooked, the sulfuric compounds in the proteins are broken down and hydrogen sulfide is released (the cause of that smell). In the case of the HBE, however, this hydrogen sulfide has nowhere to really go. The green rim around the yolk from “overcooking” is actually a reaction between the ferrous iron in the yolk and the hydrogen sulfide in the white (yay, science)!

Some people poke a tiny hole with a very small needle in the shell of the egg before boiling to release pressure and claim this eases any digestive upset caused by the broken down proteins. I’ve never noticed any digestive issues regarding HBE’s personally, but it may be worth trying if you’ve had this issue! People also claim that poking the tiny hole encourages more even cooking, making the eggs easier to peel. But, as you can see once you try my method, a hole isn’t necessary for super hard boiled success!

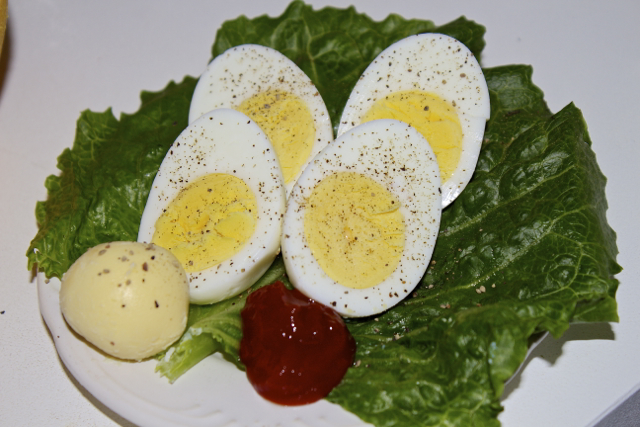
Now time to go enjoy them however you like! My preference is simple with a bit of sweet and tangy homemade ketchup :)

Delicious Eggs

Now that you know how to cook them up, what is your favorite way to eat hard boiled eggs?

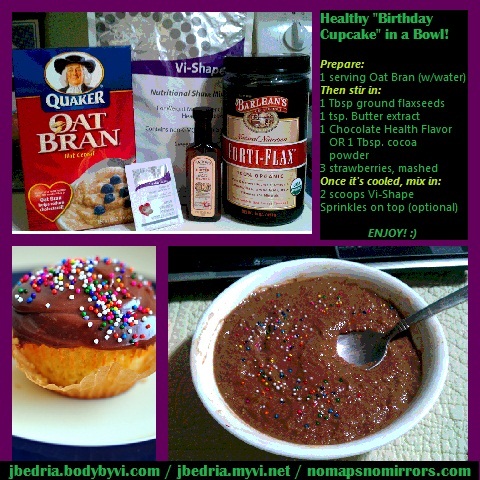
Healthy “Birthday Cupcake” in a bowl!

After today’s workout, I came home to nonchalantly mix up a little recovery meal to hold me over a bit. This amazingly delicious bowl of goodness was the result of that. Filling, healthy, and literally tastes JUST LIKE the classic yellow cupcake with chocolate frosting on top. Not kidding! Definitely recommend you all try it out, feel free to share the credited photo, and ENJOY! :)

Great substitutes for the oat bran include quinoa flakes, cream of rice, or rolled oats.

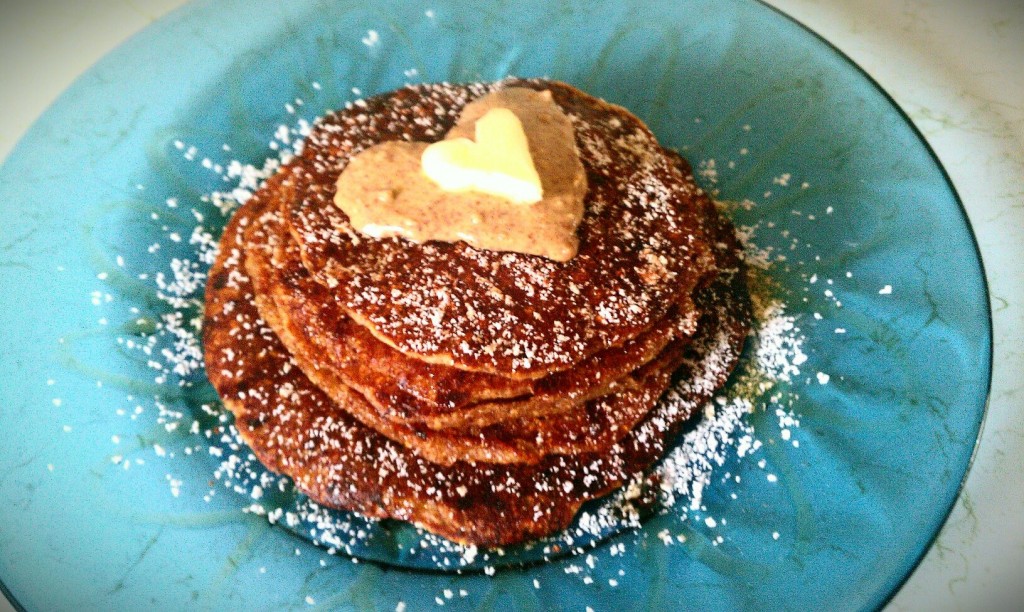
Totally Impromptu Banana Oat Pancakes

Most of my recipes are a result of someone saying, “I don’t have anything to eat”. That is one of my favorite things to hear, or I shall say, one of my inner-culinary-Macgyver’s favorite things to hear.


Cell phone photos go hand in hand with the frugal life of a Kitchen Macgyver.

These pancakes are a result of the mister saying just that after coming home from an appointment this morning… except he also expressed his craving for pancakes. Adding fuel to the fire, his concluding, “I have no idea what you would make them out of.. there really is nothing here, especially for pancakes.” The funniest part is that we have been through this numerous times. Even back to the very first time I went to his house, he said there was absolutely nothing to eat. Half an hour later, he sat down to homemade veggie bean burgers on Ezekiel with special sauce. You’d think he knew how it works by now, but I think he just plays along at this point due to, 1) how excited I get.. and, 2) getting to eat the (normally pretty yummy) end result. Yay for meeting your foodie soulmate.


Anyways, I digress. After scrounging through the kitchen cabinets, this is the result of today’s “there is nothing to eat” challenge. Totally Impromptu Banana Oat Pancakes.


Ingredients

¼ cup + 2 tablespoons Steel Cut Oats

1 tsp baking powder

½ tsp cinnamon

pinch of salt

2 tbsp corn starch

¼ cup whole wheat flour

¼ cup shredded mozzarella

2 tbsp baking stevia

½ tbsp butter (melted)

¾+ cup milk *I eye-balled it until a thick but pourable consistency was reached

1 tbsp almond butter

1 large banana, mashed up

Stevia, honey, almond butter, and butter to make it pretty once they’re done


Honestly, when I put these things together, it’s important to keep in mind I don’t always measure and am literally creating it with all I have in the kitchen at the time. I am pretty sure I remembered the correct proportions of ingredients… but definitely make sure to add more milk, if needed, since I just poured it in until a thick but pourable batter consistency was reached.


Mix the oats, baking powder, cinnamon, salt, corn starch, flour and shredded mozzarella together in a large measuring cup (I had a 16 oz one available). In a separate bowl, whisk together the butter, milk, stevia and almond butter. Pour the wet ingredients into the measuring cup and whisk until mixed. Then add in the mashed banana and whisk until all incorporated.


Heat a nonstick pan on medium-low heat. Once it is warmed up well, spray nonstick spray and pour about ¼ cup batter. These take a little bit longer than regular pancakes due to the steel cut oats (which added a great nutty texture and taste that he said made these so amazing), at least 3 minutes a side. Once the edges look dry and the top begins to slightly bubble, flip the pancake for another 3-4 minutes. You should end up with 6-8 golden brown, medium pancakes.


Garnish the plate with a sprinkle of stevia, drizzle of honey, and grossly romantic heart-shaped butters.